Hammerhead™ Installation Instructions

Click To Jump To Section
How to Prepare in Advance of a Storm
*It is imperative that you evacuate your property in advance of deploying flood barriers. An installed flood barrier system seals your egress points and is not permitted to remain in a dry flood-proofed structure.
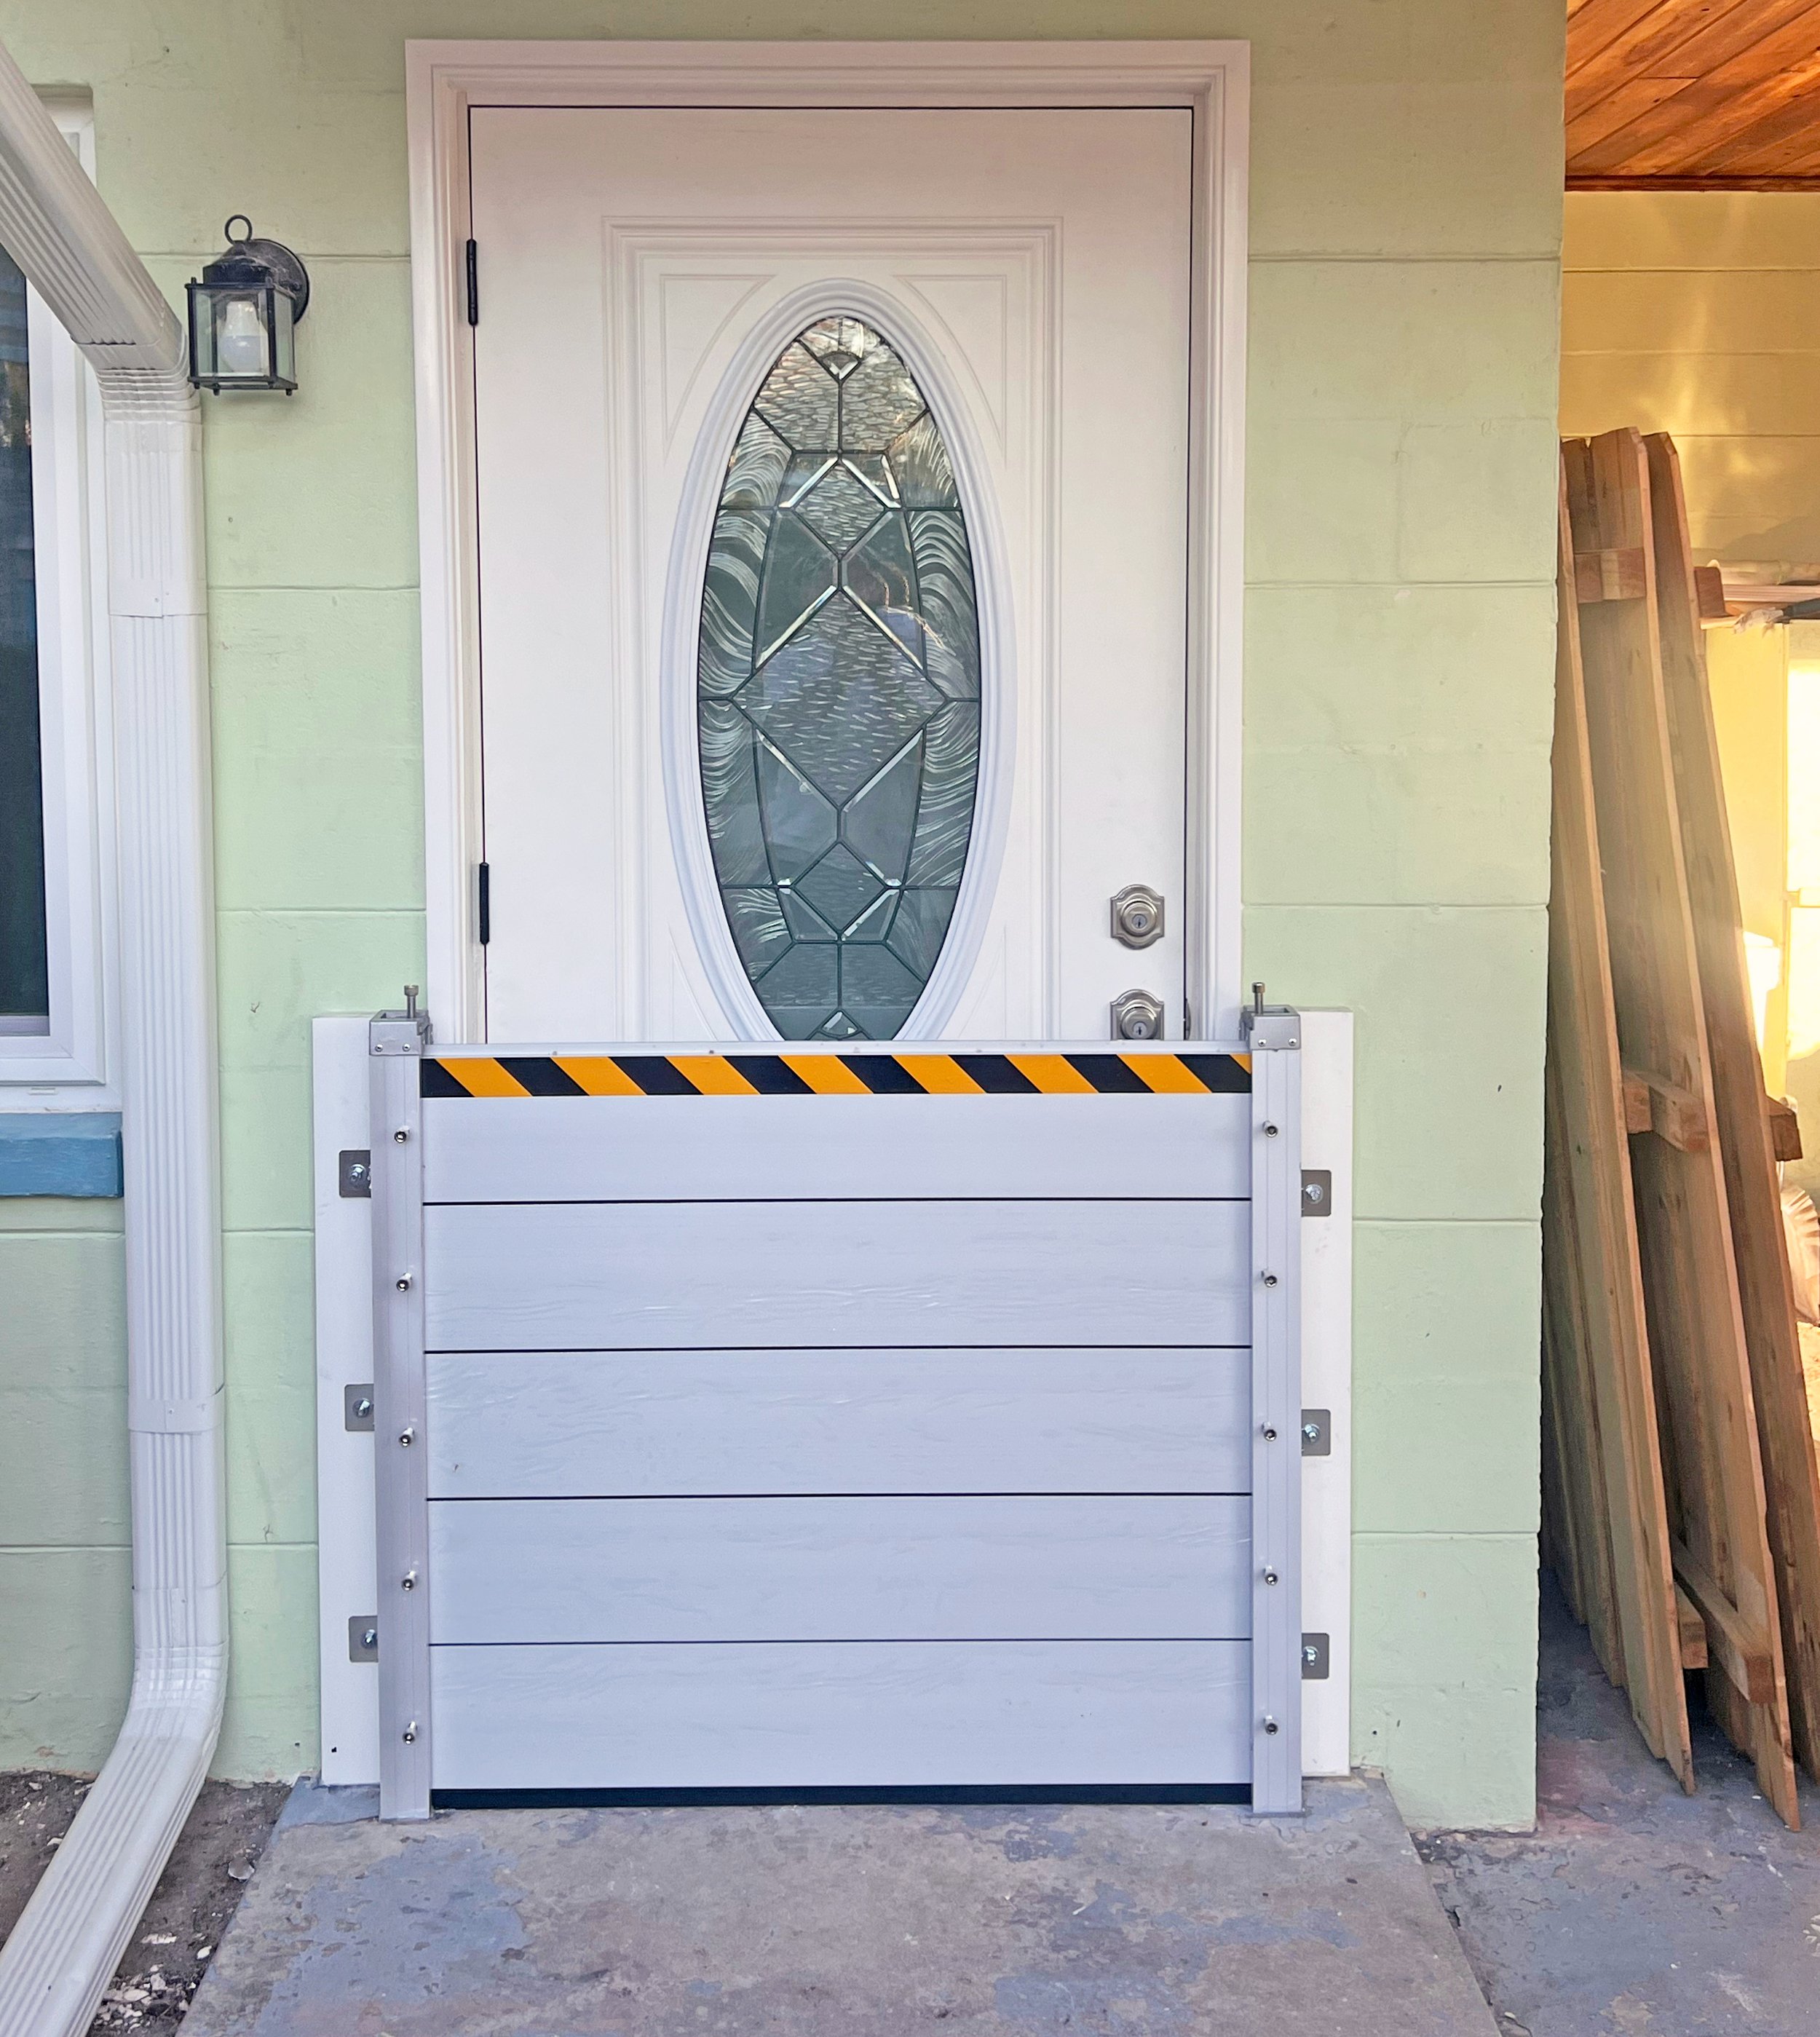
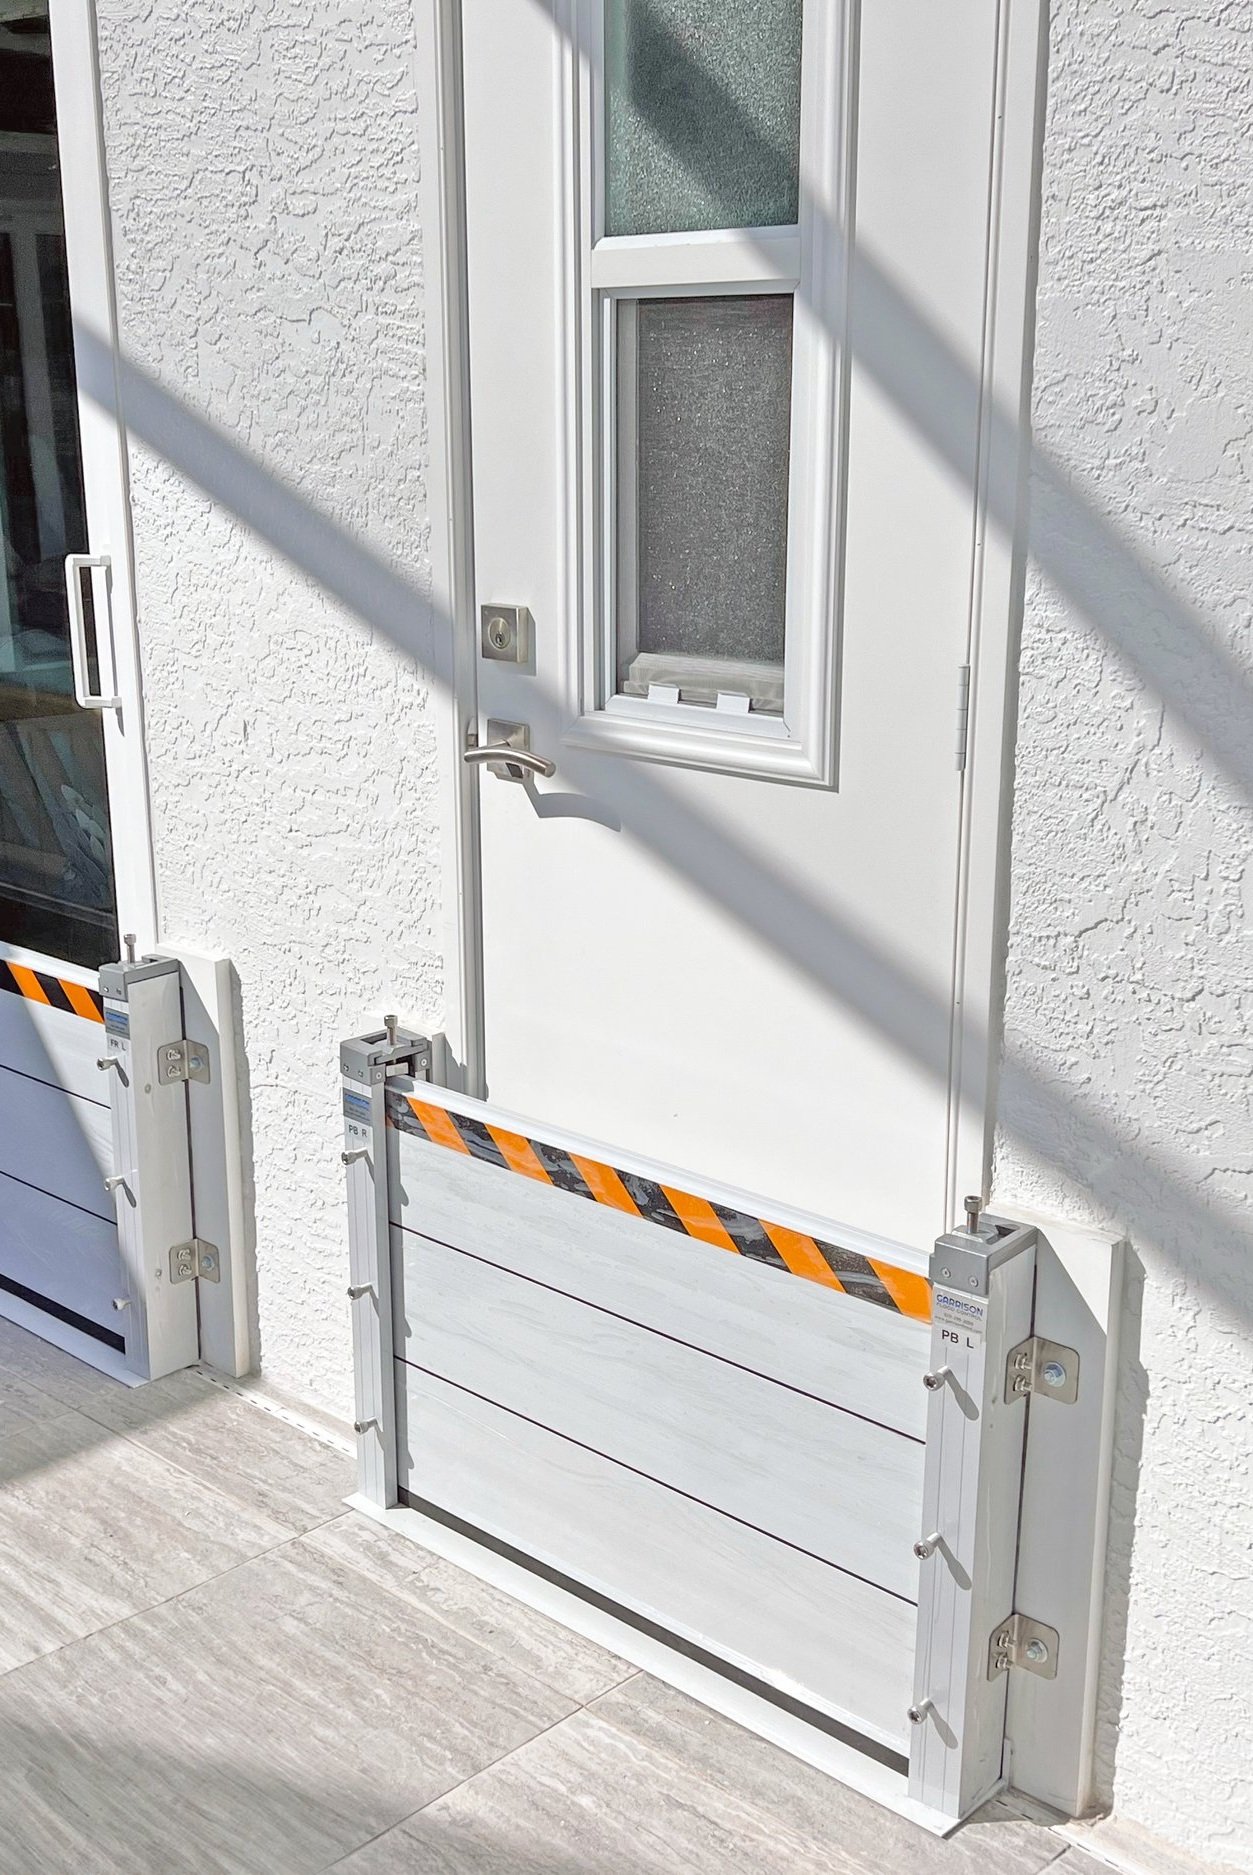
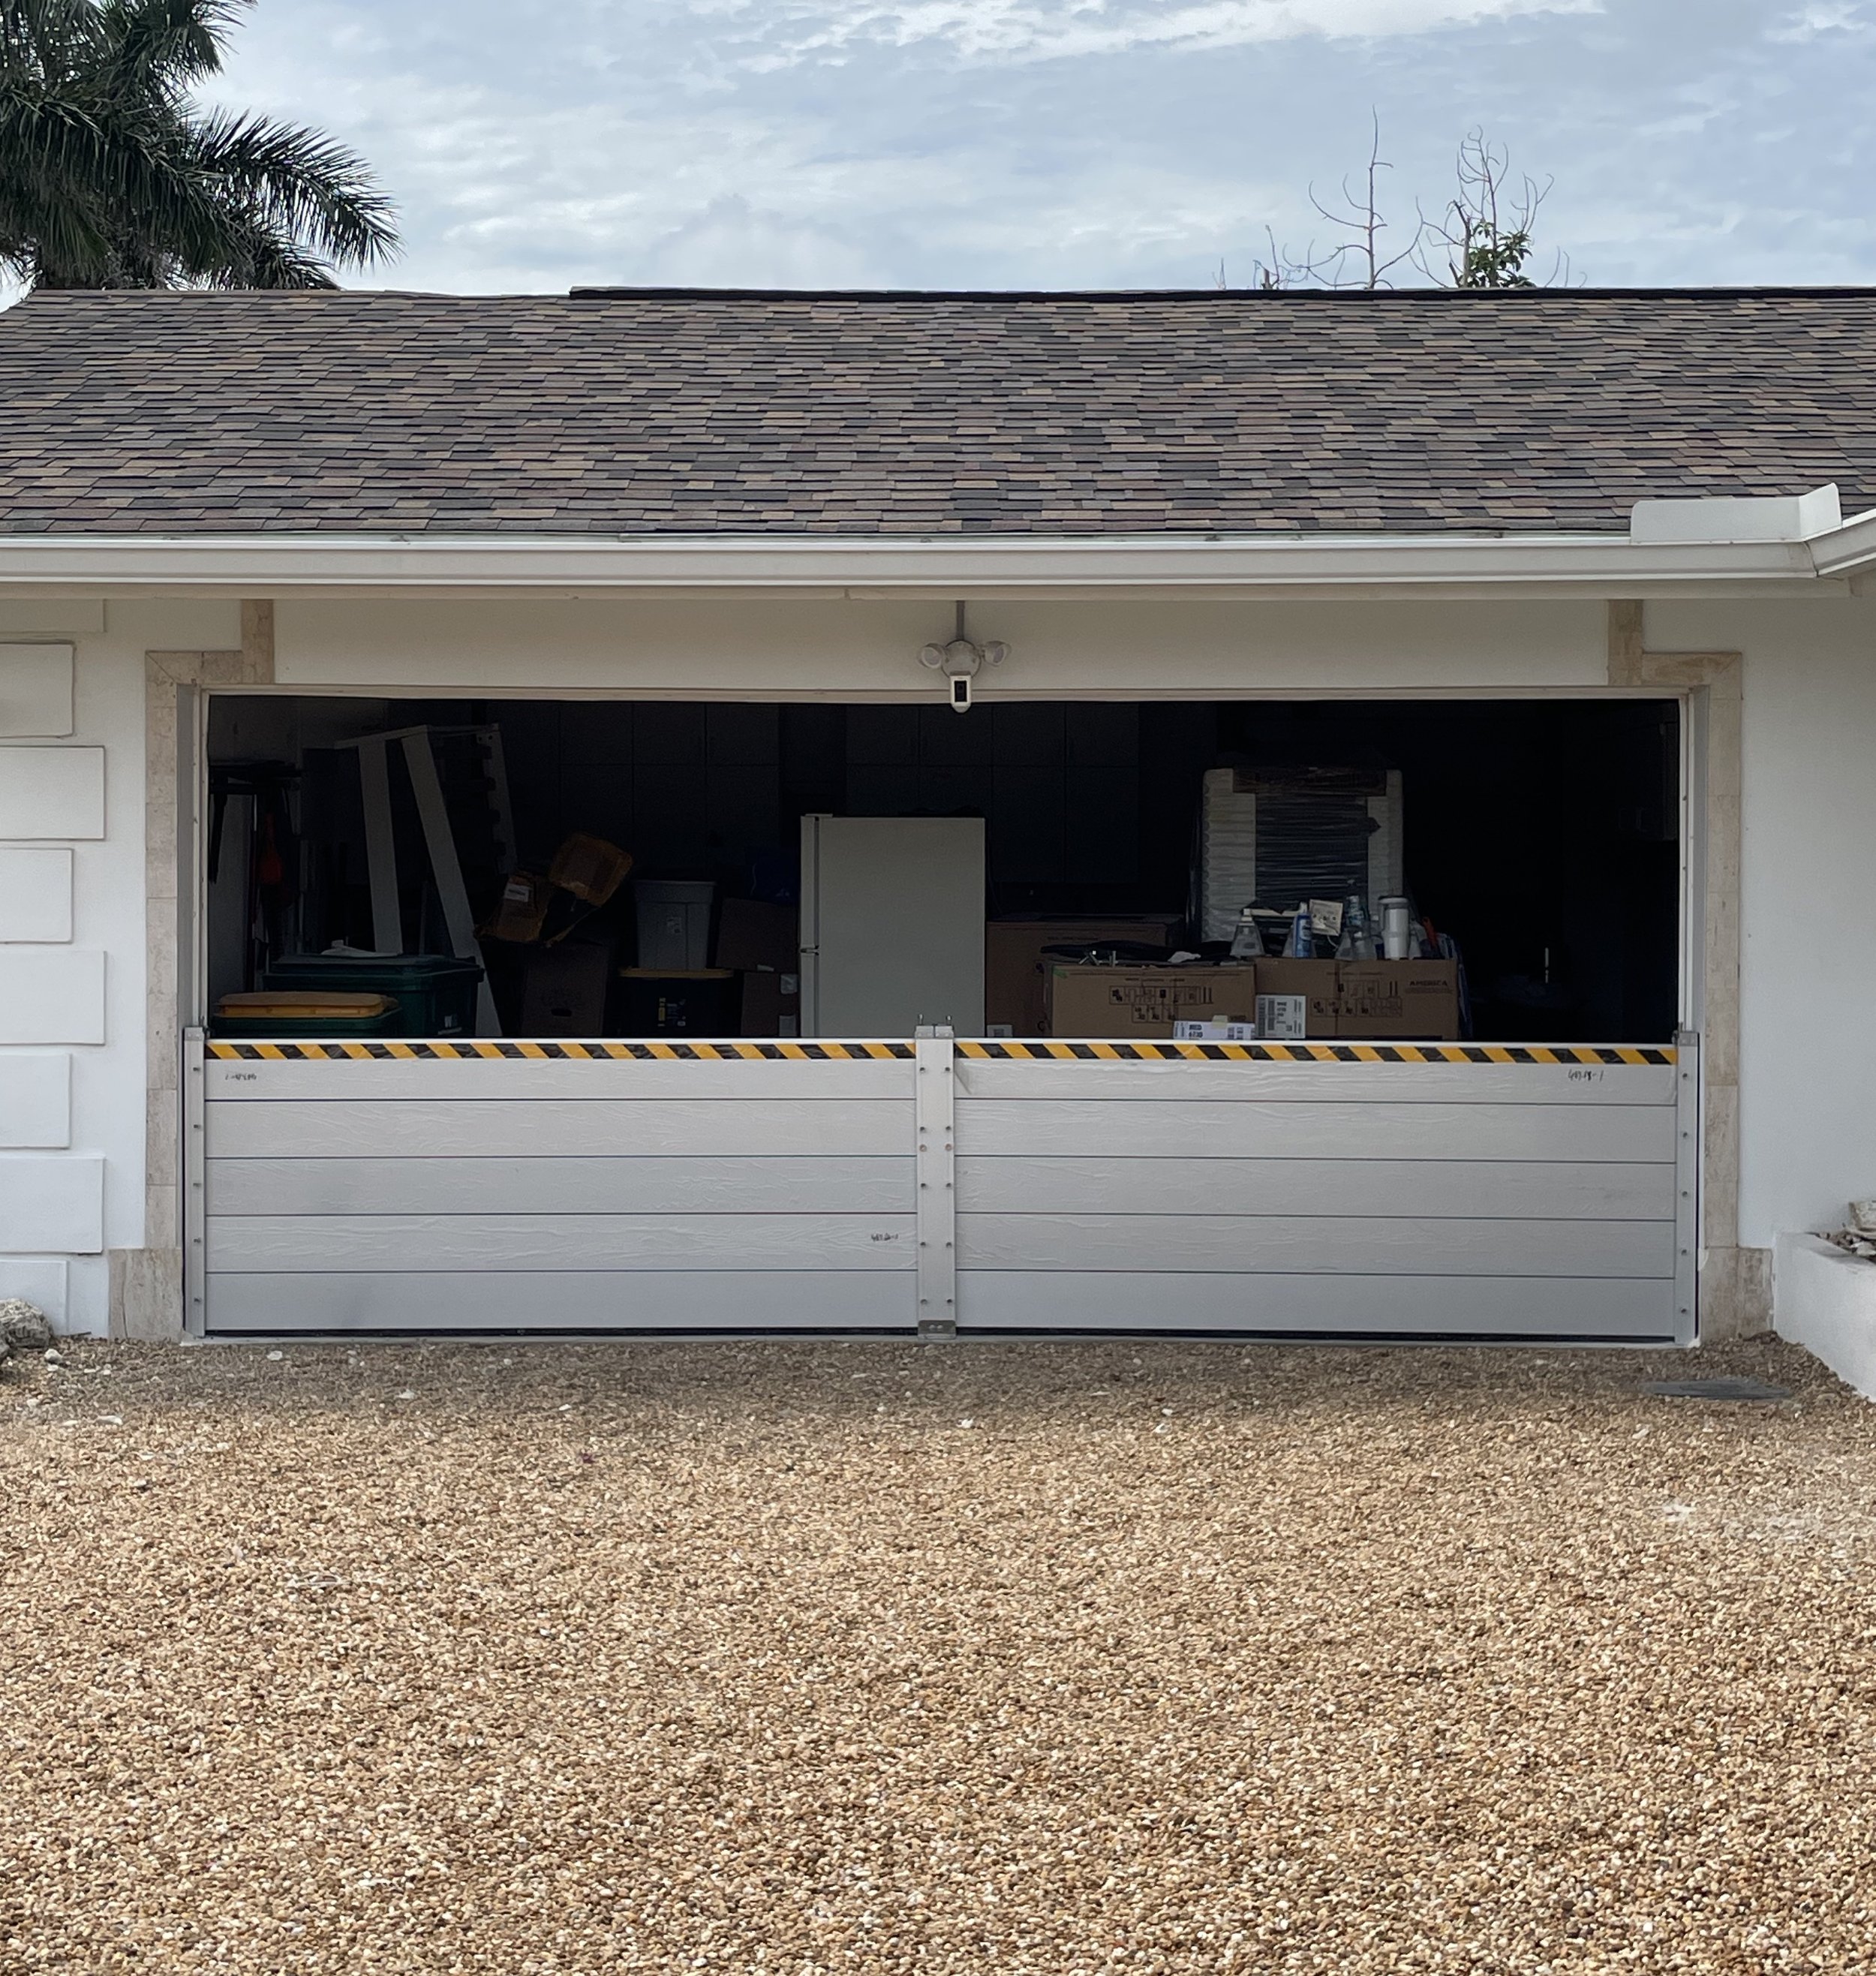
Flooding can strike unexpectedly, but with a little preparation, your Hammerhead Aluminum Flood Plank System will be ready when you need it most. Taking these proactive steps now will minimize stress and maximize protection when severe weather hits.
Check Inventory and System Components
Make sure you have all Hammerhead components and parts accounted for and ready to deploy.
Inspect parts and system for any dings, dents or damage before you need it.
Inspect Caulking
Visually examine the caulking around the mounting posts:
Check caulk / seal between the posts and wall.
Check the caulk / seal between the base of the posts and the ground.
Look for signs of cracking, drying, or gaps where the caulk might have pulled away from the surfaces.
Check the depth of the caulk to ensure there’s a sufficient amount for a watertight seal.
A good rule of thumb is for the bead of caulk to be slightly wider than the gap it’s filling.Re-caulk if you find any cracks, gaps, or insufficient seal coverage by removing the old caulk with a utility knife or caulk removal tool. Clean and dry area before re-applying.
Inspect Planks
Tension bottom plank down so its fully compressed to ensure a seamless seal across the ground and bottom plank.
Before installing each plank, check that the rubber seals are intact.
When installing each plank into the posts, secure the tension plate and bolts to pressure planks down to create a tight seal.
Use the top tensioning plate to pressure planks downward, enhancing the seal between them.
Confirm Structure
Confirm that your structure can handle the hydrostatic pressures of the water at the protection height that you intend to use flood protection.
Ideally, your structure should be made from masonry or cinder block and be sealed and watertight.
It is always recommended to check with a local PE to confirm if your structure is suitable to receive dry floodproofing measures.
Look For Obstacles
Check for obstacles that will interfere with placement of posts or planks. This may include protruding molding, sills, thresholds, pipes, drains, storm shutters or electrical boxes, plumbing or HVAC systems.
Remove any obstacles that would prevent the insertion of planks into the post channels. Re-route or plug drains as necessary.
For obstacles that cannot be moved, consider adding spacers or concrete columns to space posts further away from the wall, allowing planks to clear any obstacles.
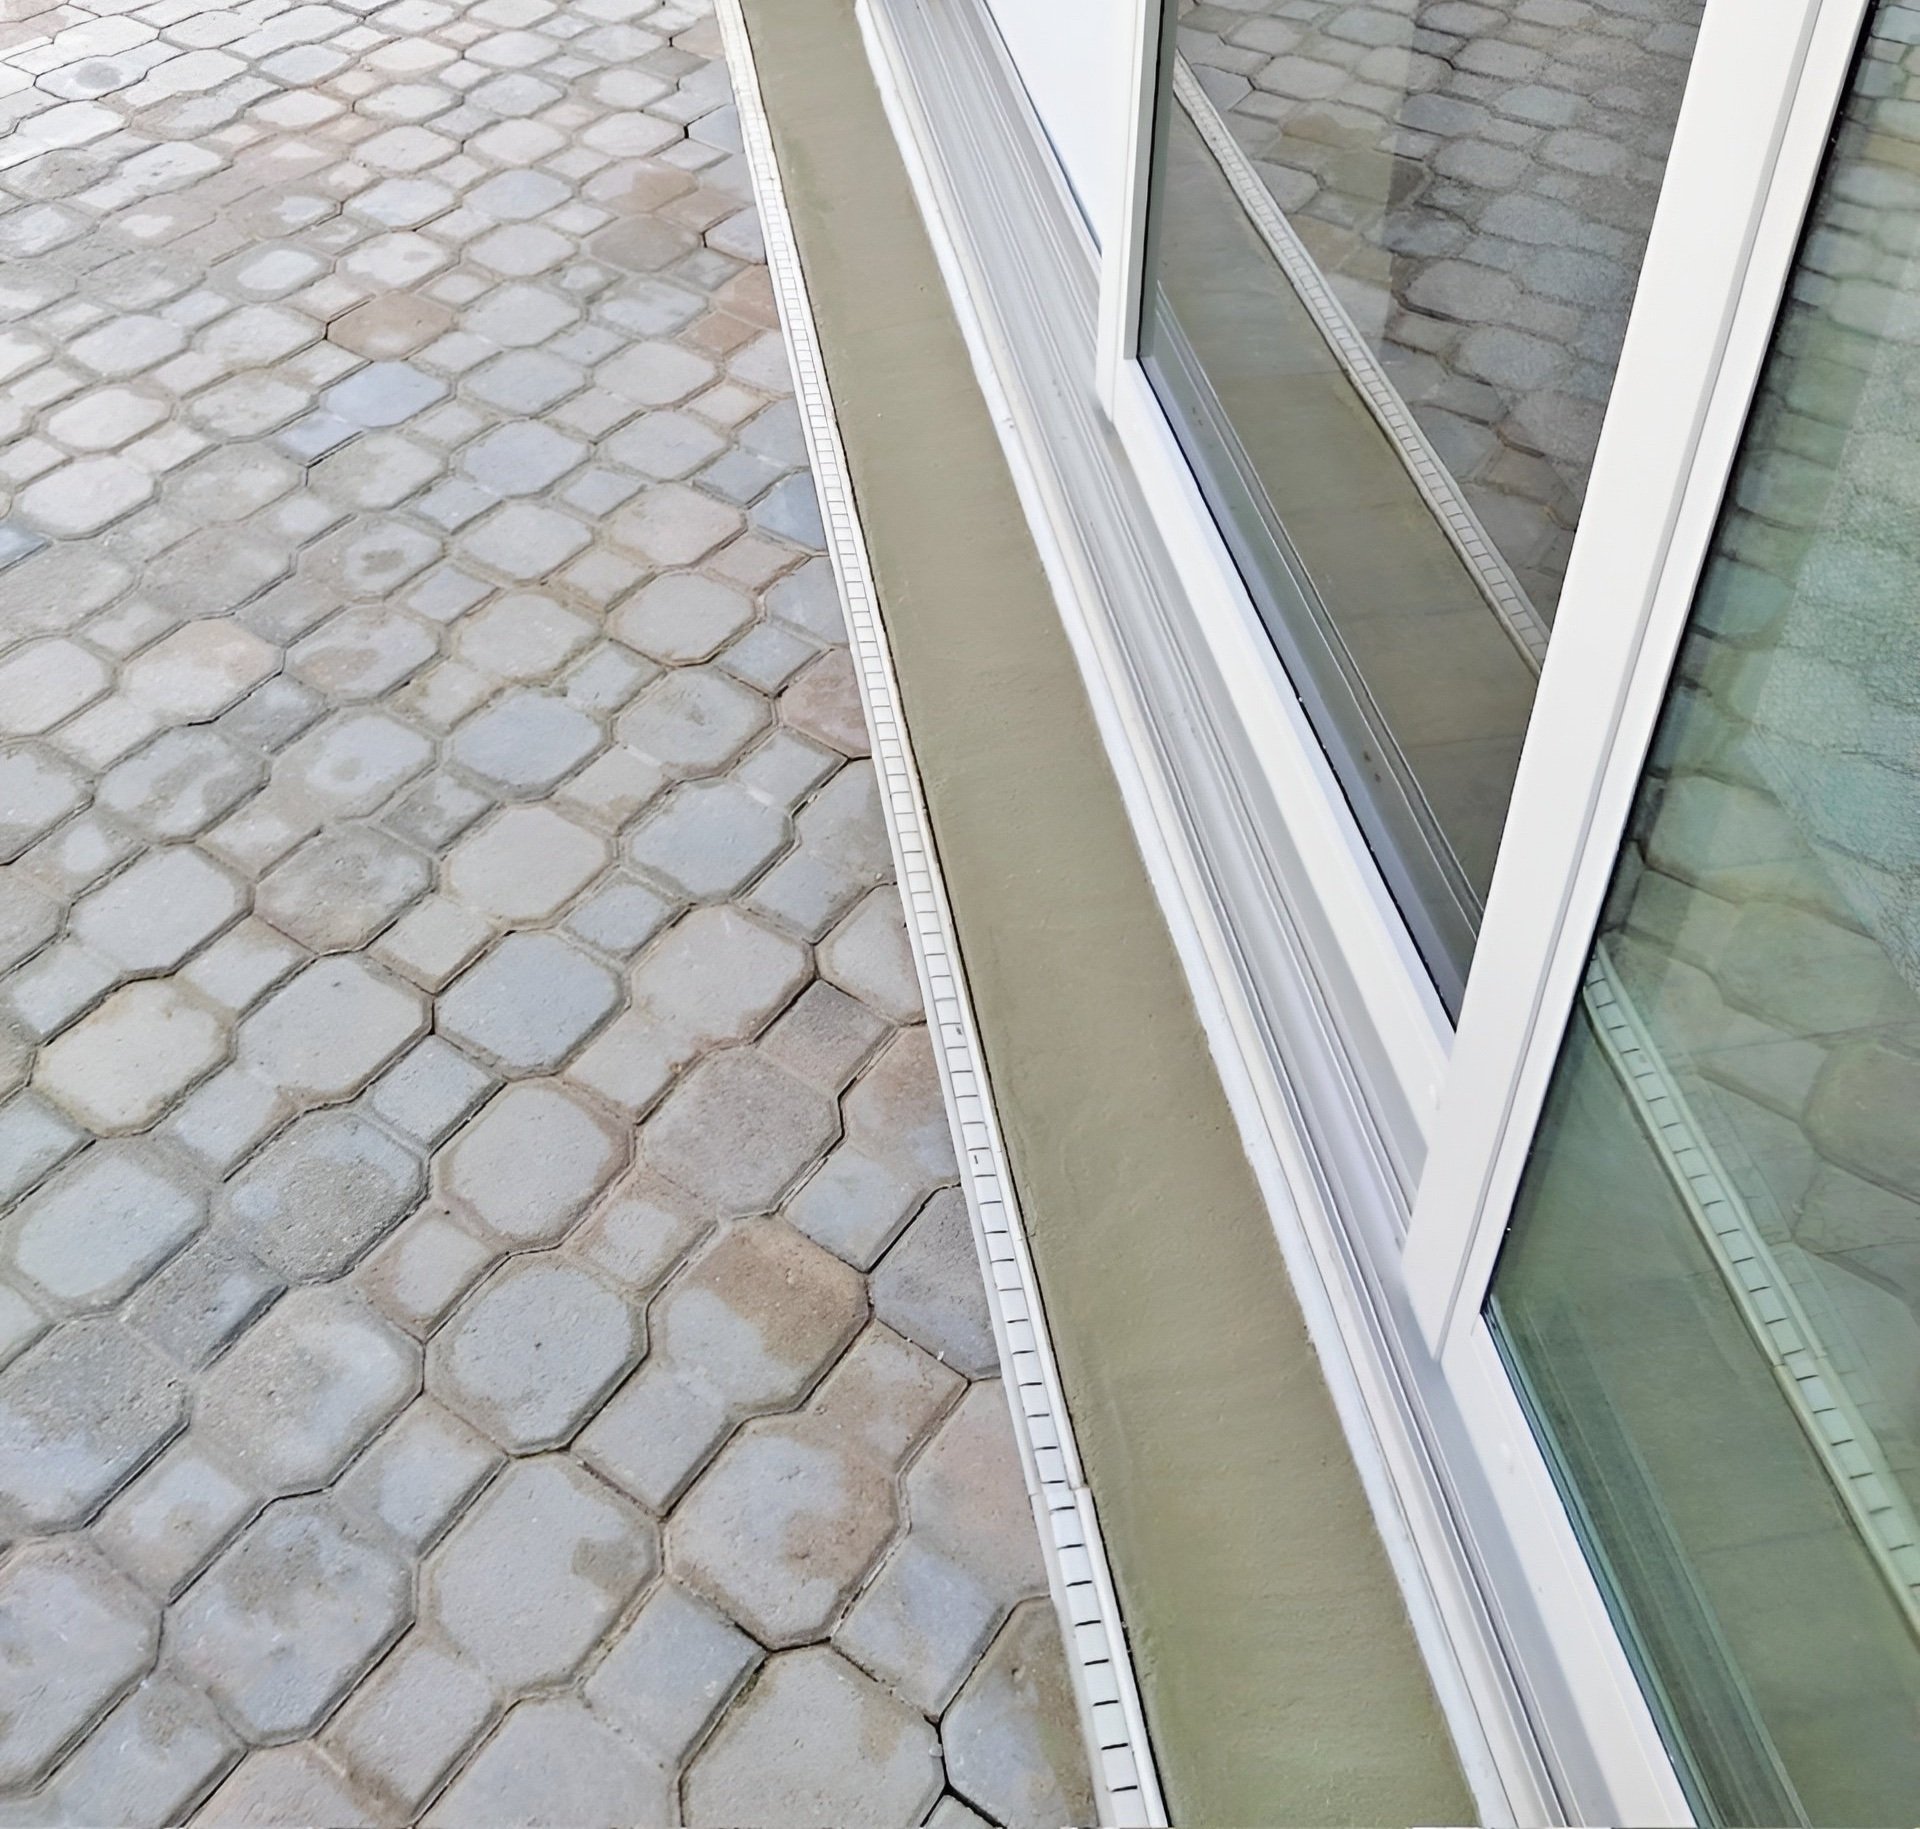
Check Ground Surface
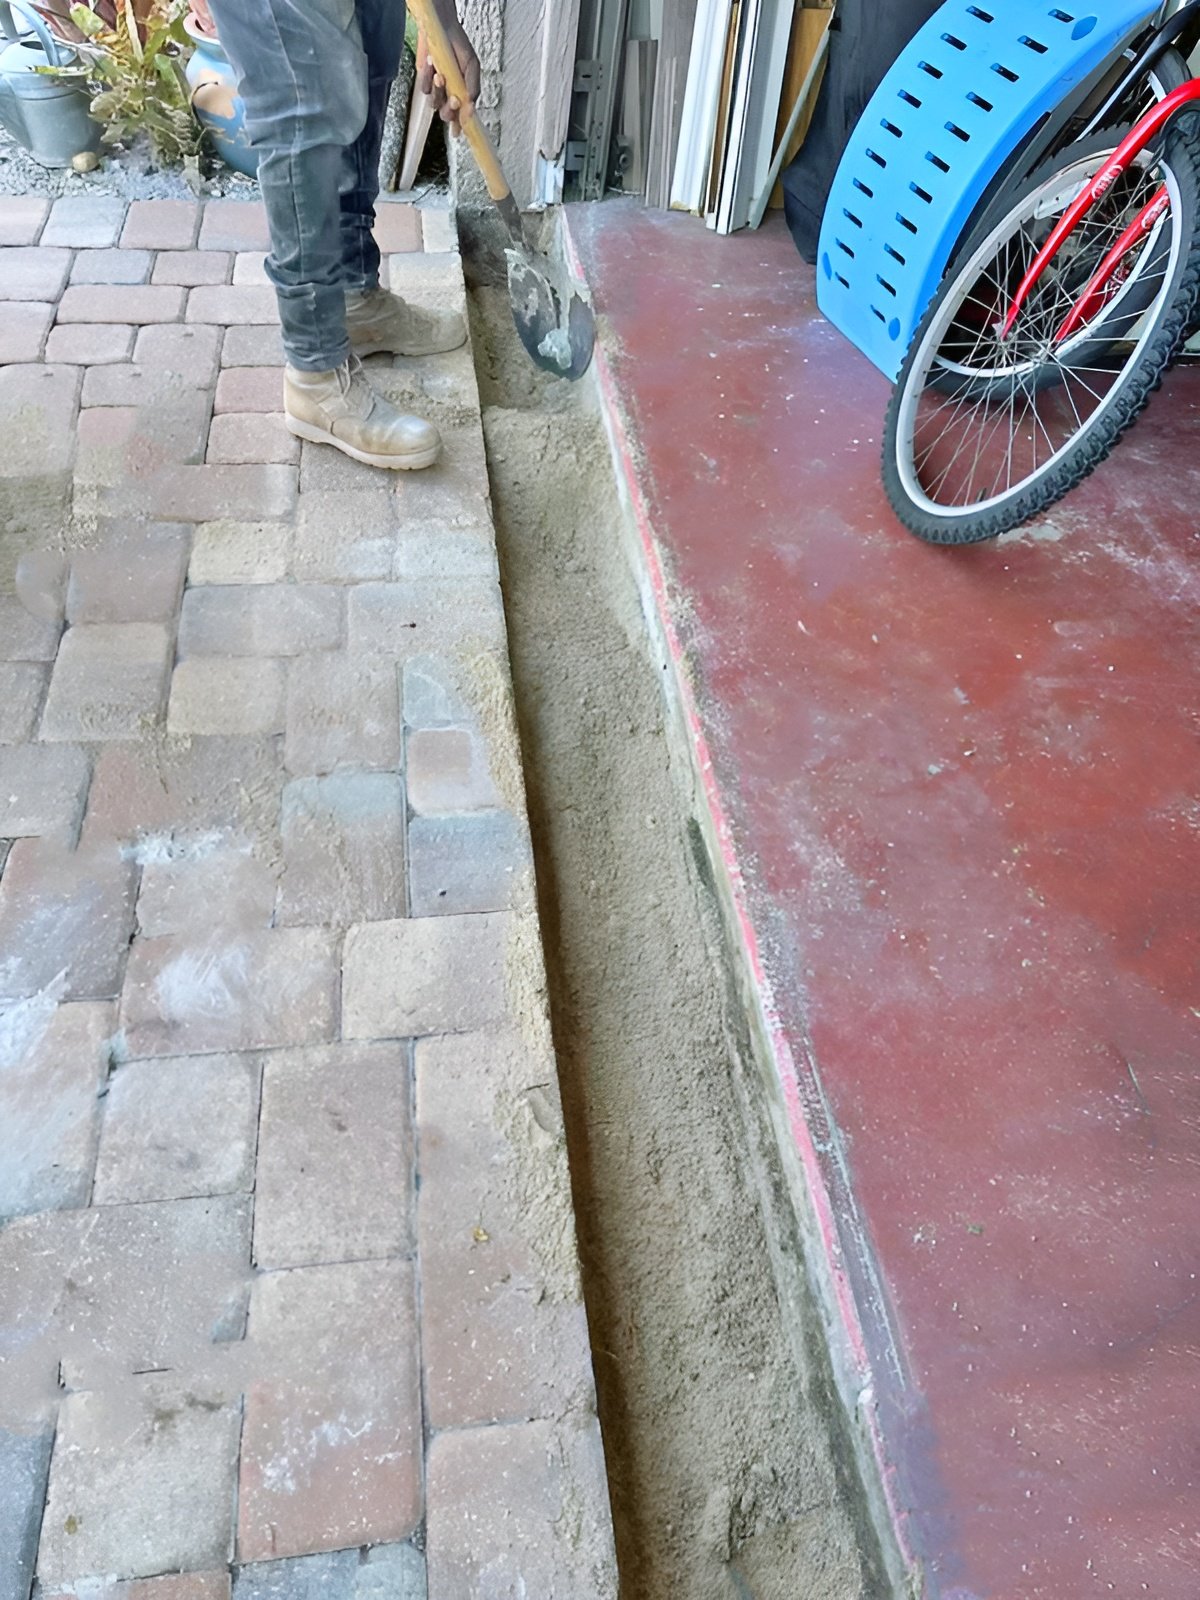
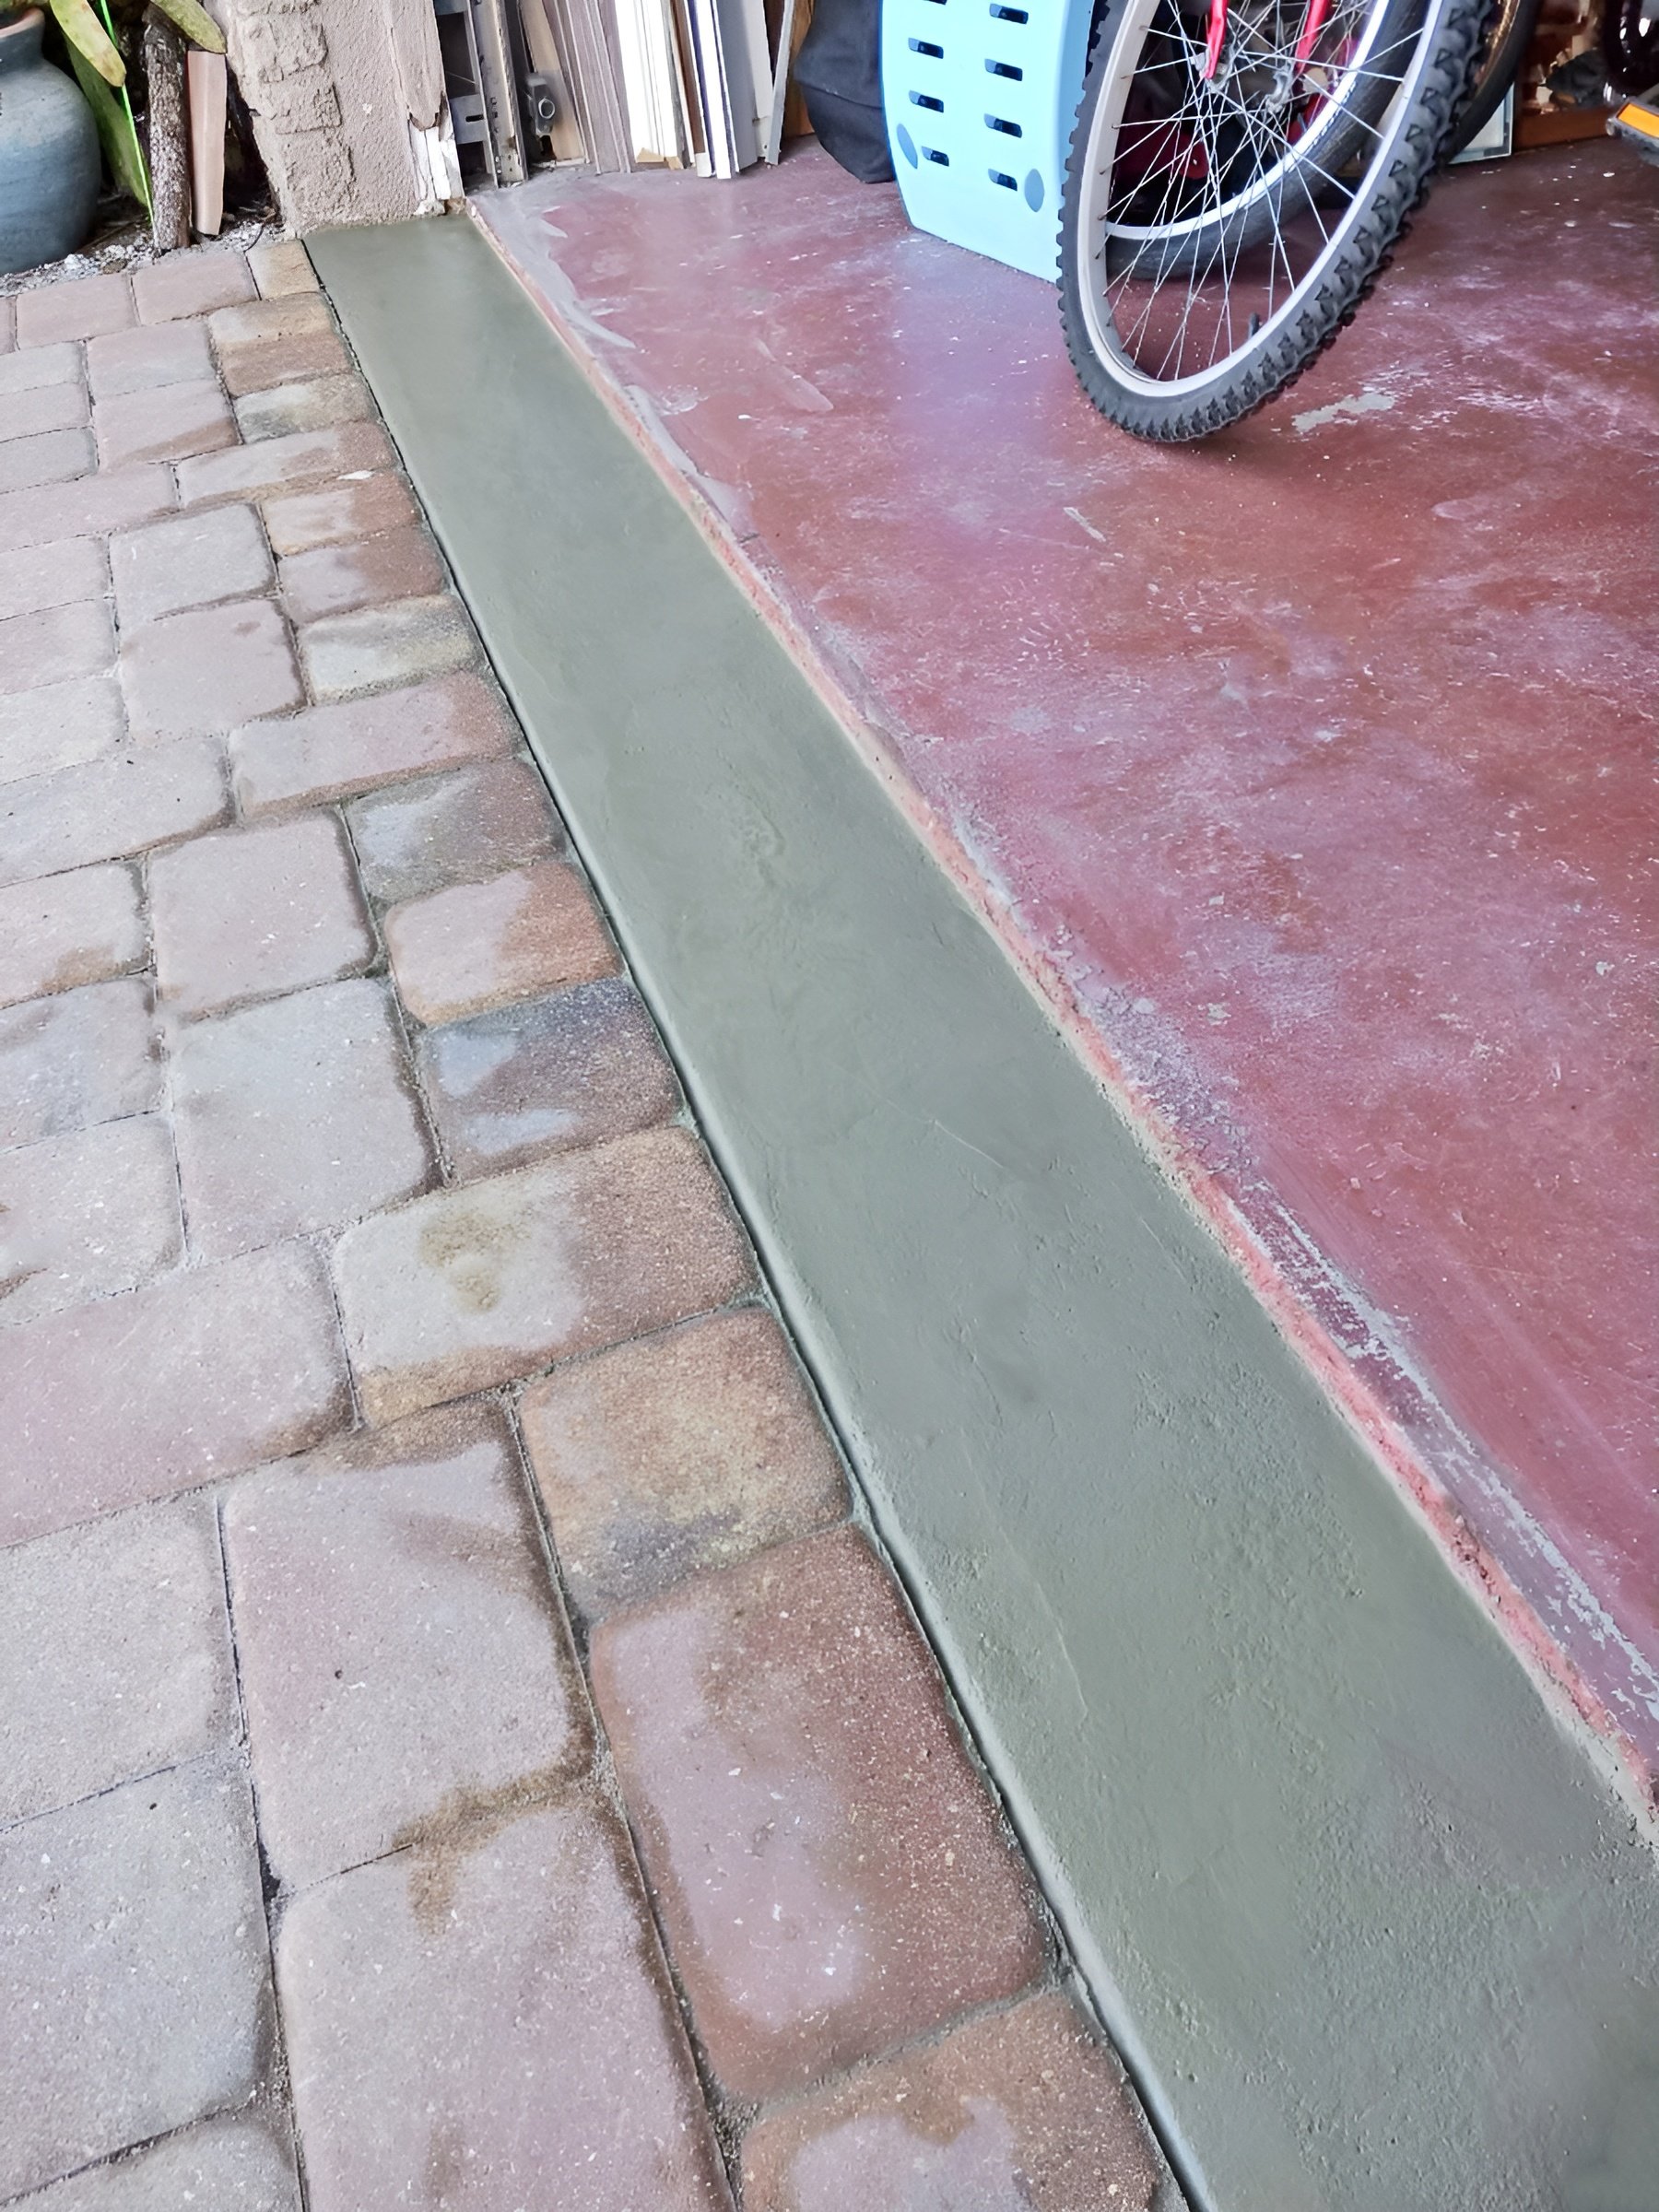
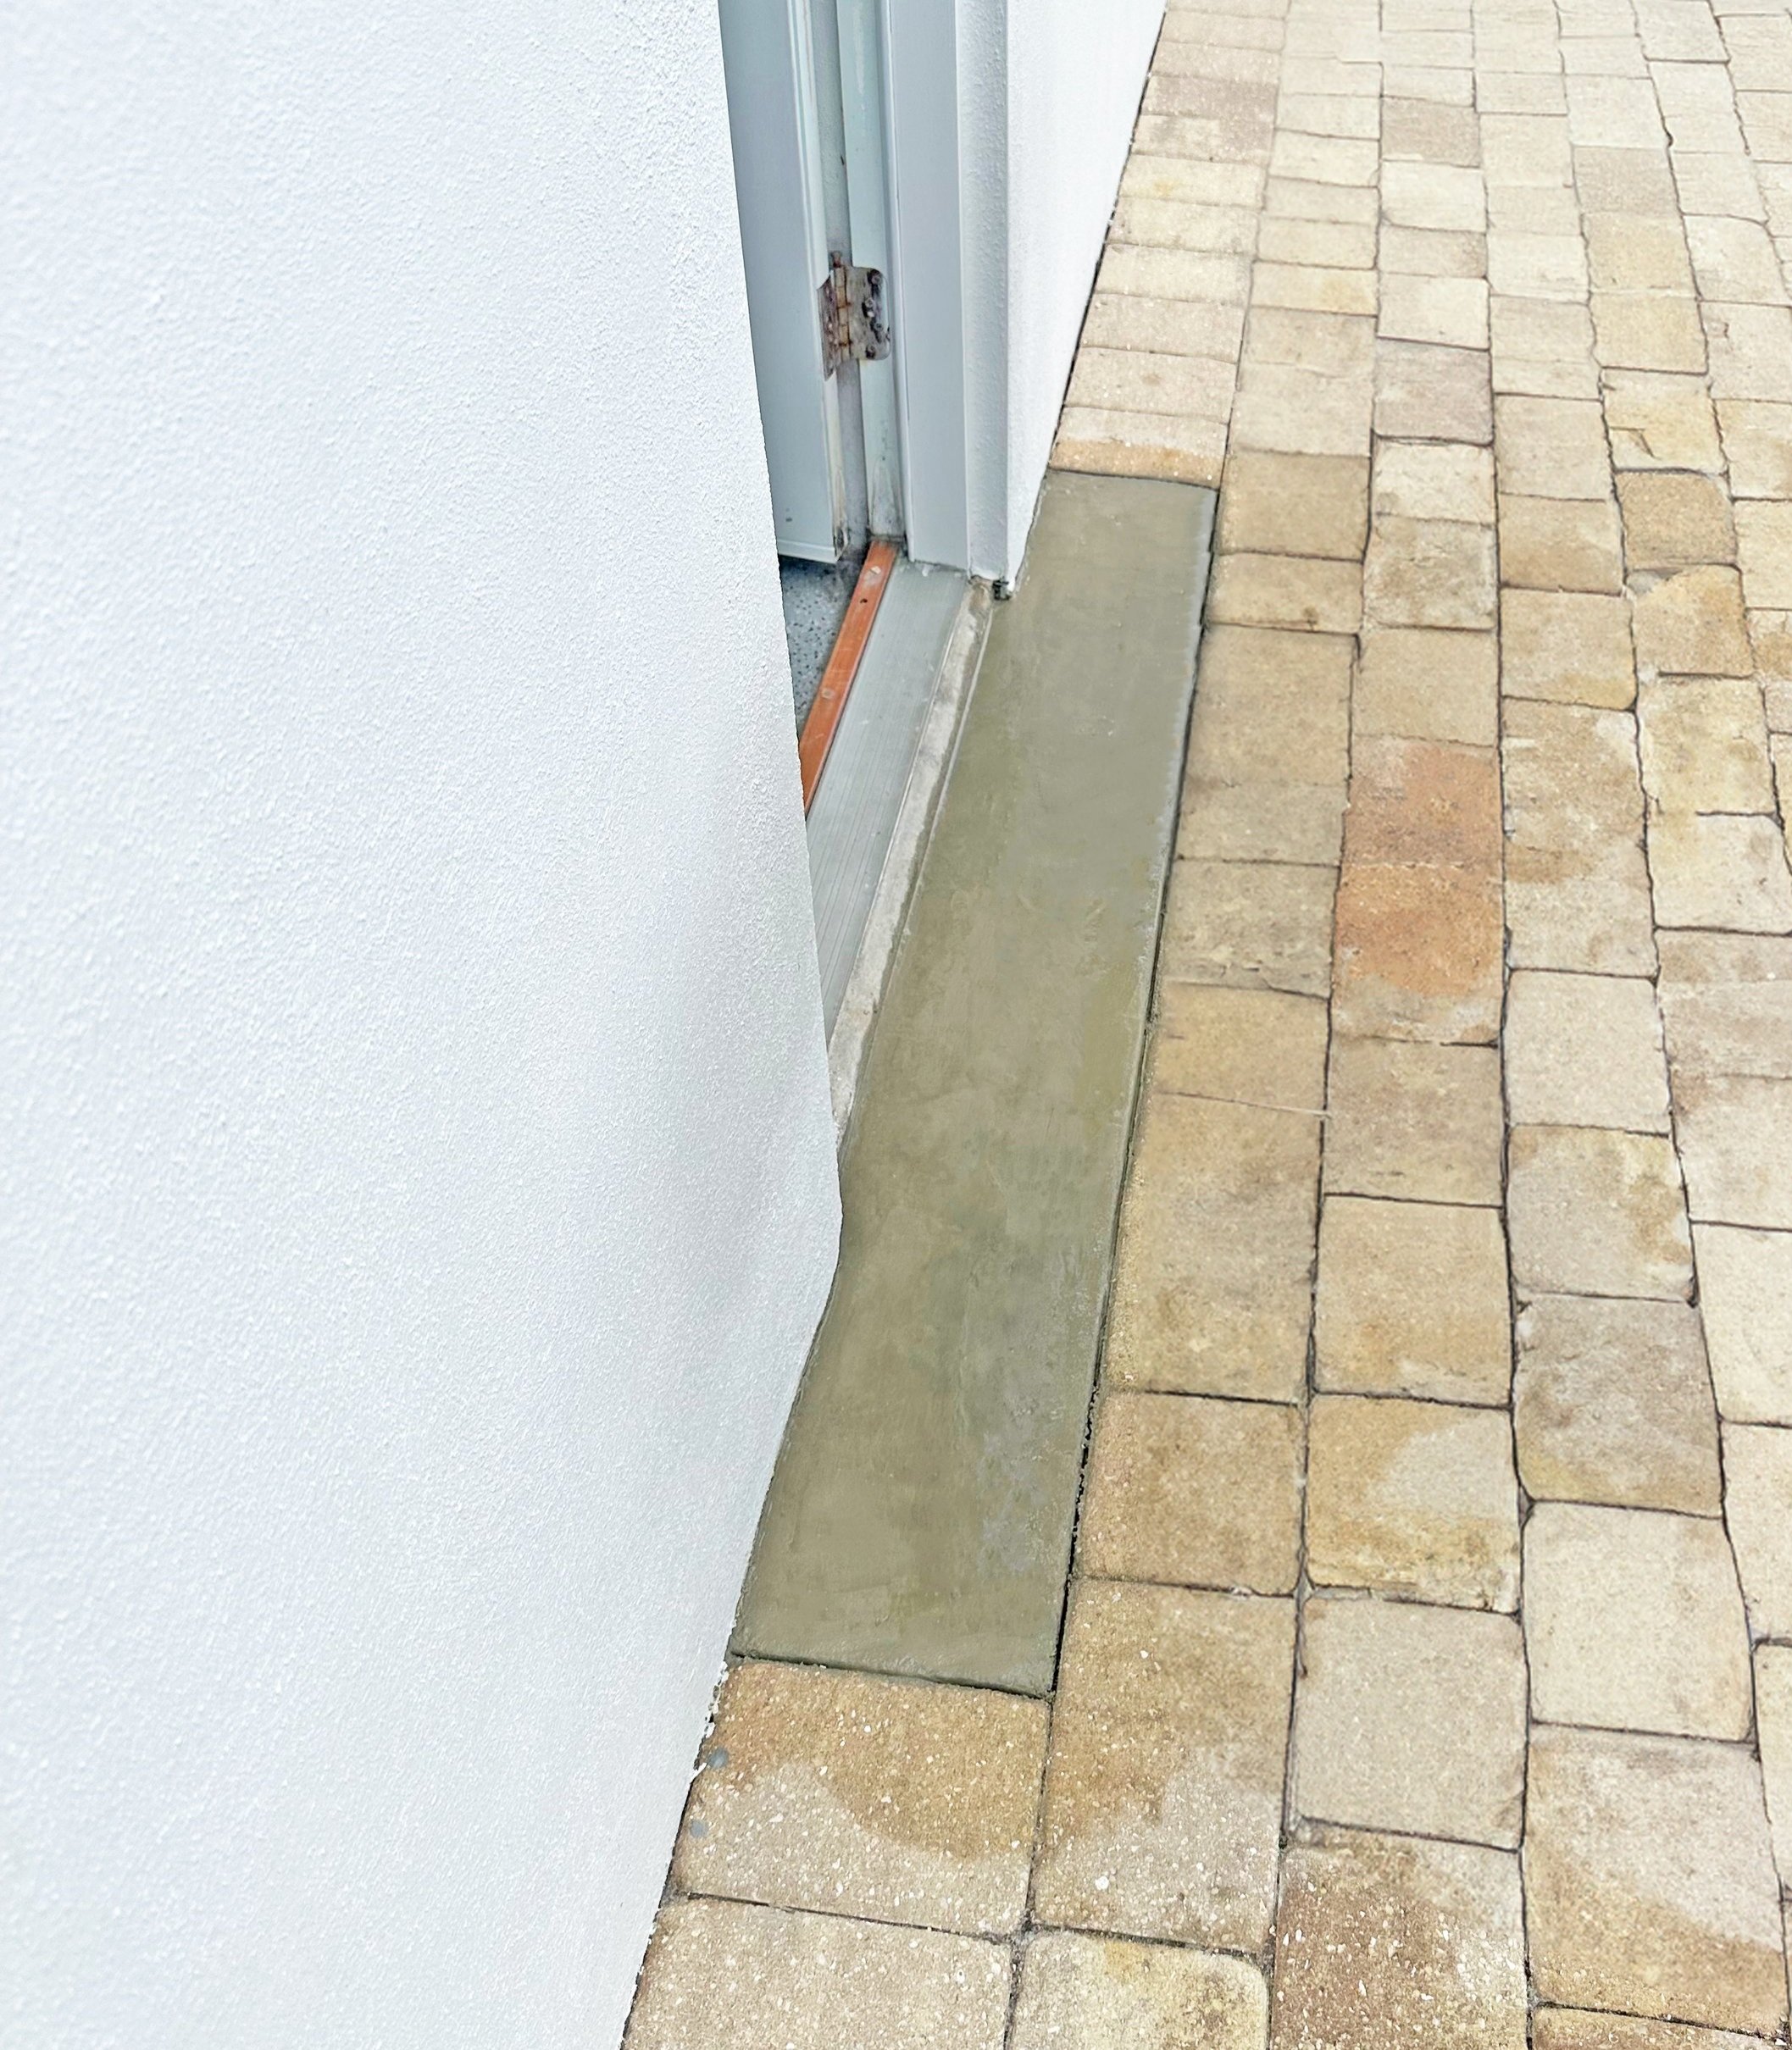
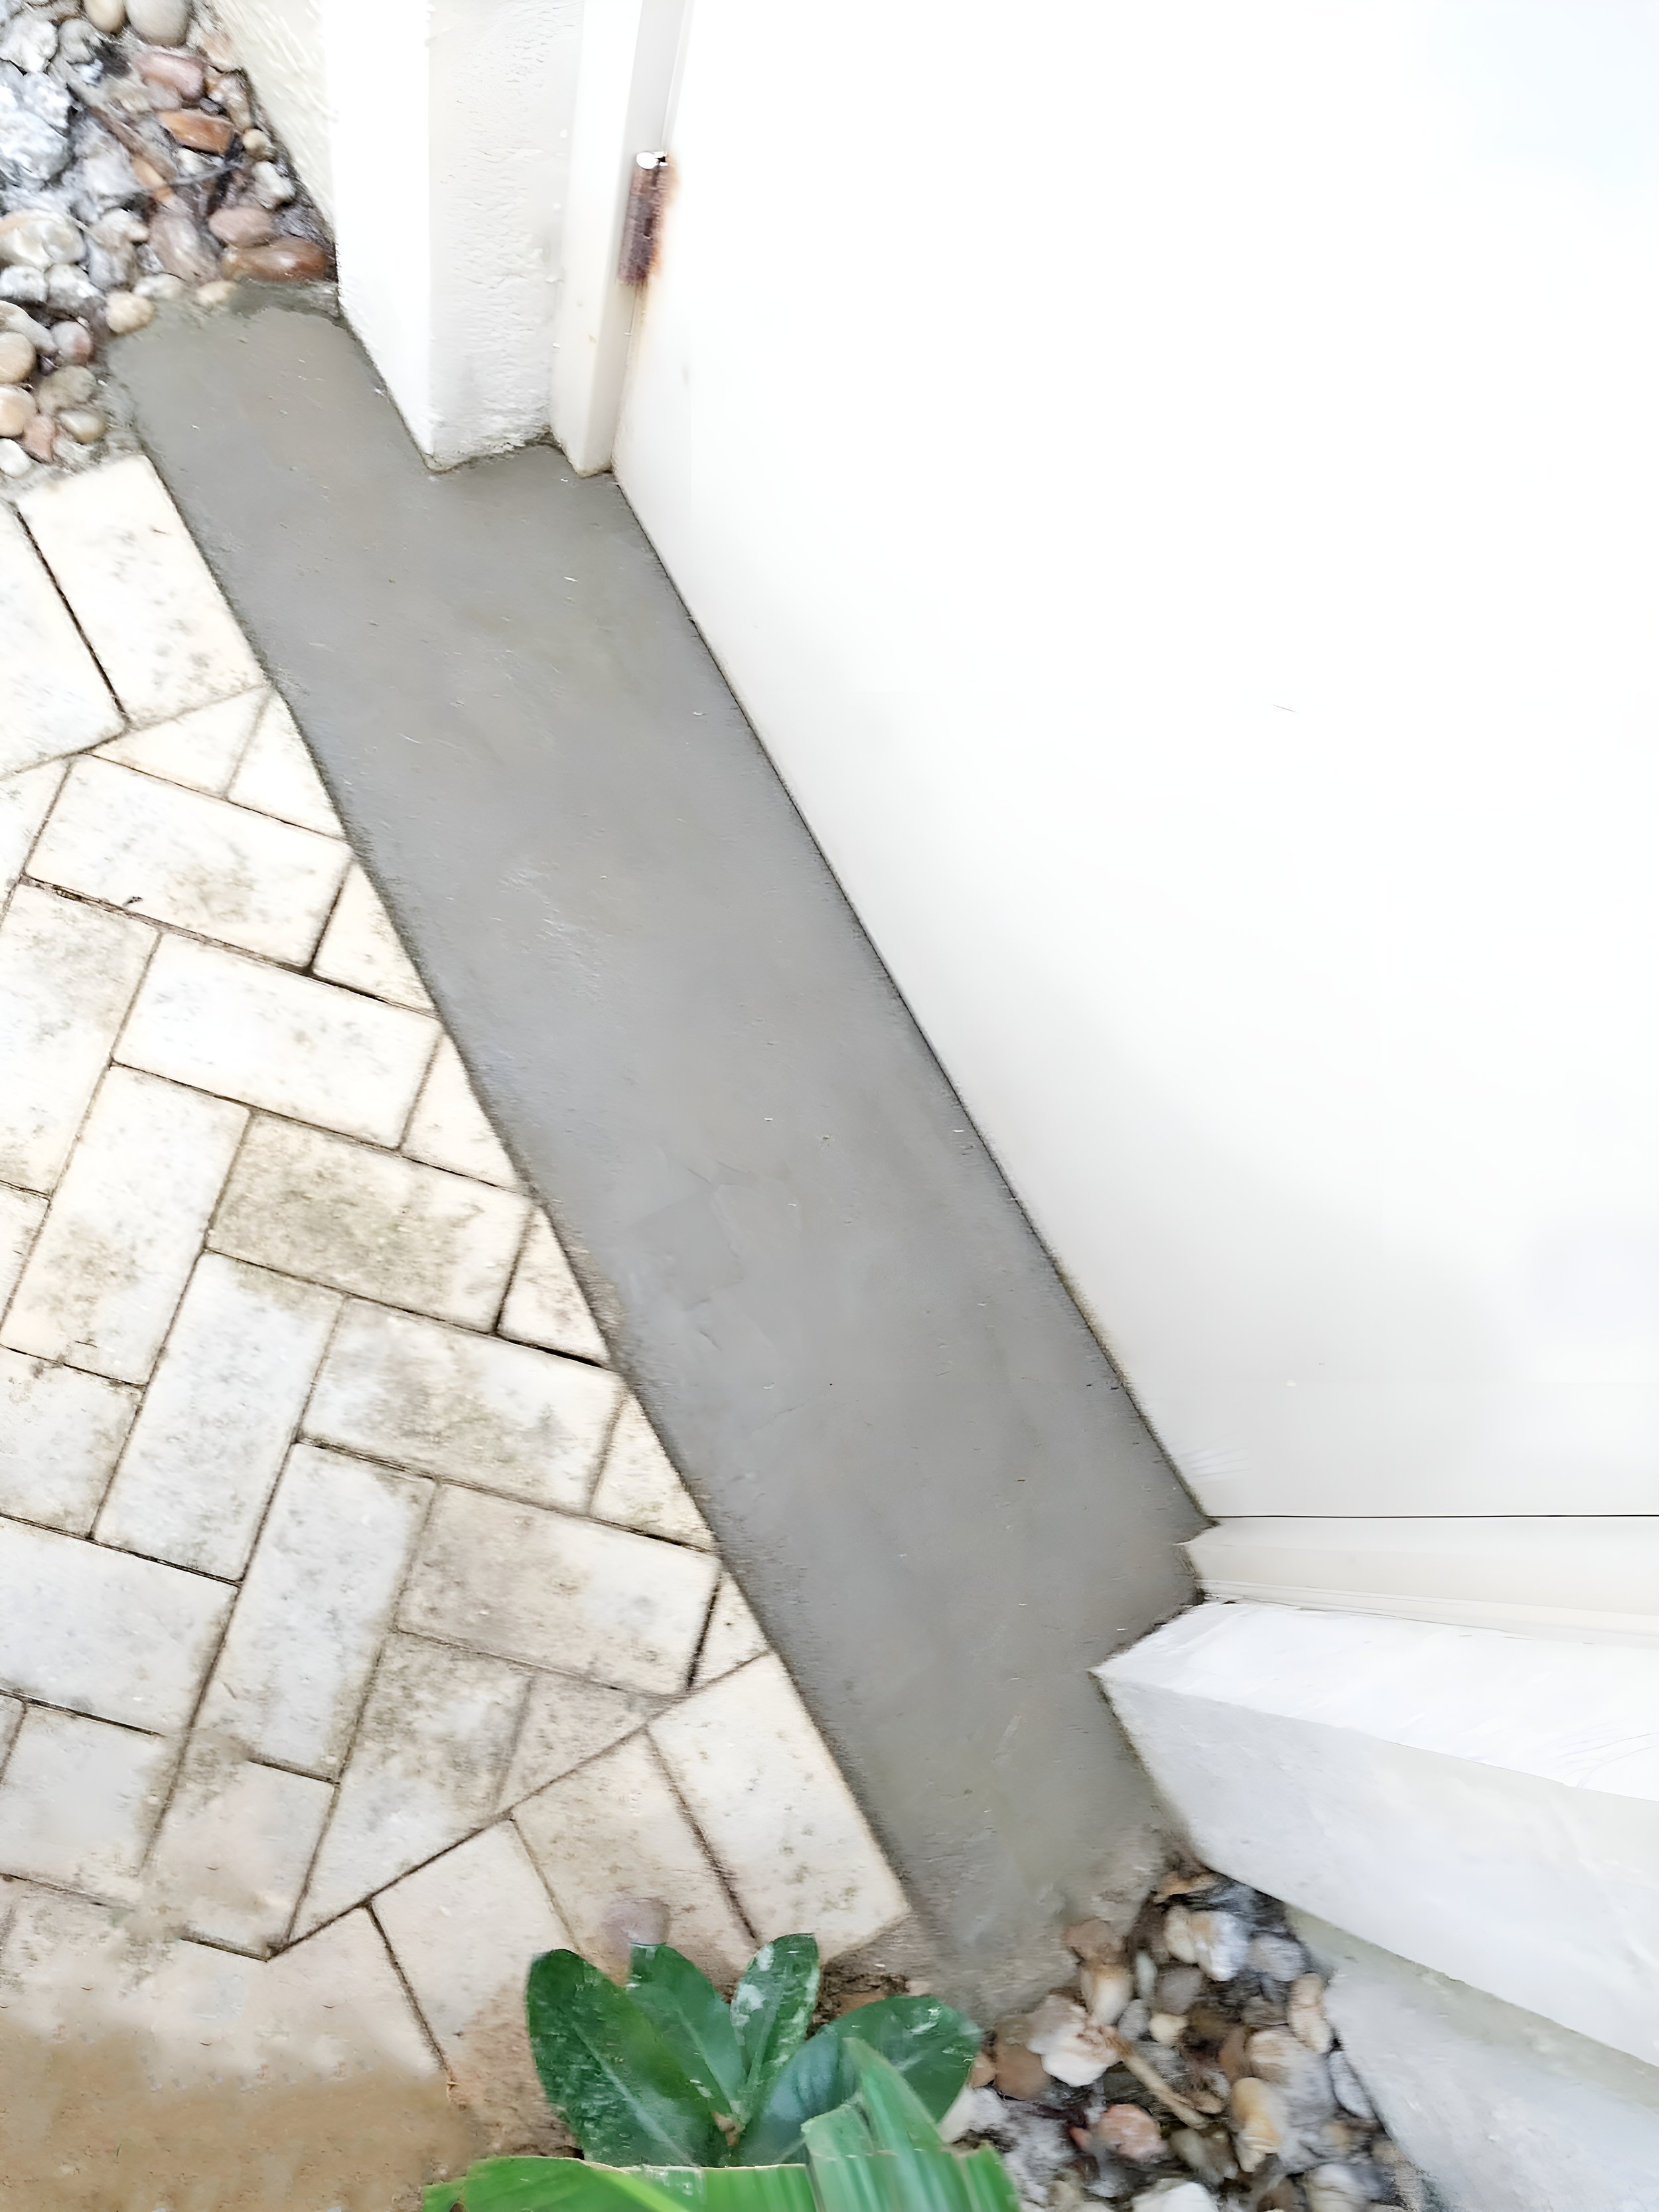
Ground should be smooth. The smoother the surface on which the plank will be sealed, the better a seal you will get.
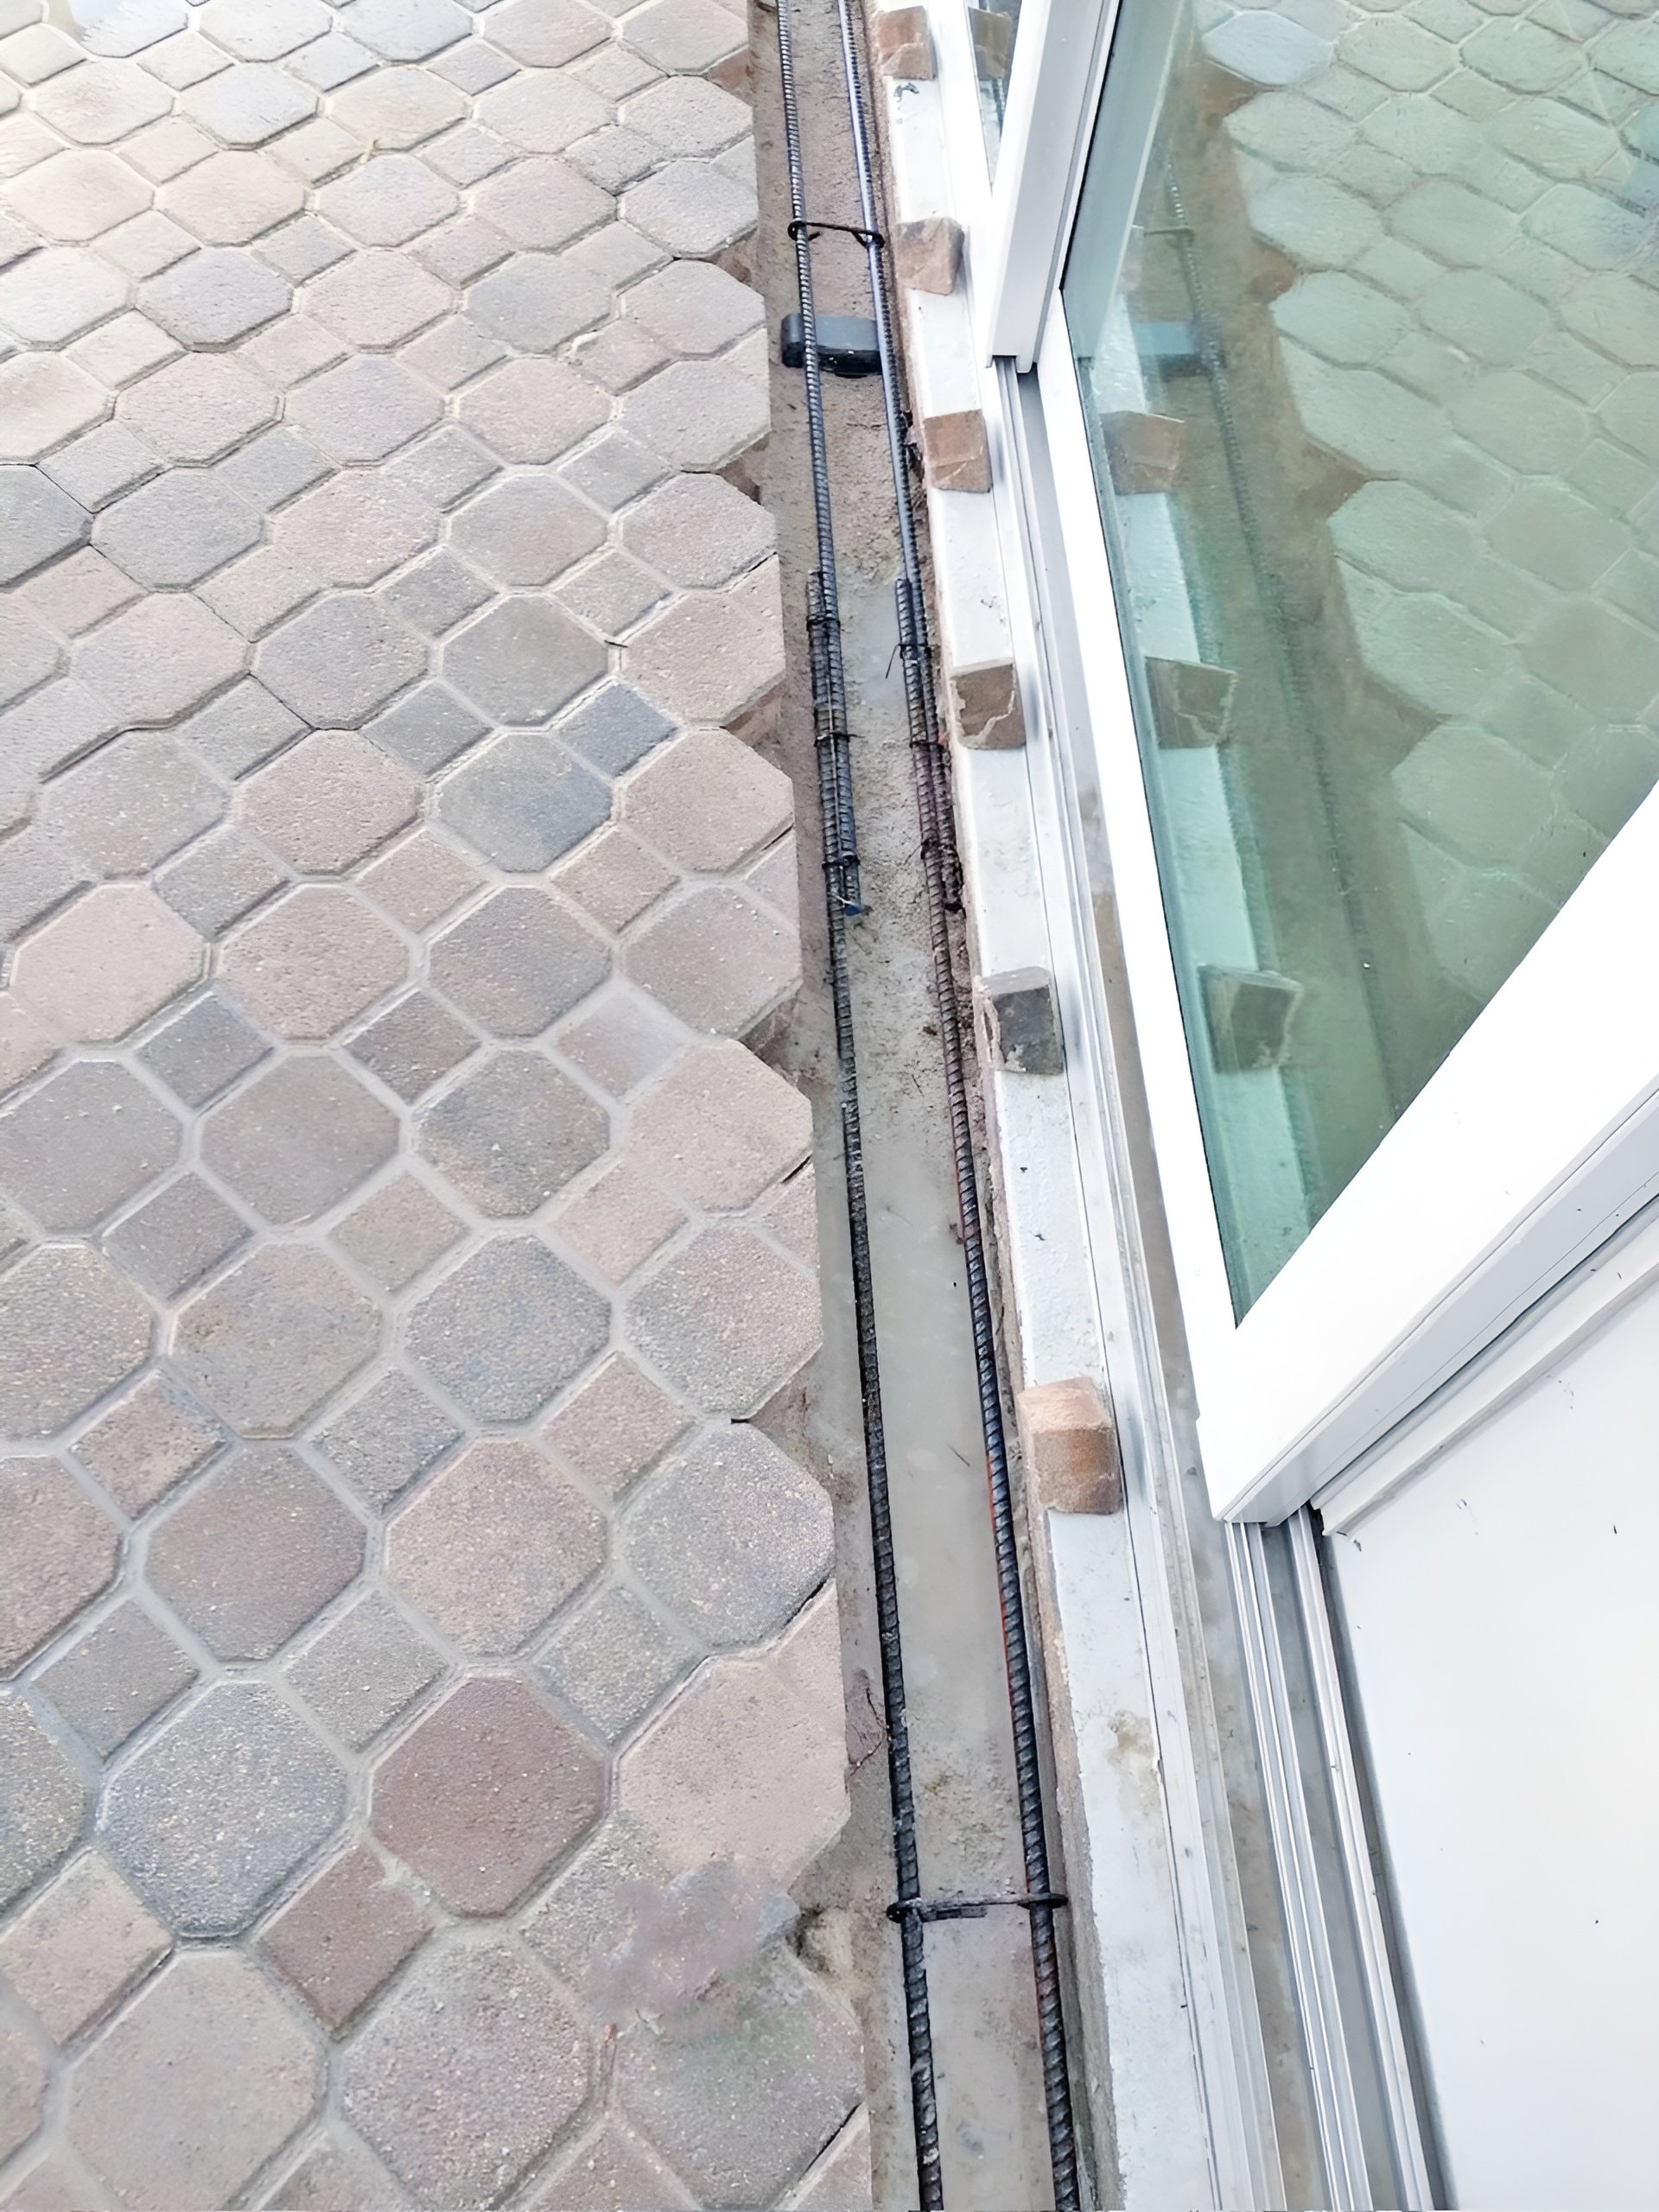
Pavers will allow water to seep between the seams and underneath.
Gravel is not a suitable surface to seal against.
Fill, repair and smooth any cracks in existing footers.
Add a narrow concrete footer for all openings that are unable to seal properly, such as gravel, pavers, grass or dirt.
Check Sides of Openings
The walls adjacent to the openings and the threshold where the posts will be installed, should be plum straight, and smooth.
Brick and cinder block mortar lines must be filled and made flat with concrete or silicone to prevent leakage.
Recesses, cracks, or moldings should be filled or trimmed back to allow for a smooth and flat surface for installation.
Be sure that walls adjacent to your openings are solid and constructed of either metal, durable wood beams, brick, concrete, or mortar, so that posts can be fastened to the walls.
For installations requiting inside mounts, walls should be parallel to each other. For outside mounts, walls should be on the same plane.
Initial Installation
Choose Inside or Outside Mounting Of Posts
Depending on your specific scenario, choose in advance between inside mounting of posts and outside mounting of posts. We typically recommend inside mounting, if possible, however note that this mounting method will narrow the opening slightly (about 4 inches on either side).
Choose the best option for your opening or email us at sales@garrisonflood.com with an image of your opening and we can offer our suggestions.
*It is important to confirm that your structure can withstand the hydrostatic pressure of a flood for dry floodproofing standards. Consult with local PE (Professional Engineer).
Measuring Your Opening
Measurement for Inside Mount
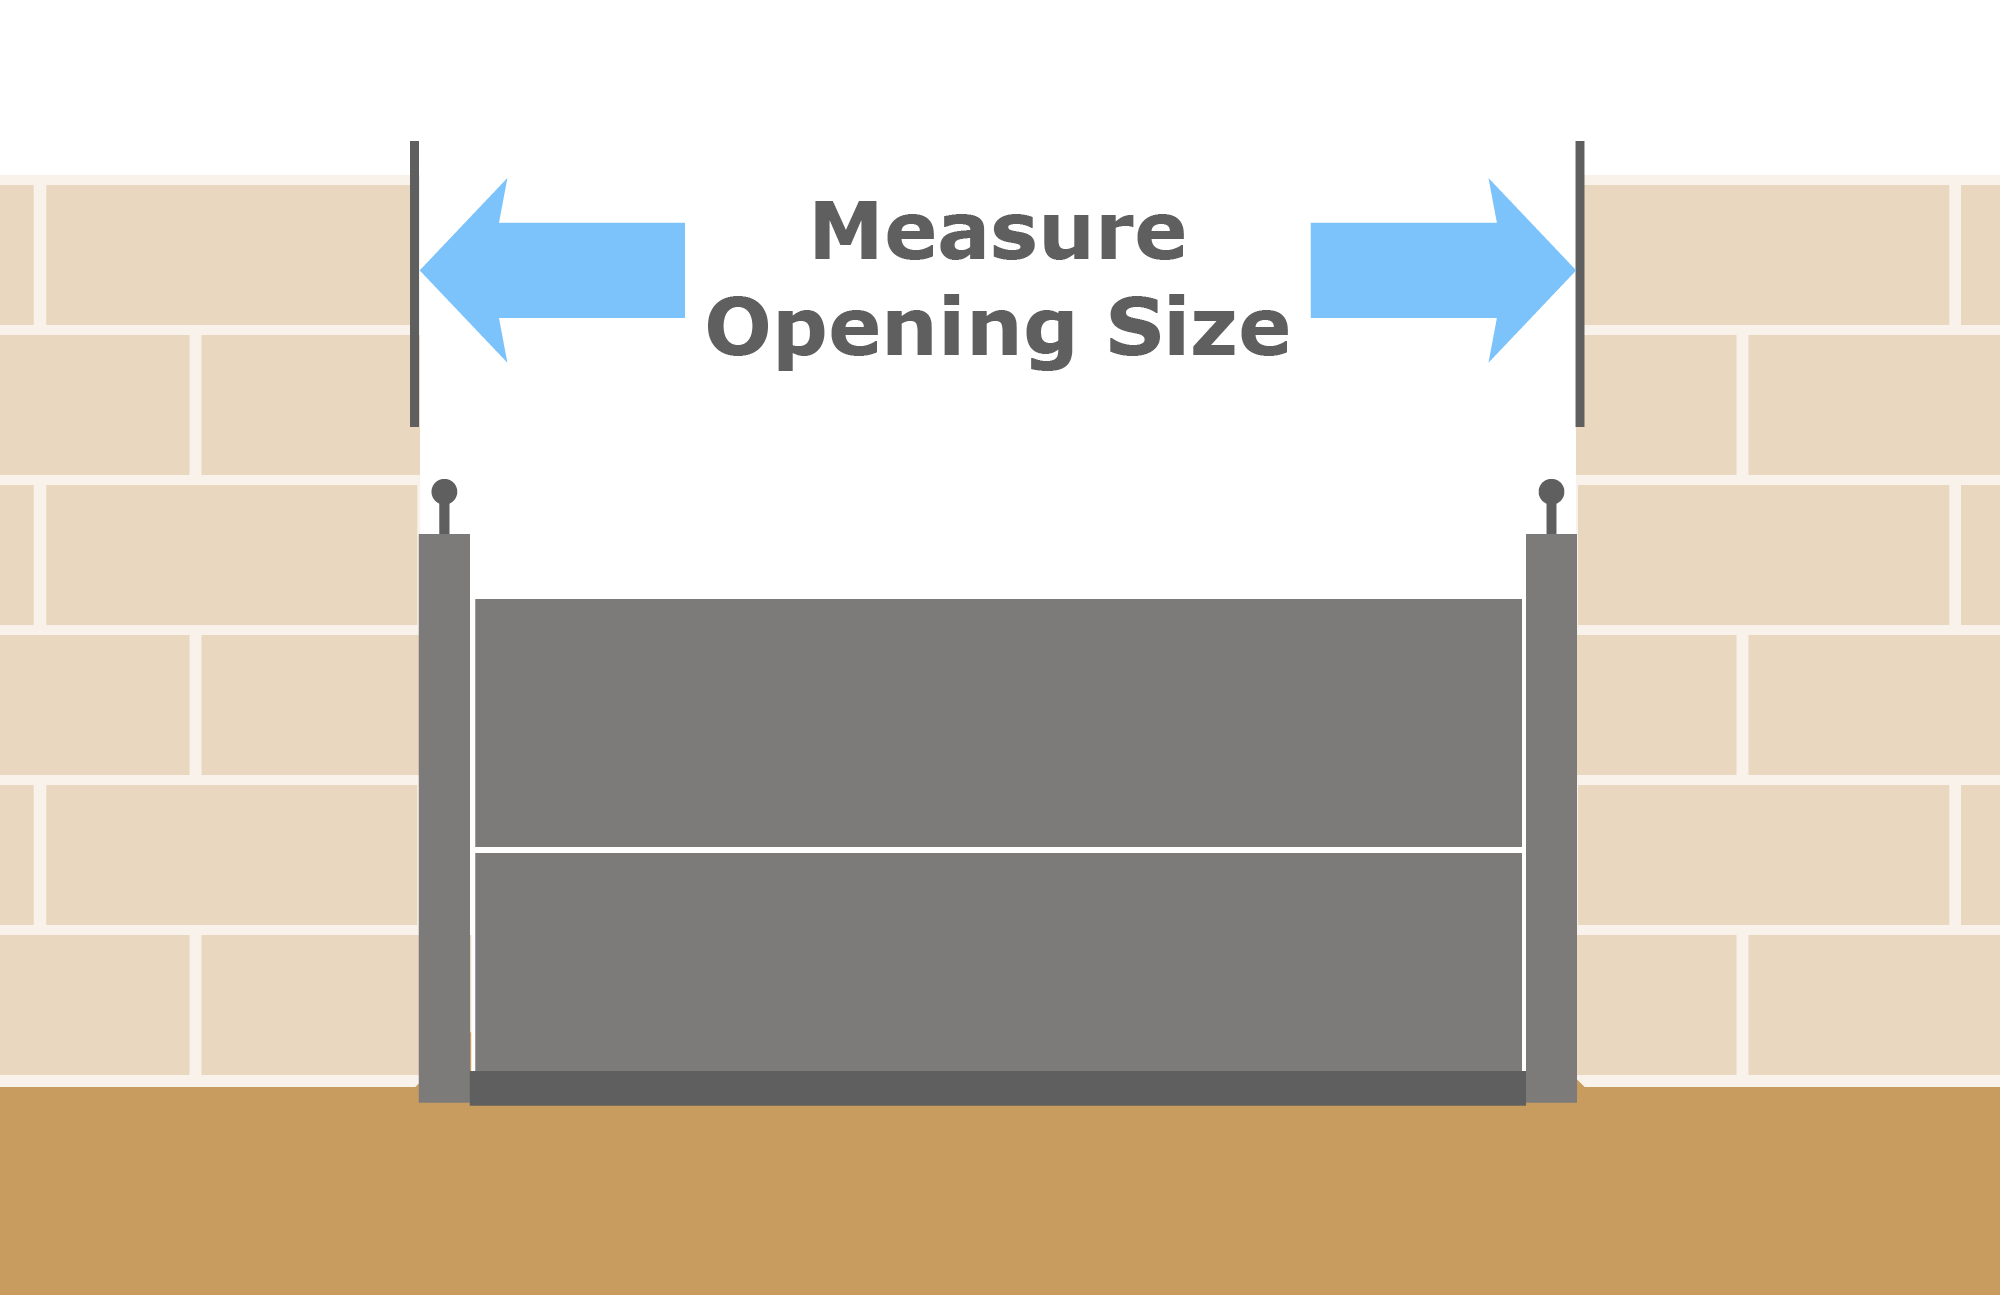
When measuring your opening for inside mounting of posts, measure the exact opening size, to the nearest 1/8”. Remember that you need enough room on either side of the opening to accommodate the posts both depth-wise and widthwise on your threshold or adjacent brick. For outward swing doors, you need to allow enough room for the door to clear the permanently installed posts. You are measuring MASONRY TO MASONRY and posts must be installed to concrete, cinderblock, or a support beam that can handle the expected hydrostatic pressure.
Note: We will calculate the necessary plank size for each opening, considering insertion of planks in the posts, so we just need measurement of the ACTUAL opening size.
Measuring for Inside Mount
Measurement for Outside Mount
When measuring the opening for outside mounted posts, measure the ACTUAL opening size. Posts will be positioned outside of the opening.
Note: We typically add a few inches of plank span on either side of the opening, but if this is not desired due to space constraints and you wish posts to be mounted just on either side of the opening (no extra space), please let us know.
Measuring For Outside Mount
Measuring For Mounting Posts Outside of a Door Frame
When door frames are not large enough to support Posts, consider mounting posts using the outside mounting method. Measurement should be taken brick to brick, outside of the door frame.
If the door frame is protruding beyond the wall surface, it is important that the planks can clear the doorframe. You need just over 19mm of clearance for the planks to be able to be slotted into the posts and tightened down. The planks will span post-to-post over the protruding door frame.
Note: For outward swing doors, consider mounting the posts on the inside of your door, if the side walls adjacent to the door are concrete, cinderblock or brick. This will allow you to both have protection and be able to swing open your door from the inside.
Measure for Placement of Barrier Outside Door Frame, Inside Opening
Support Post Installation
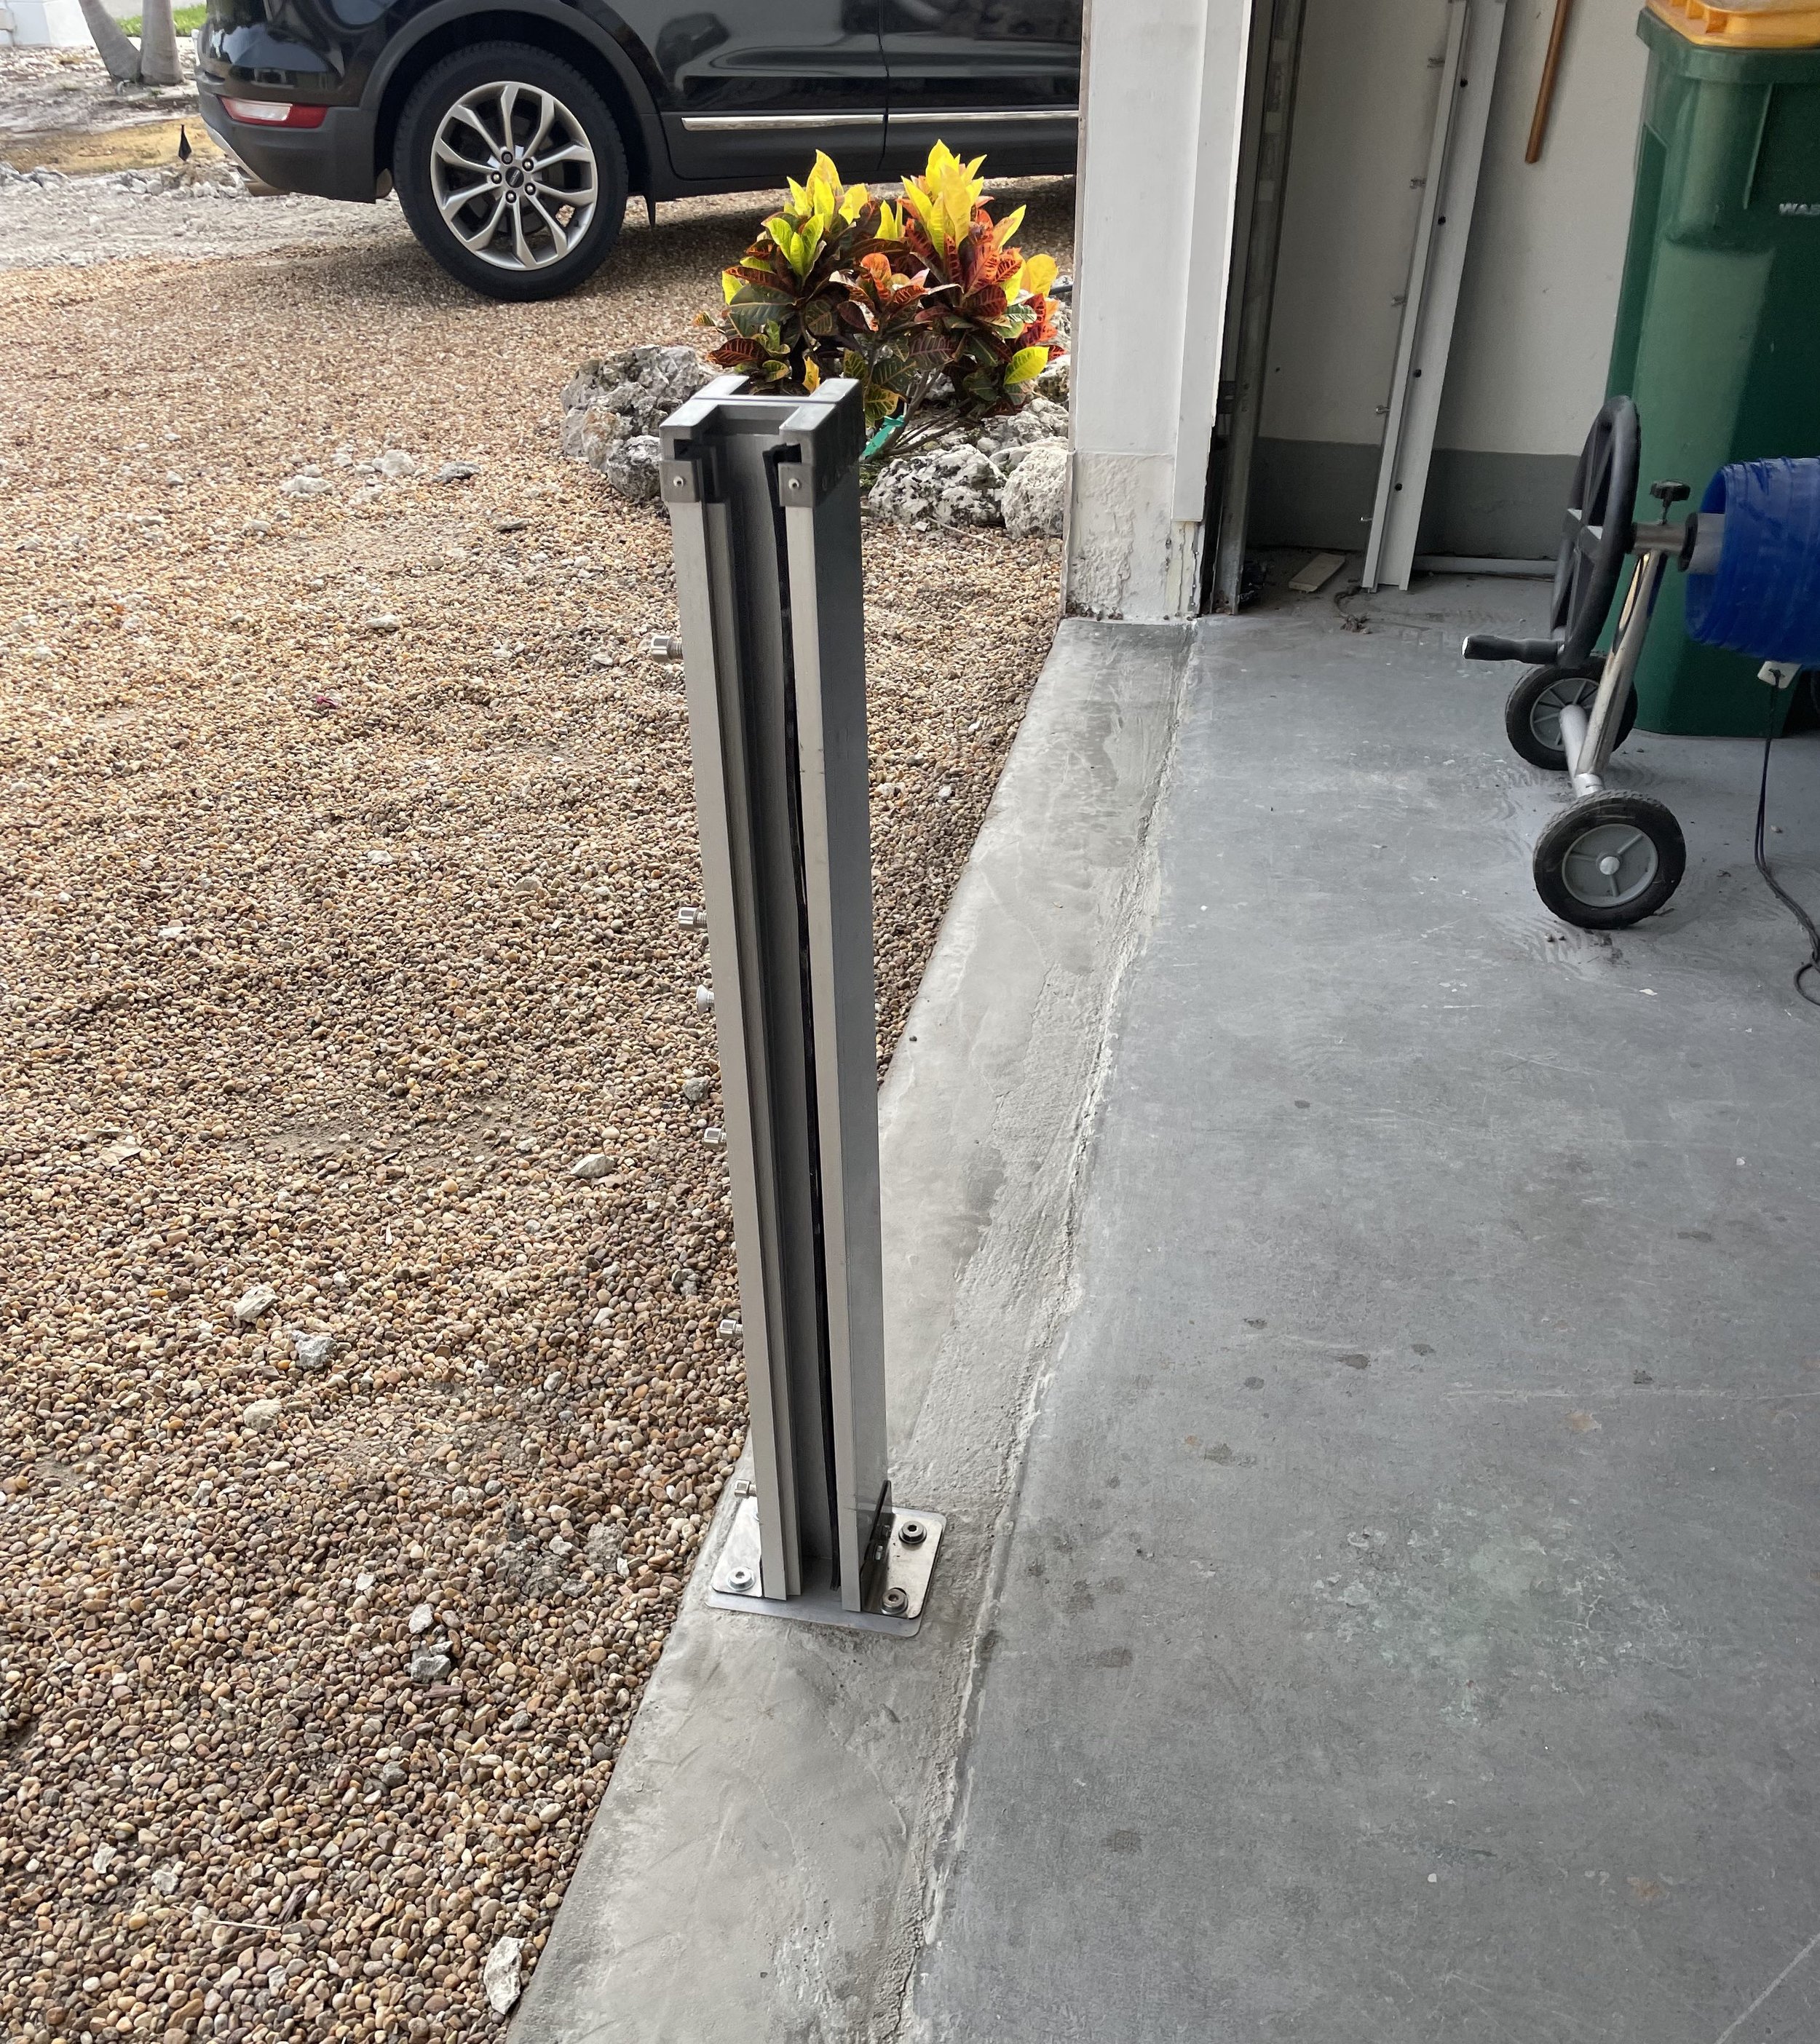
Installing Inside Mount Posts
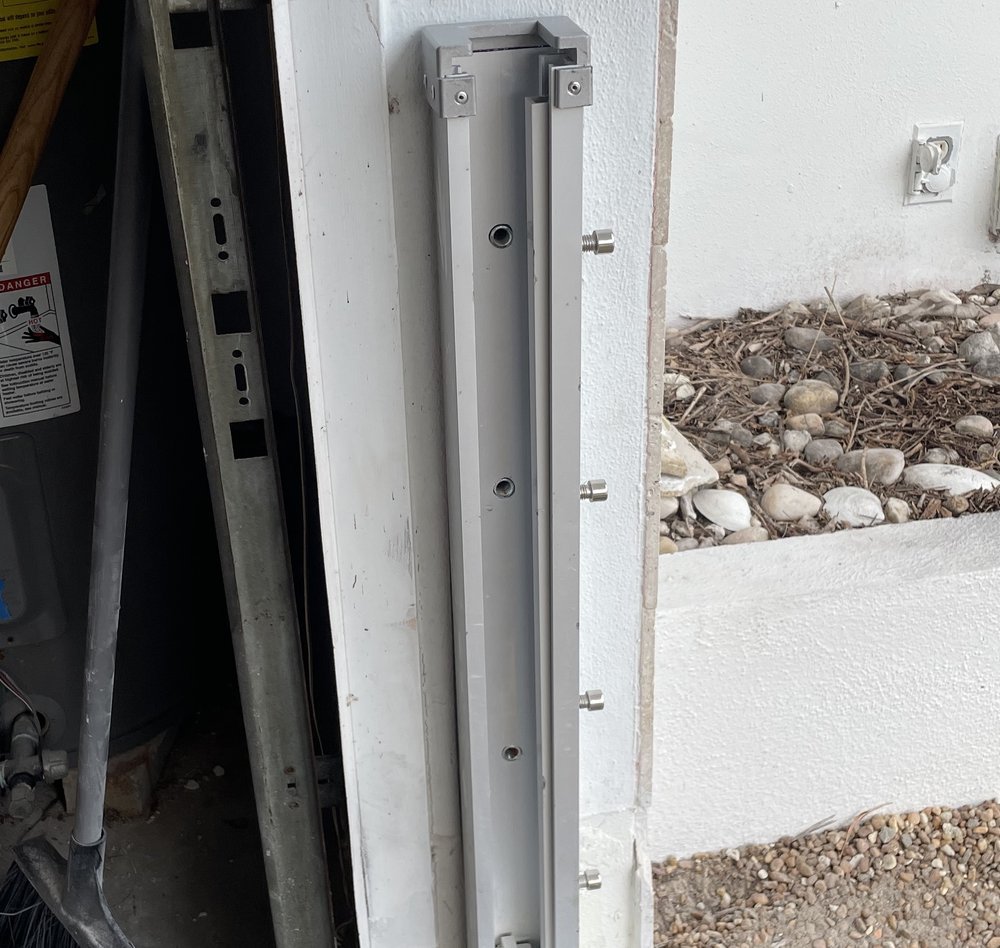
Align posts, so that the outside neoprene seal is positioned between the aluminum post and the opening frame. The posts should be positioned such that the plank tightening bolts are facing outwards, towards the water. It is also possible to install the posts with the tightening bolts facing towards the inside of the opening (dry side), as long as you ensure that there is enough clearance to screw down the plank tightening bolts from the inside.
Drilling Mounting Holes
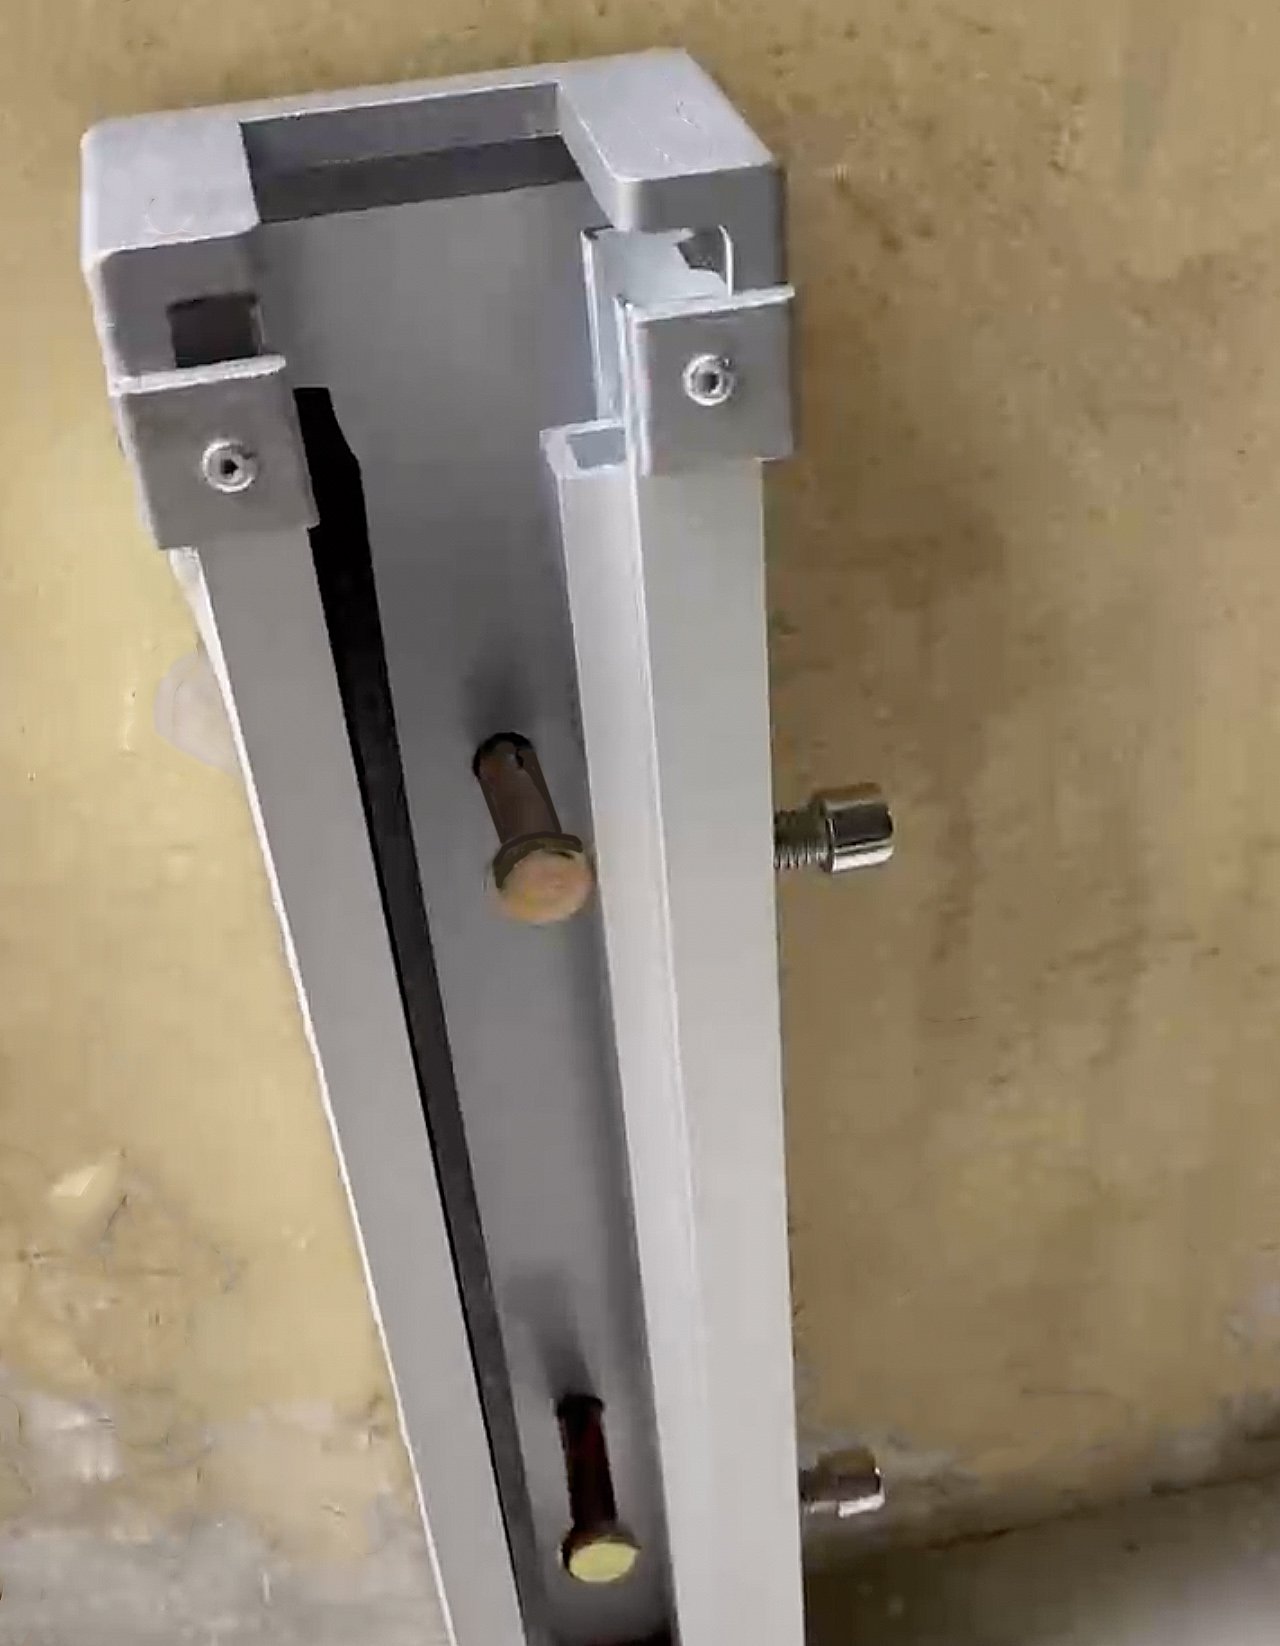
Use a hammer drill to drill holes through the pre-drilled guide hole in the post and into the wall or frame to which is will be mounted. The expansion bolts provided are M12 bolt size (0.472"), so we recommend using a 12mm drill bit for hole drilling.
Expansion Bolts
We supply expansion bolts with every order and if you decide to use the included bolts, you will need an 12mm drill bit to drill the hole for the expansion bolt. Insert the masonry expansion sleeve and mounting bolts into newly drilled receiver holes and tighten down the bolts using a ratchet to secure in place.
Post should anchored to cinderblock, masonry or concrete. If your wall is of questionable quality, such as cinderblock or old bricks, you may want to purchase double expansion anchors to use in place of the included expansion bolts. You may also wish to initially drill a smaller receiver hole, into which you place the bolt, to ensure a snug fit. When installing posts on hollow walls, you will need to purchase butterfly bolts that will expand in the opening and provide a more secure hold.
Urethane Silicone
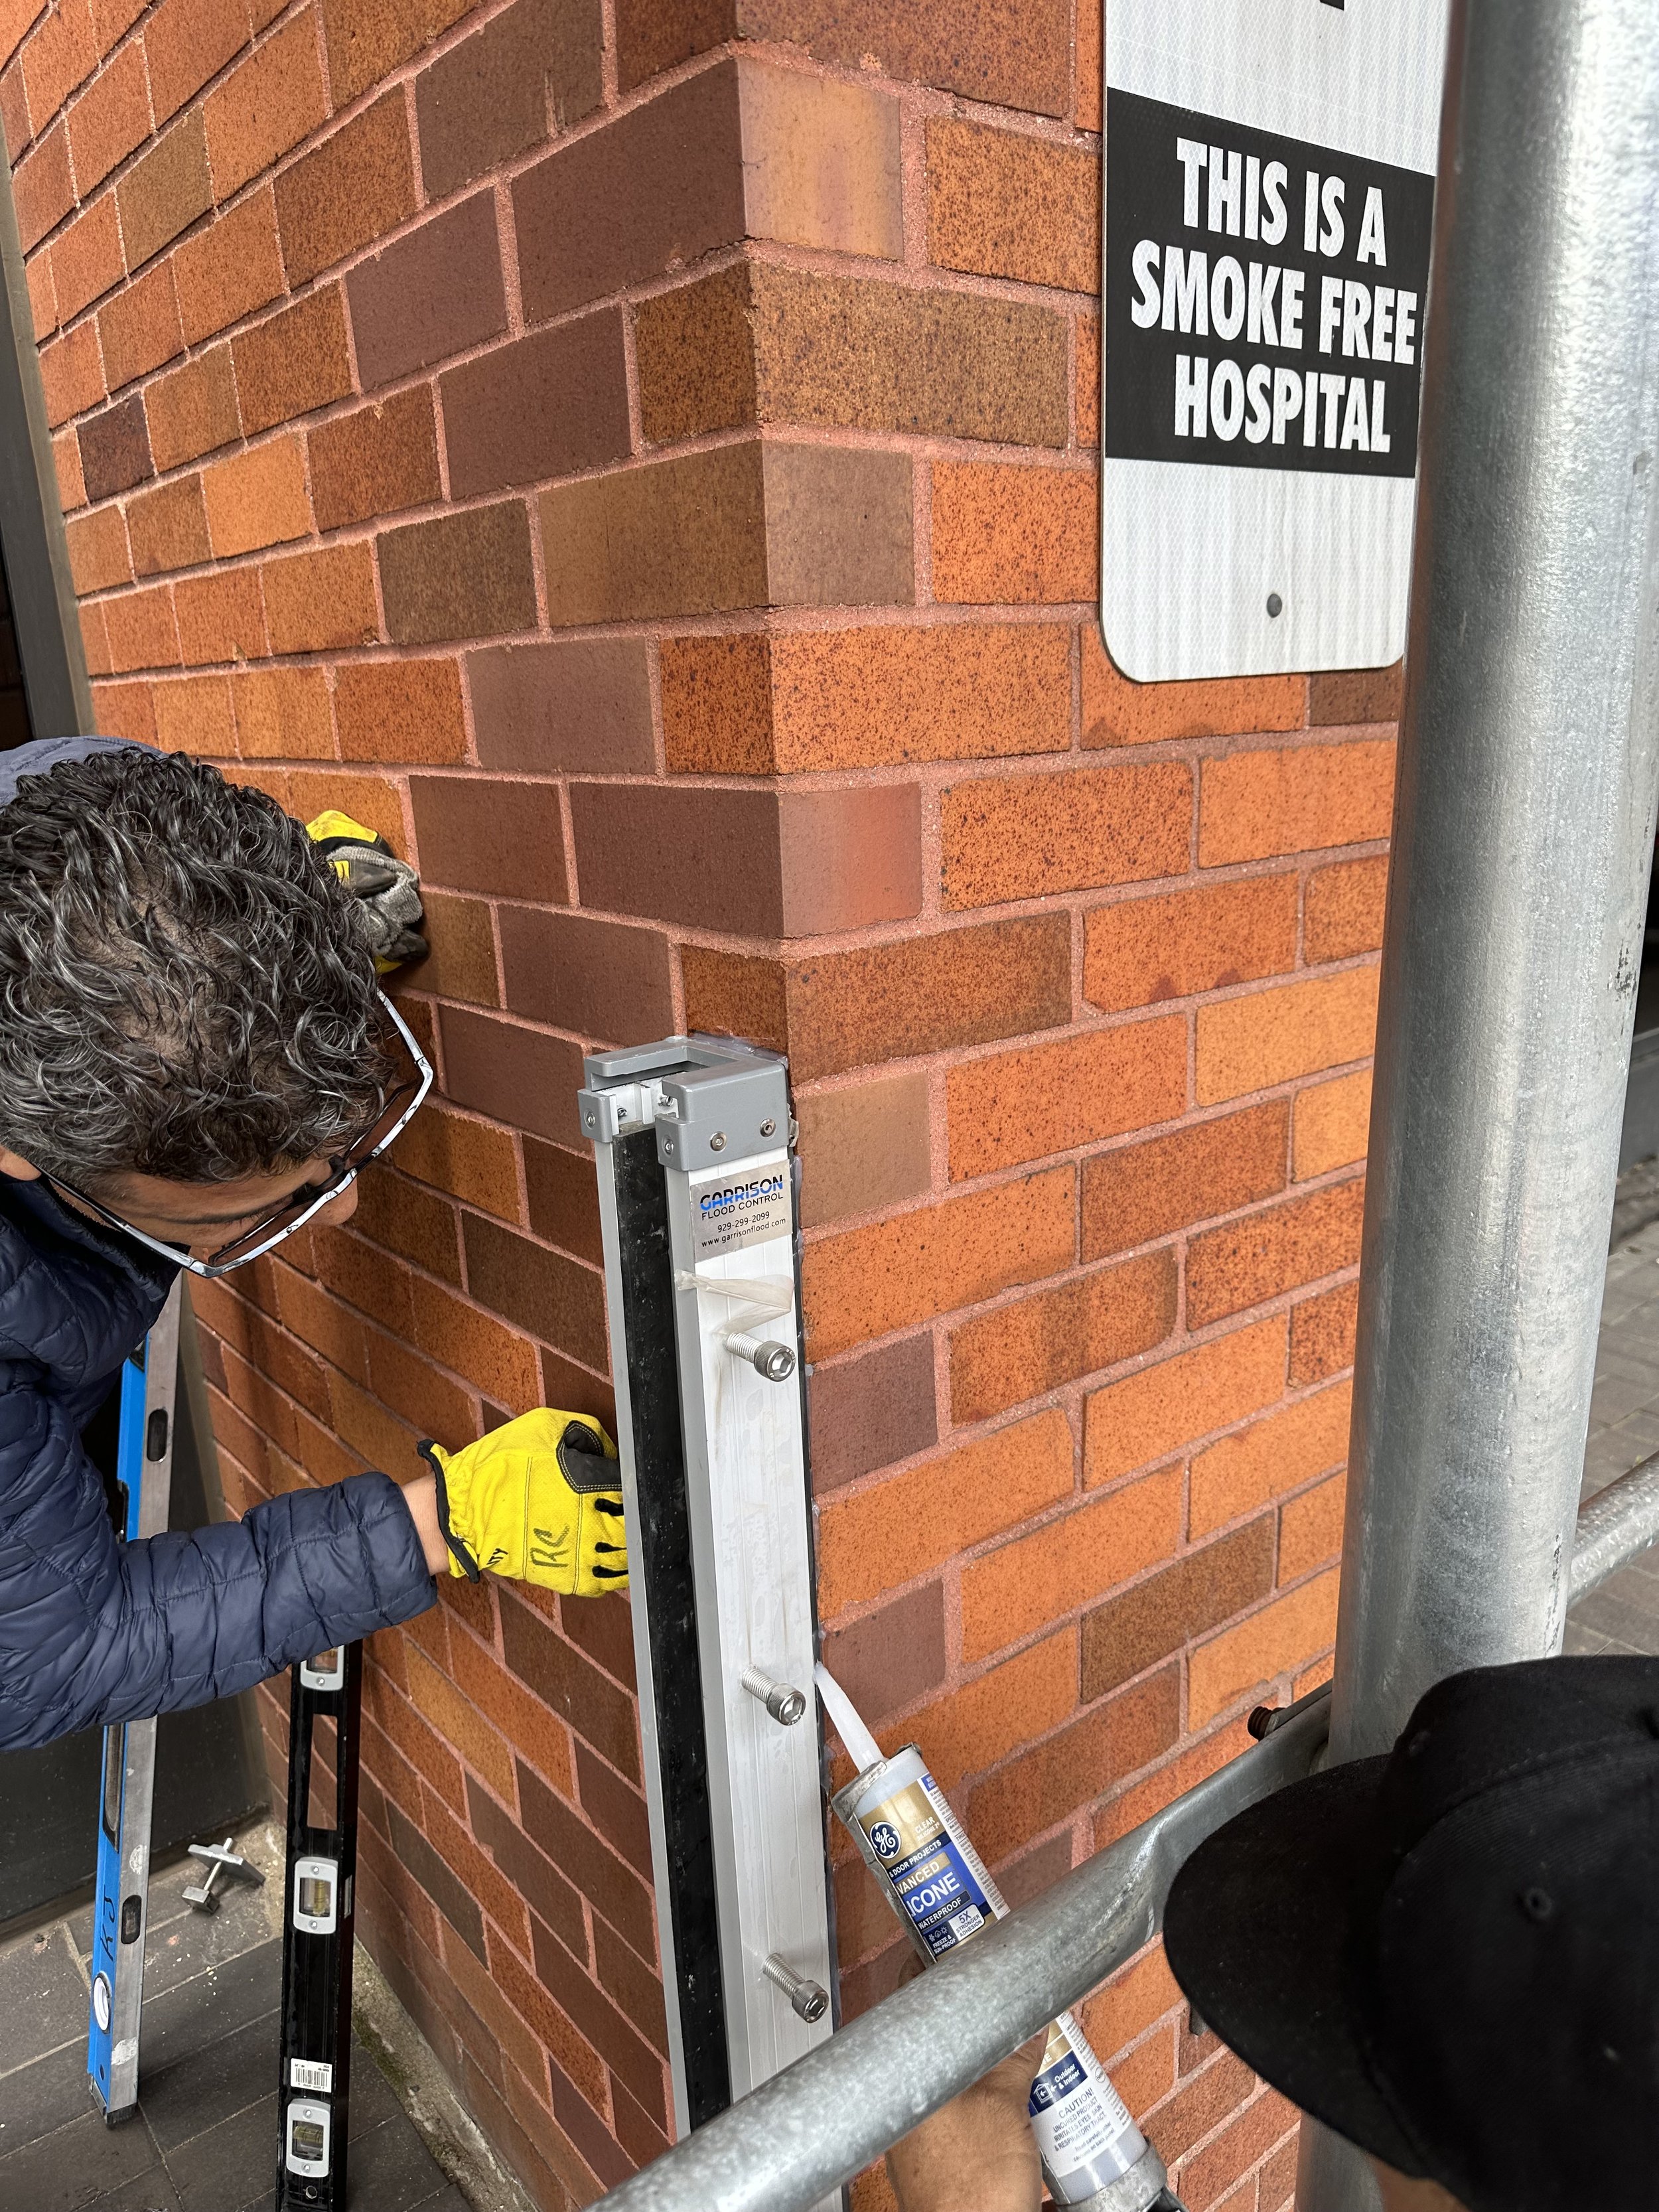
For added leak protection, we recommend adding urethane silicone on the water side, at the base of the post and along the seam lines between the flood barrier post and the wall.
Add silicone along the neoprene on the post in advance of placement on the wall, then pressing the post onto the wall to help ensure a good seal. Be sure to carefully seal all sides of the bottom of the post, so that a good seal is created with the ground below. You can also insert silicone to fill any holes or gaps in the brick, mortar or concrete.
Applying Silicone to the Post’s Neoprene Backing and Along Seams to Enhance the Seal
Installing Outside Mount Post
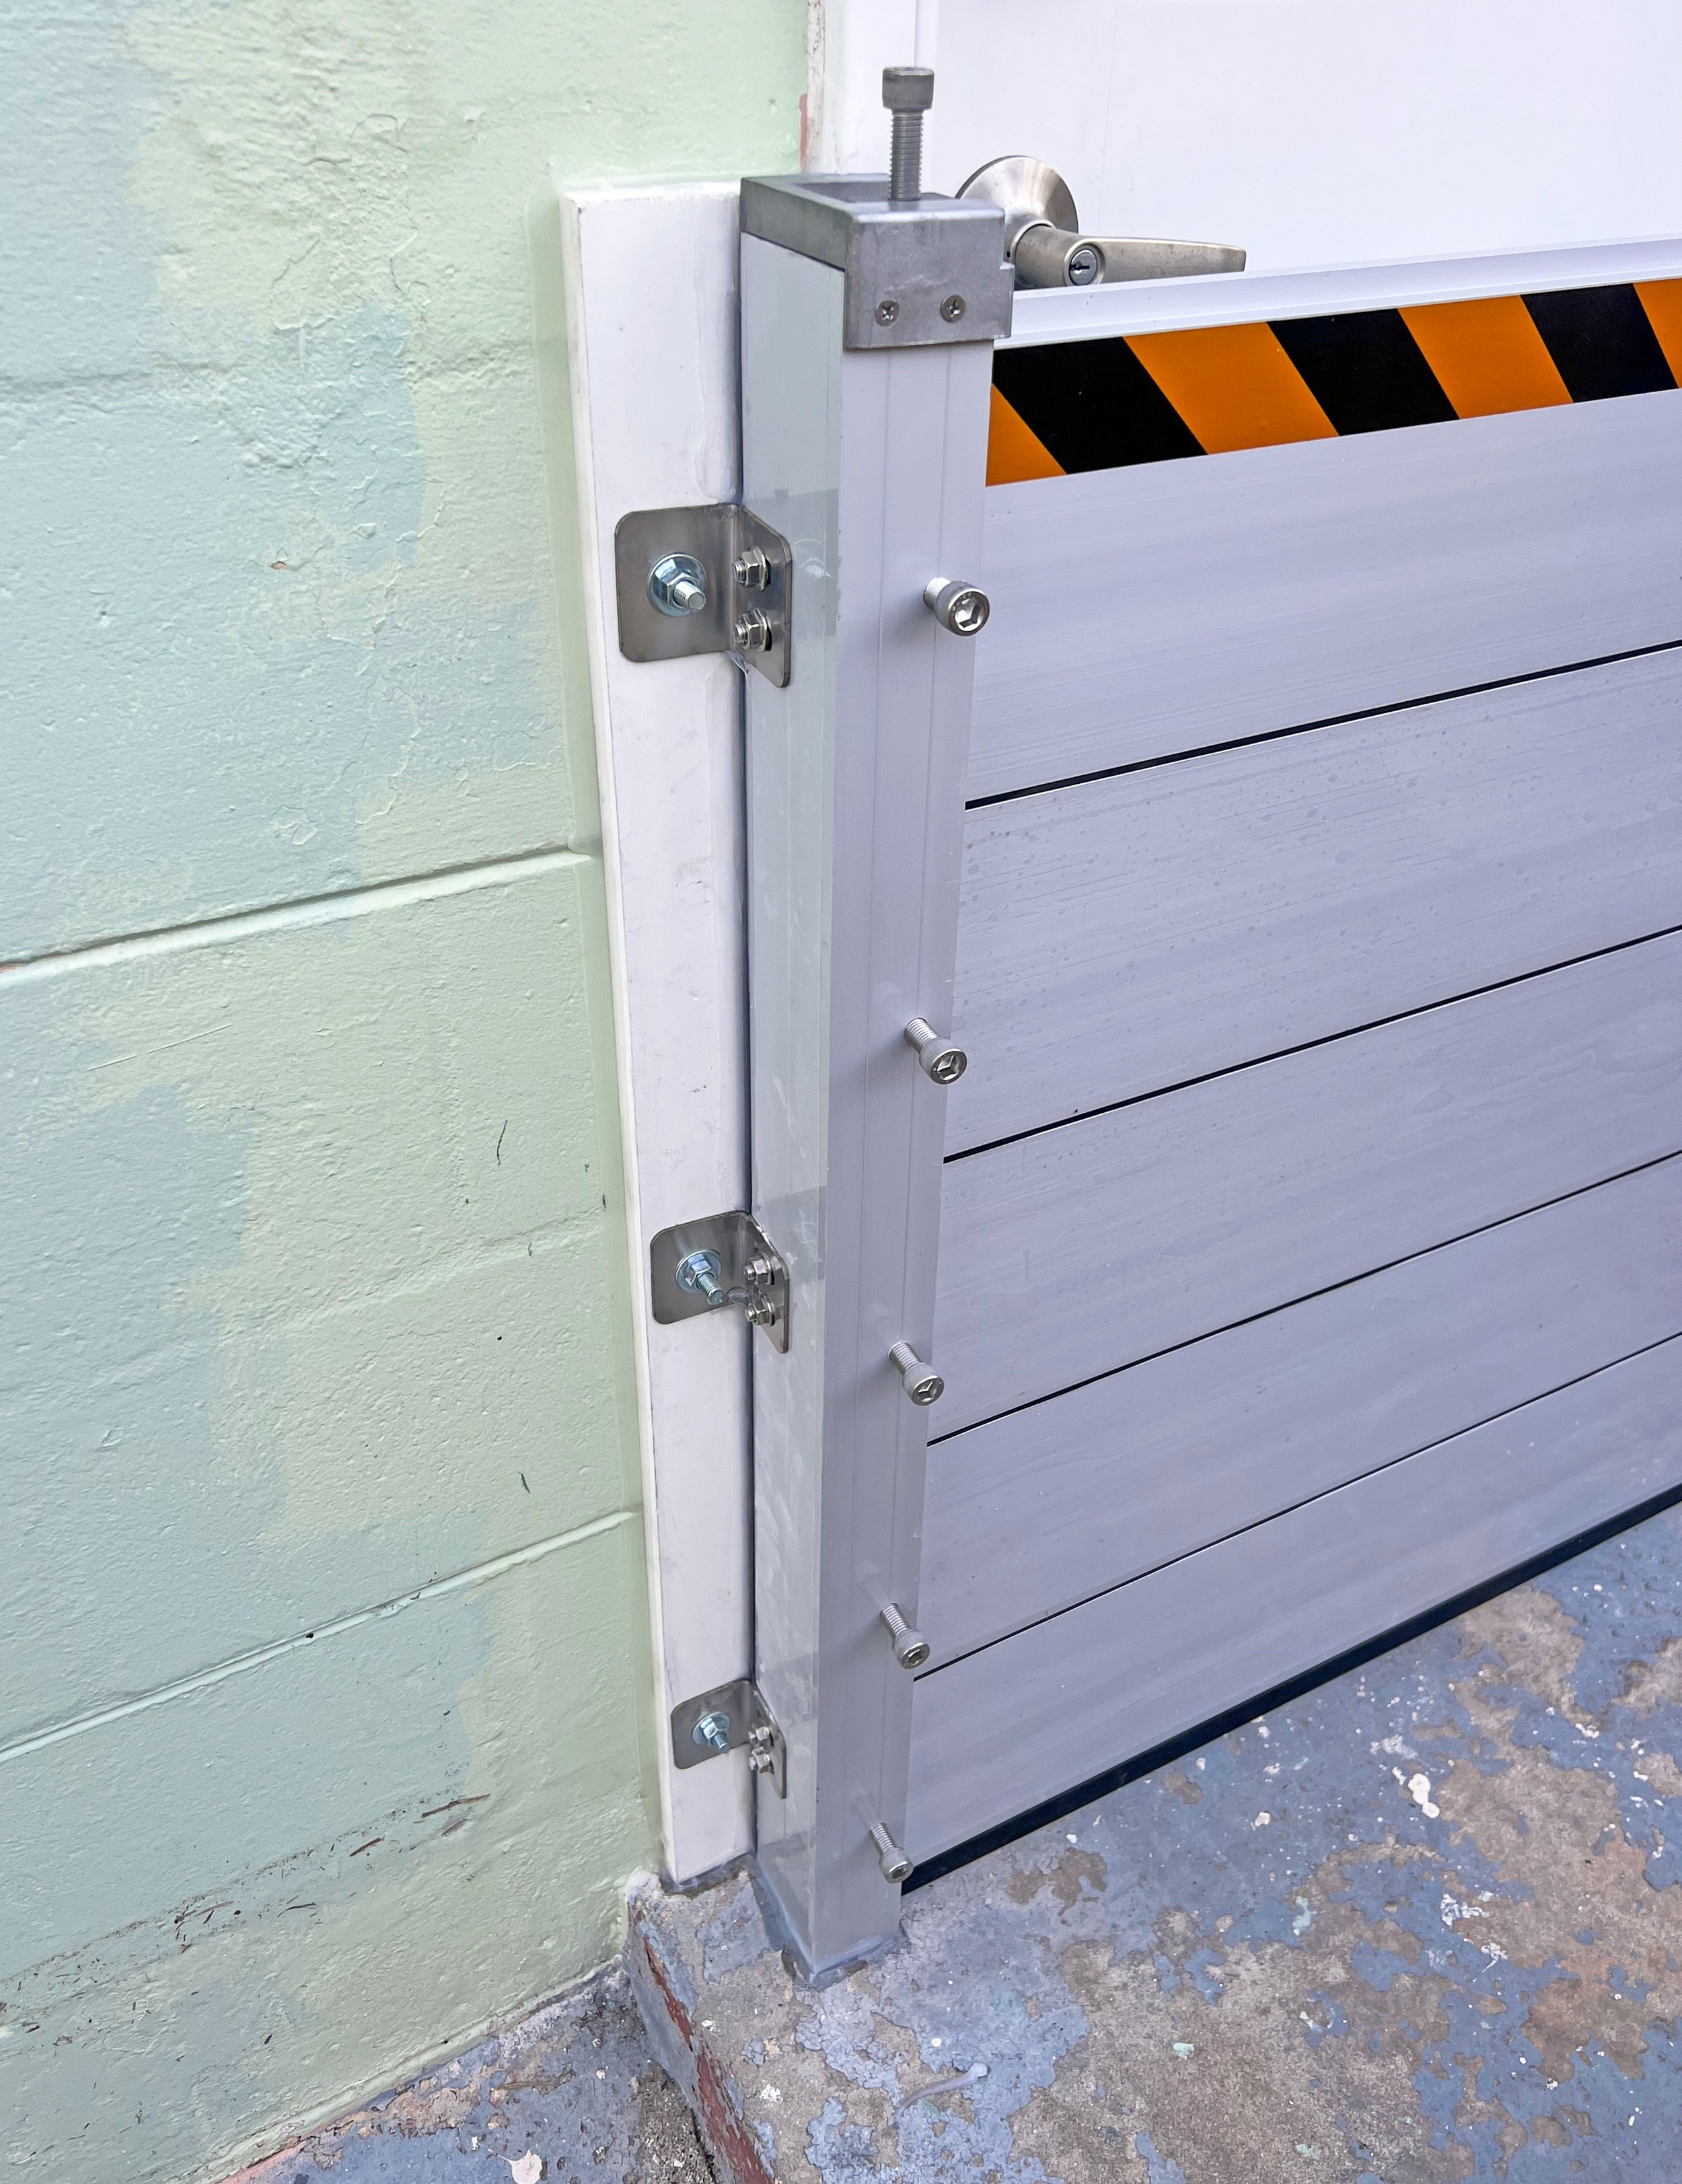
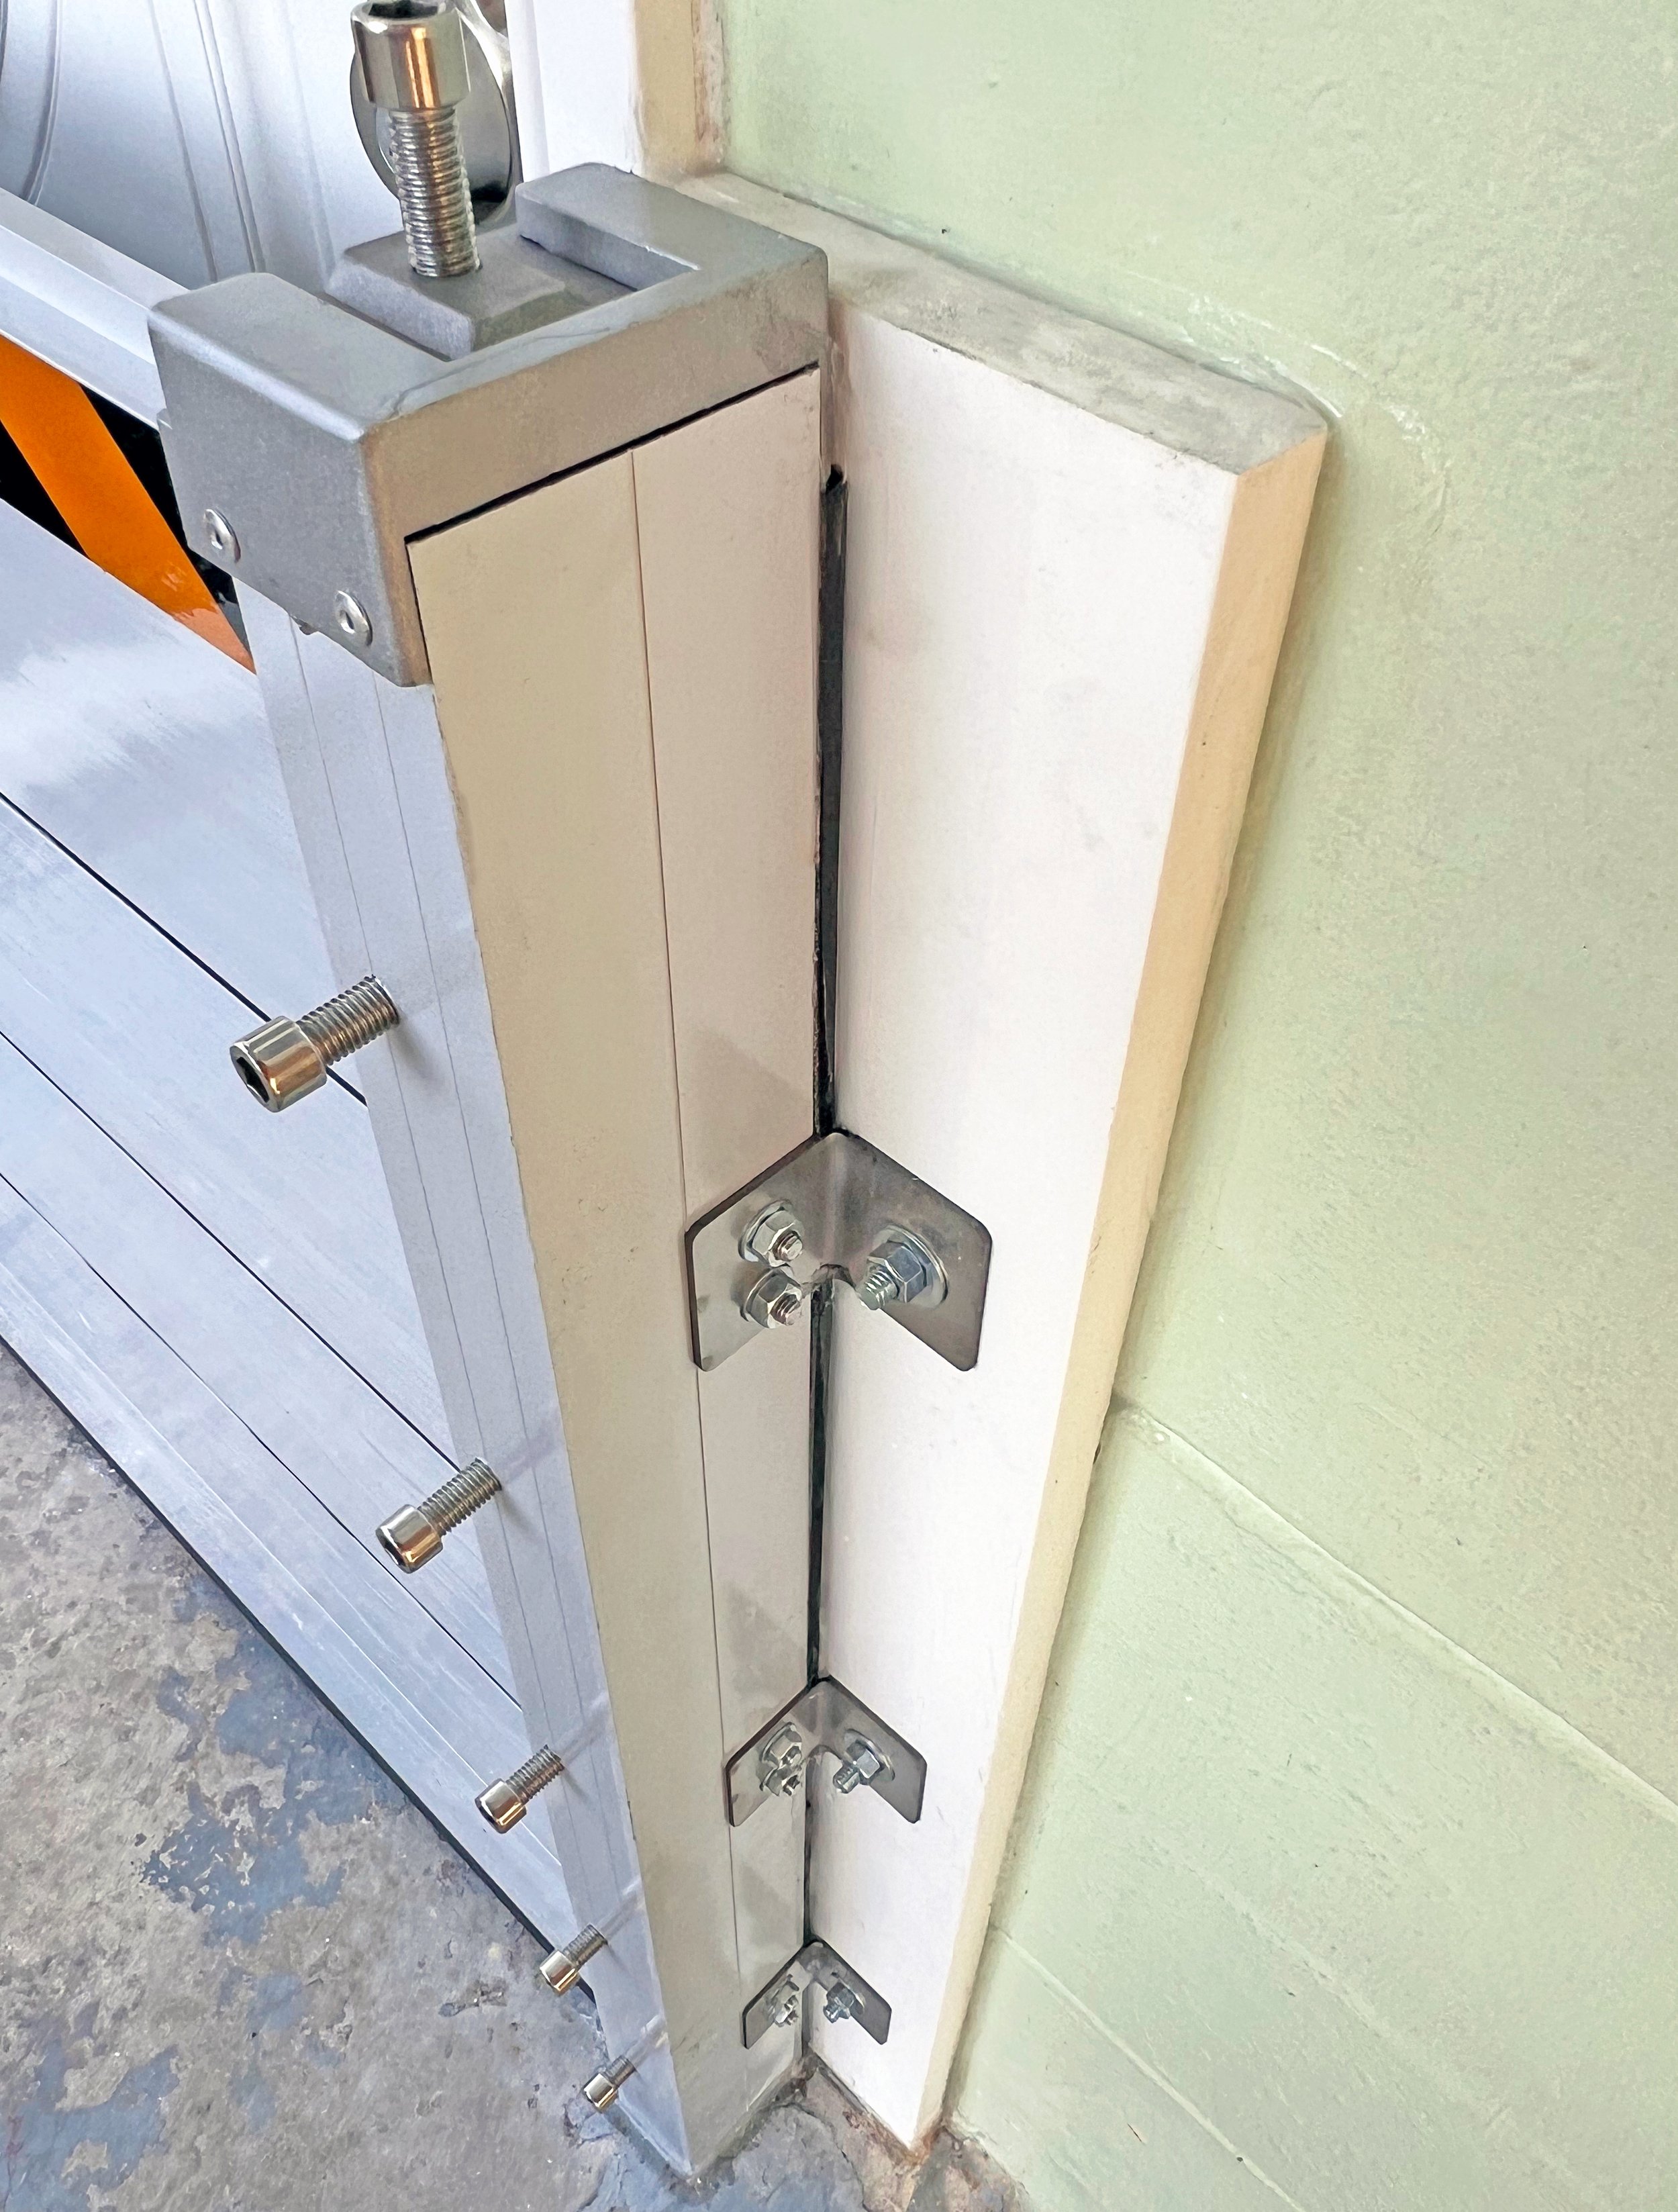
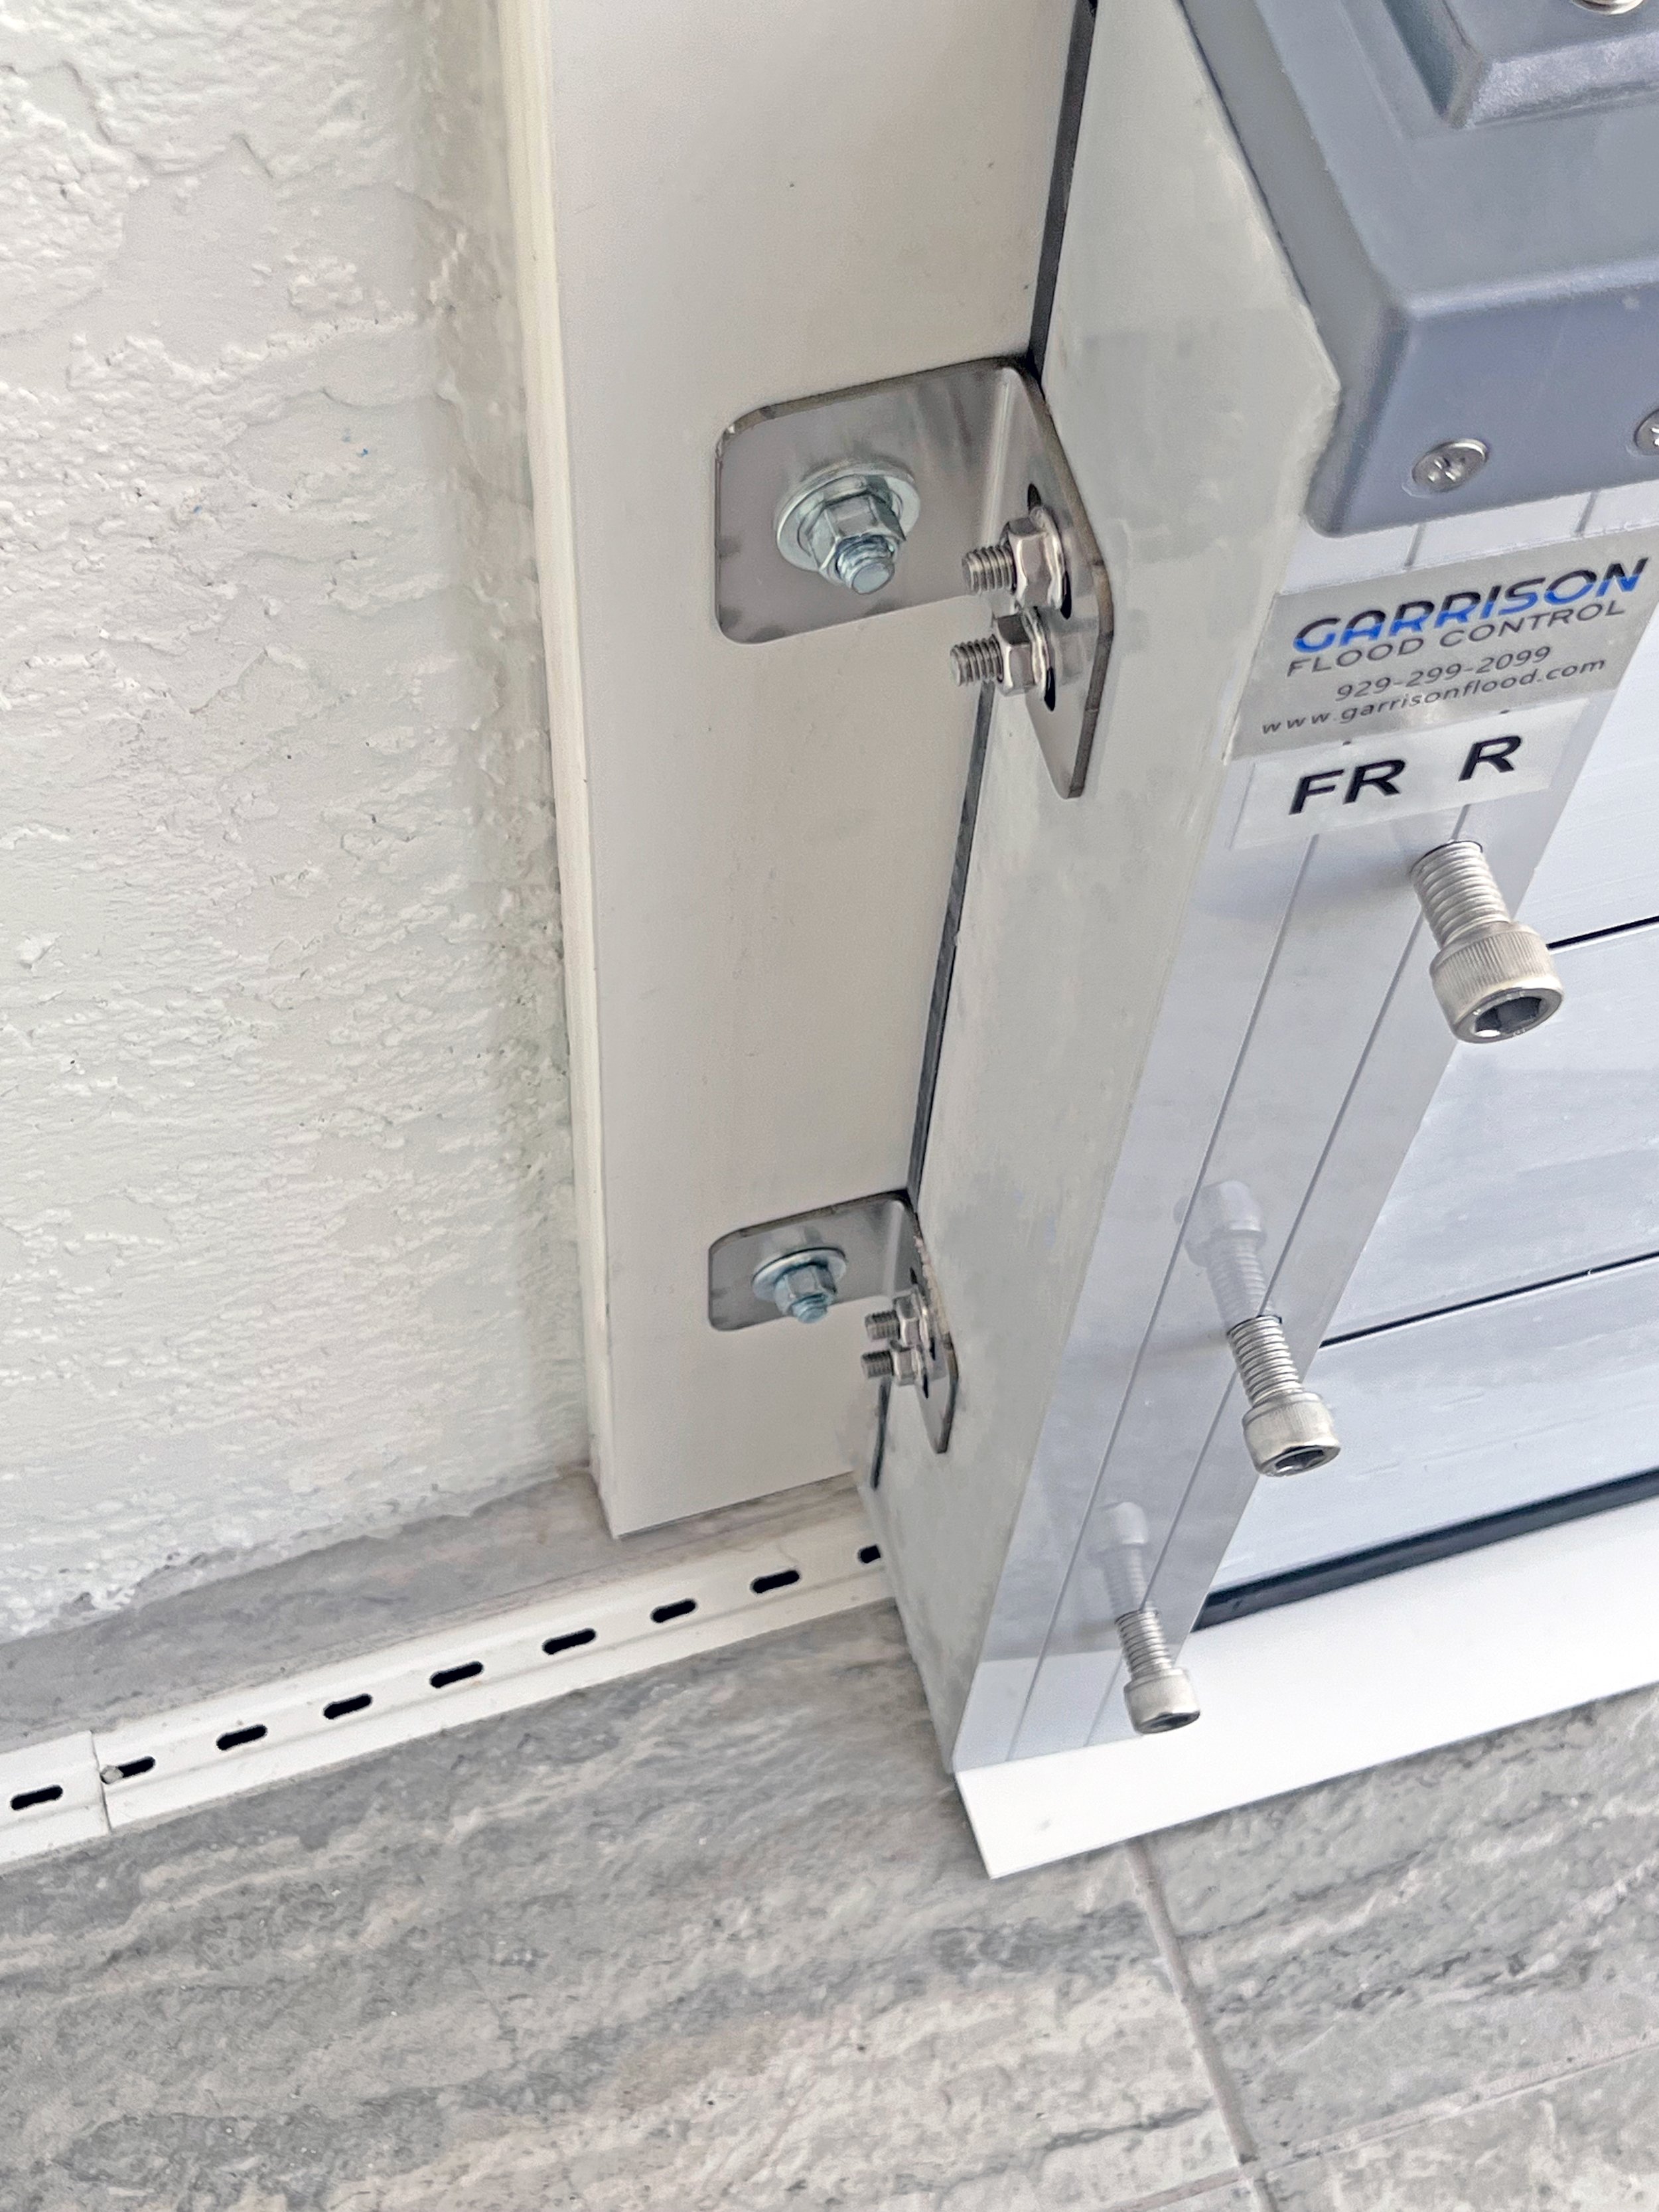
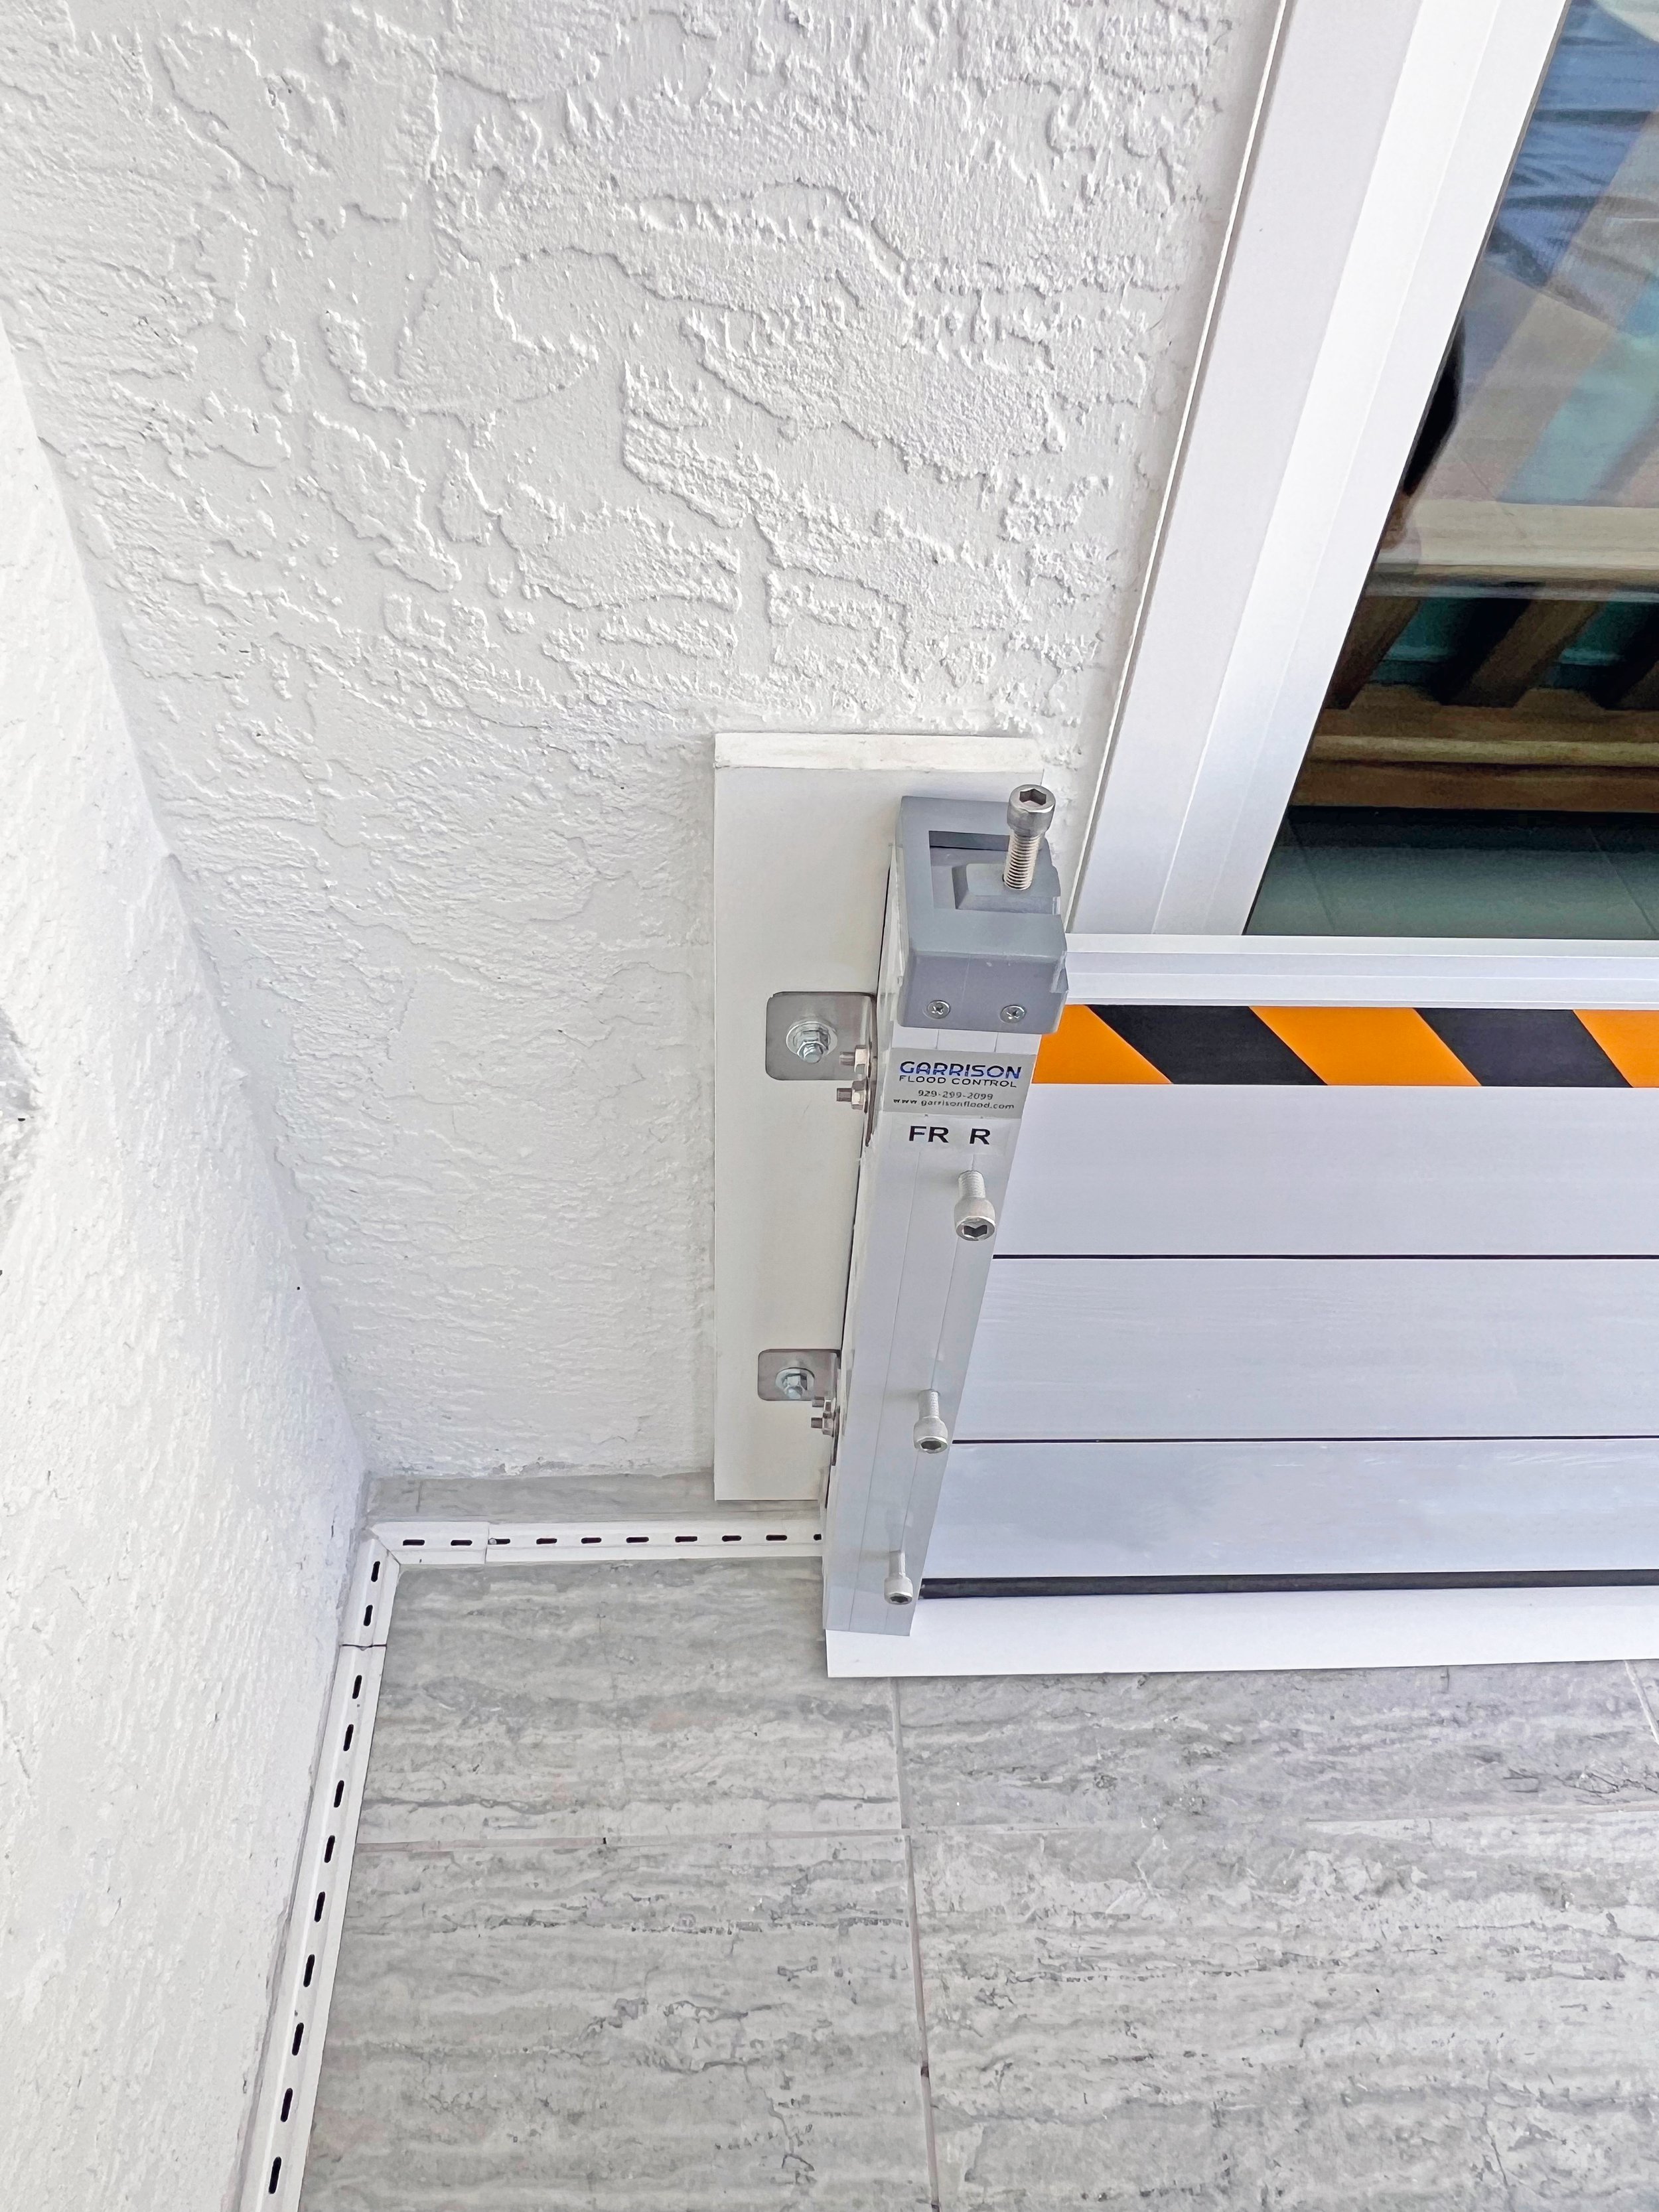
When mounting posts on the outside of your doorway, position posts so that the neoprene seal is between the post and the wall and the mounting tabs are up against the wall. Tabs should be positioned on the side of the post away from the opening, such that when looking from the water side, the left post has mounting tabs on the left and the right post has tabs on the right.
Drilling Mounting Holes
Use a hammer drill to drill holes through the pre-drilled guide hole in the post and into the wall or frame to which is will be mounted. The expansion bolts provided are M12 bolt size (0.472"), so we recommend using a 12mm drill bit for hole drilling.
Outside Mounting of Posts
Outside Mounting Post
Expansion Bolts / Wall Anchors
We supply expansion bolts with every order and if you decide to use the included bolts, you will need an 12mm drill bit to drill the hole for the expansion bolt. Insert the masonry expansion sleeve and mounting bolts into newly drilled receiver holes and tighten down the bolts using a ratchet to secure in place.
Post should anchored to cinderblock, masonry or concrete. If your wall is of questionable quality, such as cinderblock or old bricks, you may want to purchase double expansion anchors to use in place of the included expansion bolts. You may also wish to initially drill a smaller receiver hole, into which you place the bolt, to ensure a snug fit.
When installing posts on hollow walls, you will need to purchase butterfly bolts that will expand in the opening and provide a more secure hold.
Urethane Silicone
For added security, we recommend applying some silicone on both sides of the post, at the base of the post and along the seam line between the post and the wall. During installation, it is recommended to place silicone on the neoprene seal on the back of the post and then pressing the post on to the wall, allowing the silicone to enhance the seal with your wall. Additional silicone should be added to the base of the post, where it connects with the ground below, making sure that a good leakproof seal is created.
Additionally, be sure to fill any openings or spaces in the brickwork, mortar, or concrete lines with silicone to further strengthen the seal.
Applying Silicone to Edges of a Post and Filling Small Cracks or Gaps
Installing Center or Corner Posts
Center posts are used for longer spans, where you exceed the recommend maximum plank length (openings wider than 13ft) and require additional support. Corner posts are used to make a turn and can be used for perimeter protection applications. These posts are essentially two standard posts, fastened together so that planks may be inserted from both sides or at a 90 degree angle in the case of the corner post.
Center Posts come with a buttress support bracket, which provides additional resistance to hydrostatic pressure from flooding.
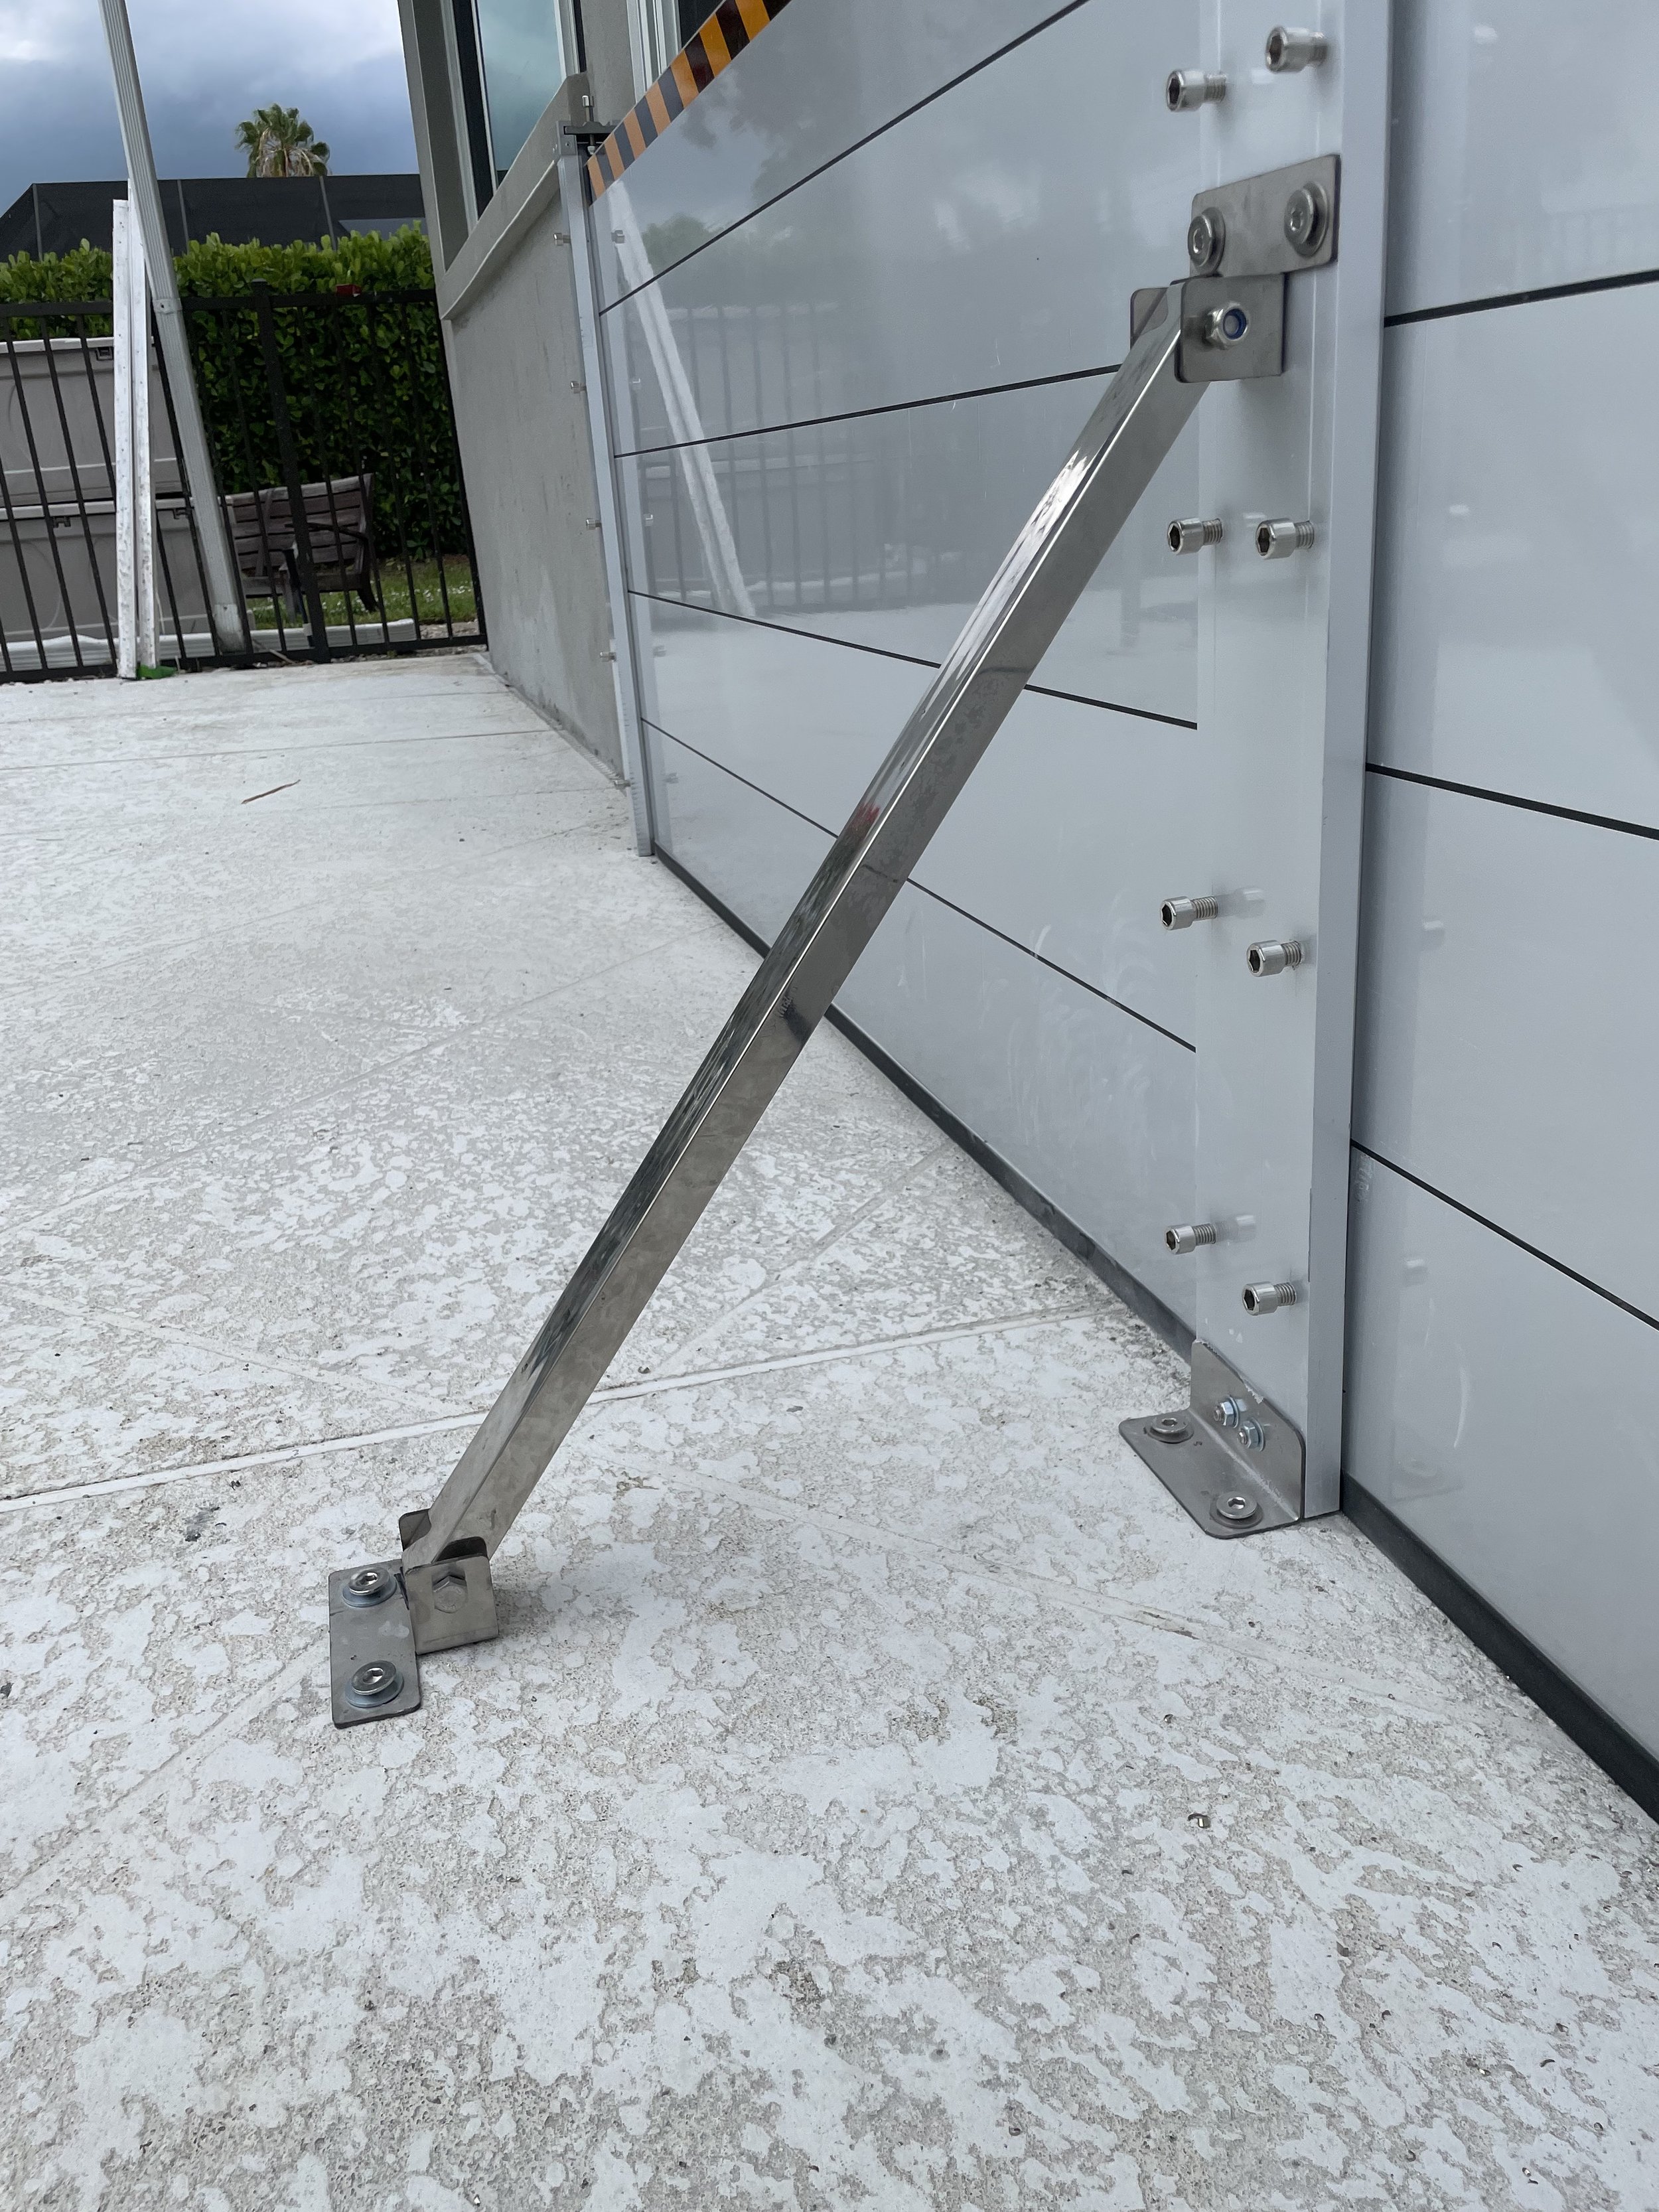
Center posts are drilled into the ground below and can be installed permanently or installed to be removable when not in use.
Use the pre-drilled holes in the base of each post (and kicker if used) to mark where holes are to be drilled. Then, using a hammer drill, drill the necessary holes in the concrete. Vacuum and clean out the hole to remove any debris.
Note: When kickers are added to the center post, the kickers face toward the water side. Kickers are recommended for taller barriers (4ft+).
Adding Wall Spacer Columns
If you need to move the posts out further than the wall, say to clear door hardware or a door frame, then you can use spacers to move the posts further away from the wall.
These can be recycled wood lumber, treated lumber, or steel extrusions. Recycled wood spacers come in various sizes and can be purchased at most home improvement stores.
To install post spacers, simply bolt the spacers to your wall using standard anchors. Caulk around the edges to seal the connection point and ensure that it is waterproof.
Once spacers are installed, mount Hammerhead posts onto the spacer, as you would to a standard wall. Simply bolt these into position using the same methodology indicated in our instructions.
Making Posts Removable / Demountable
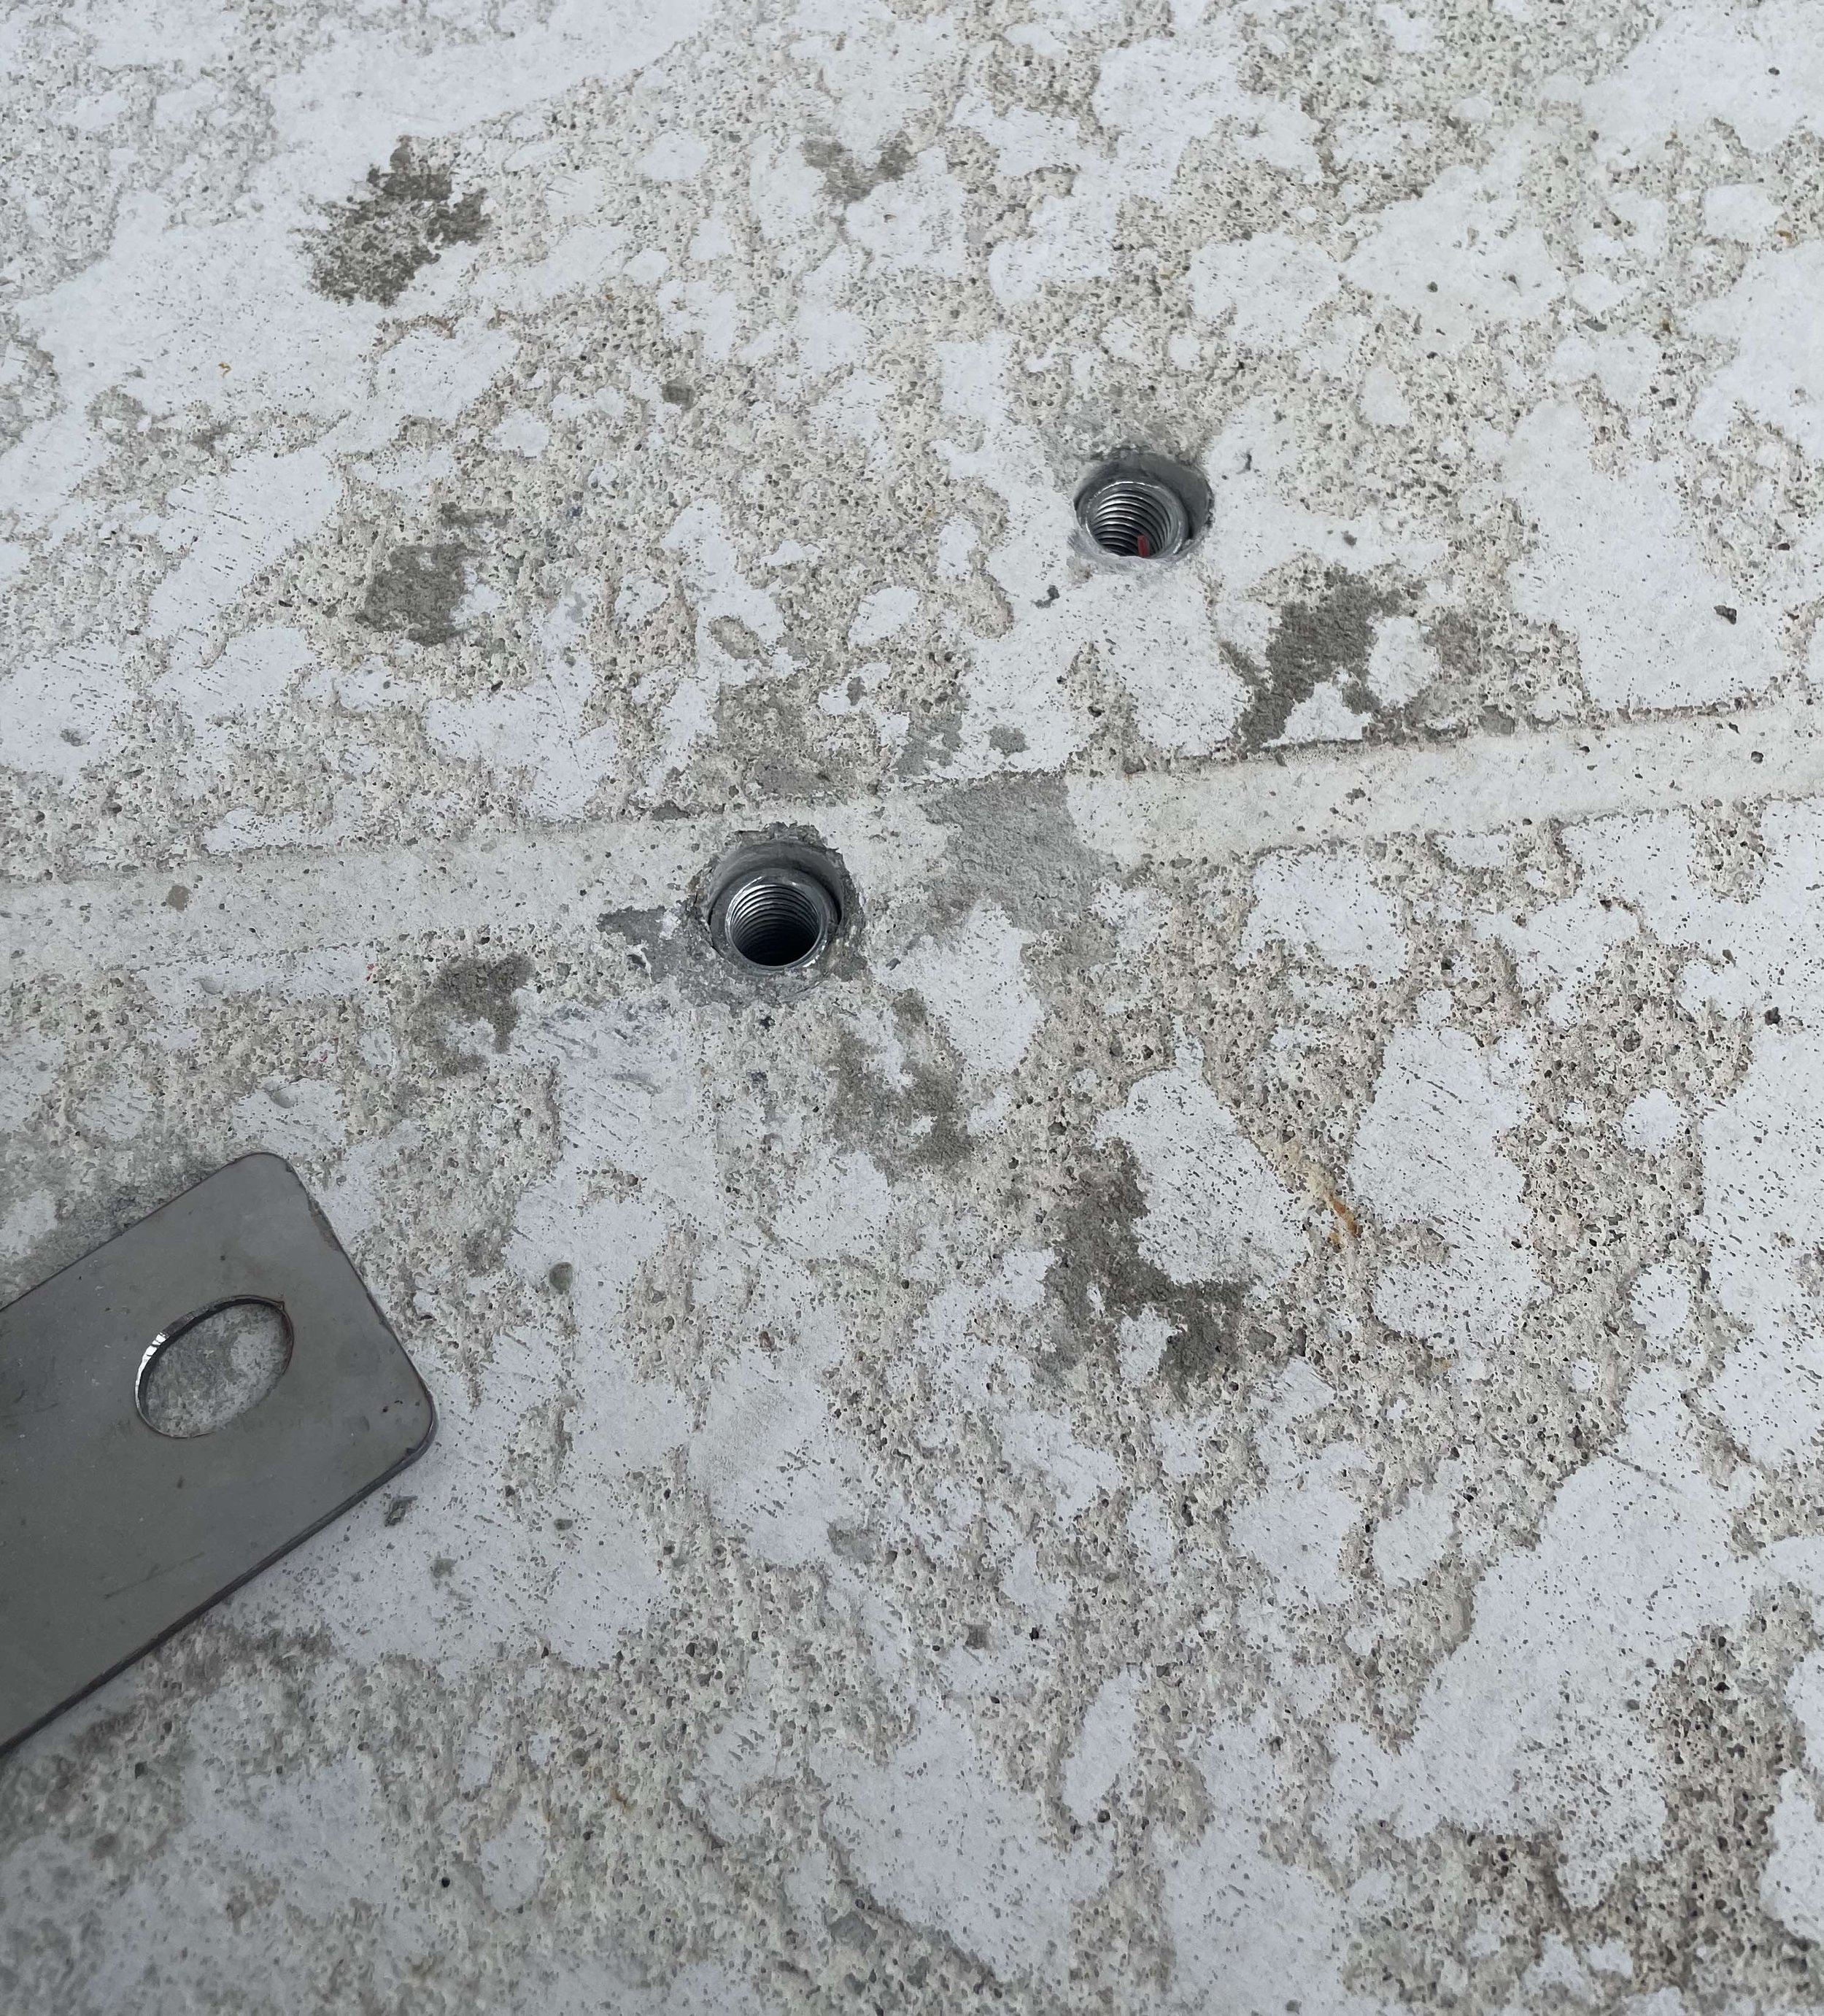
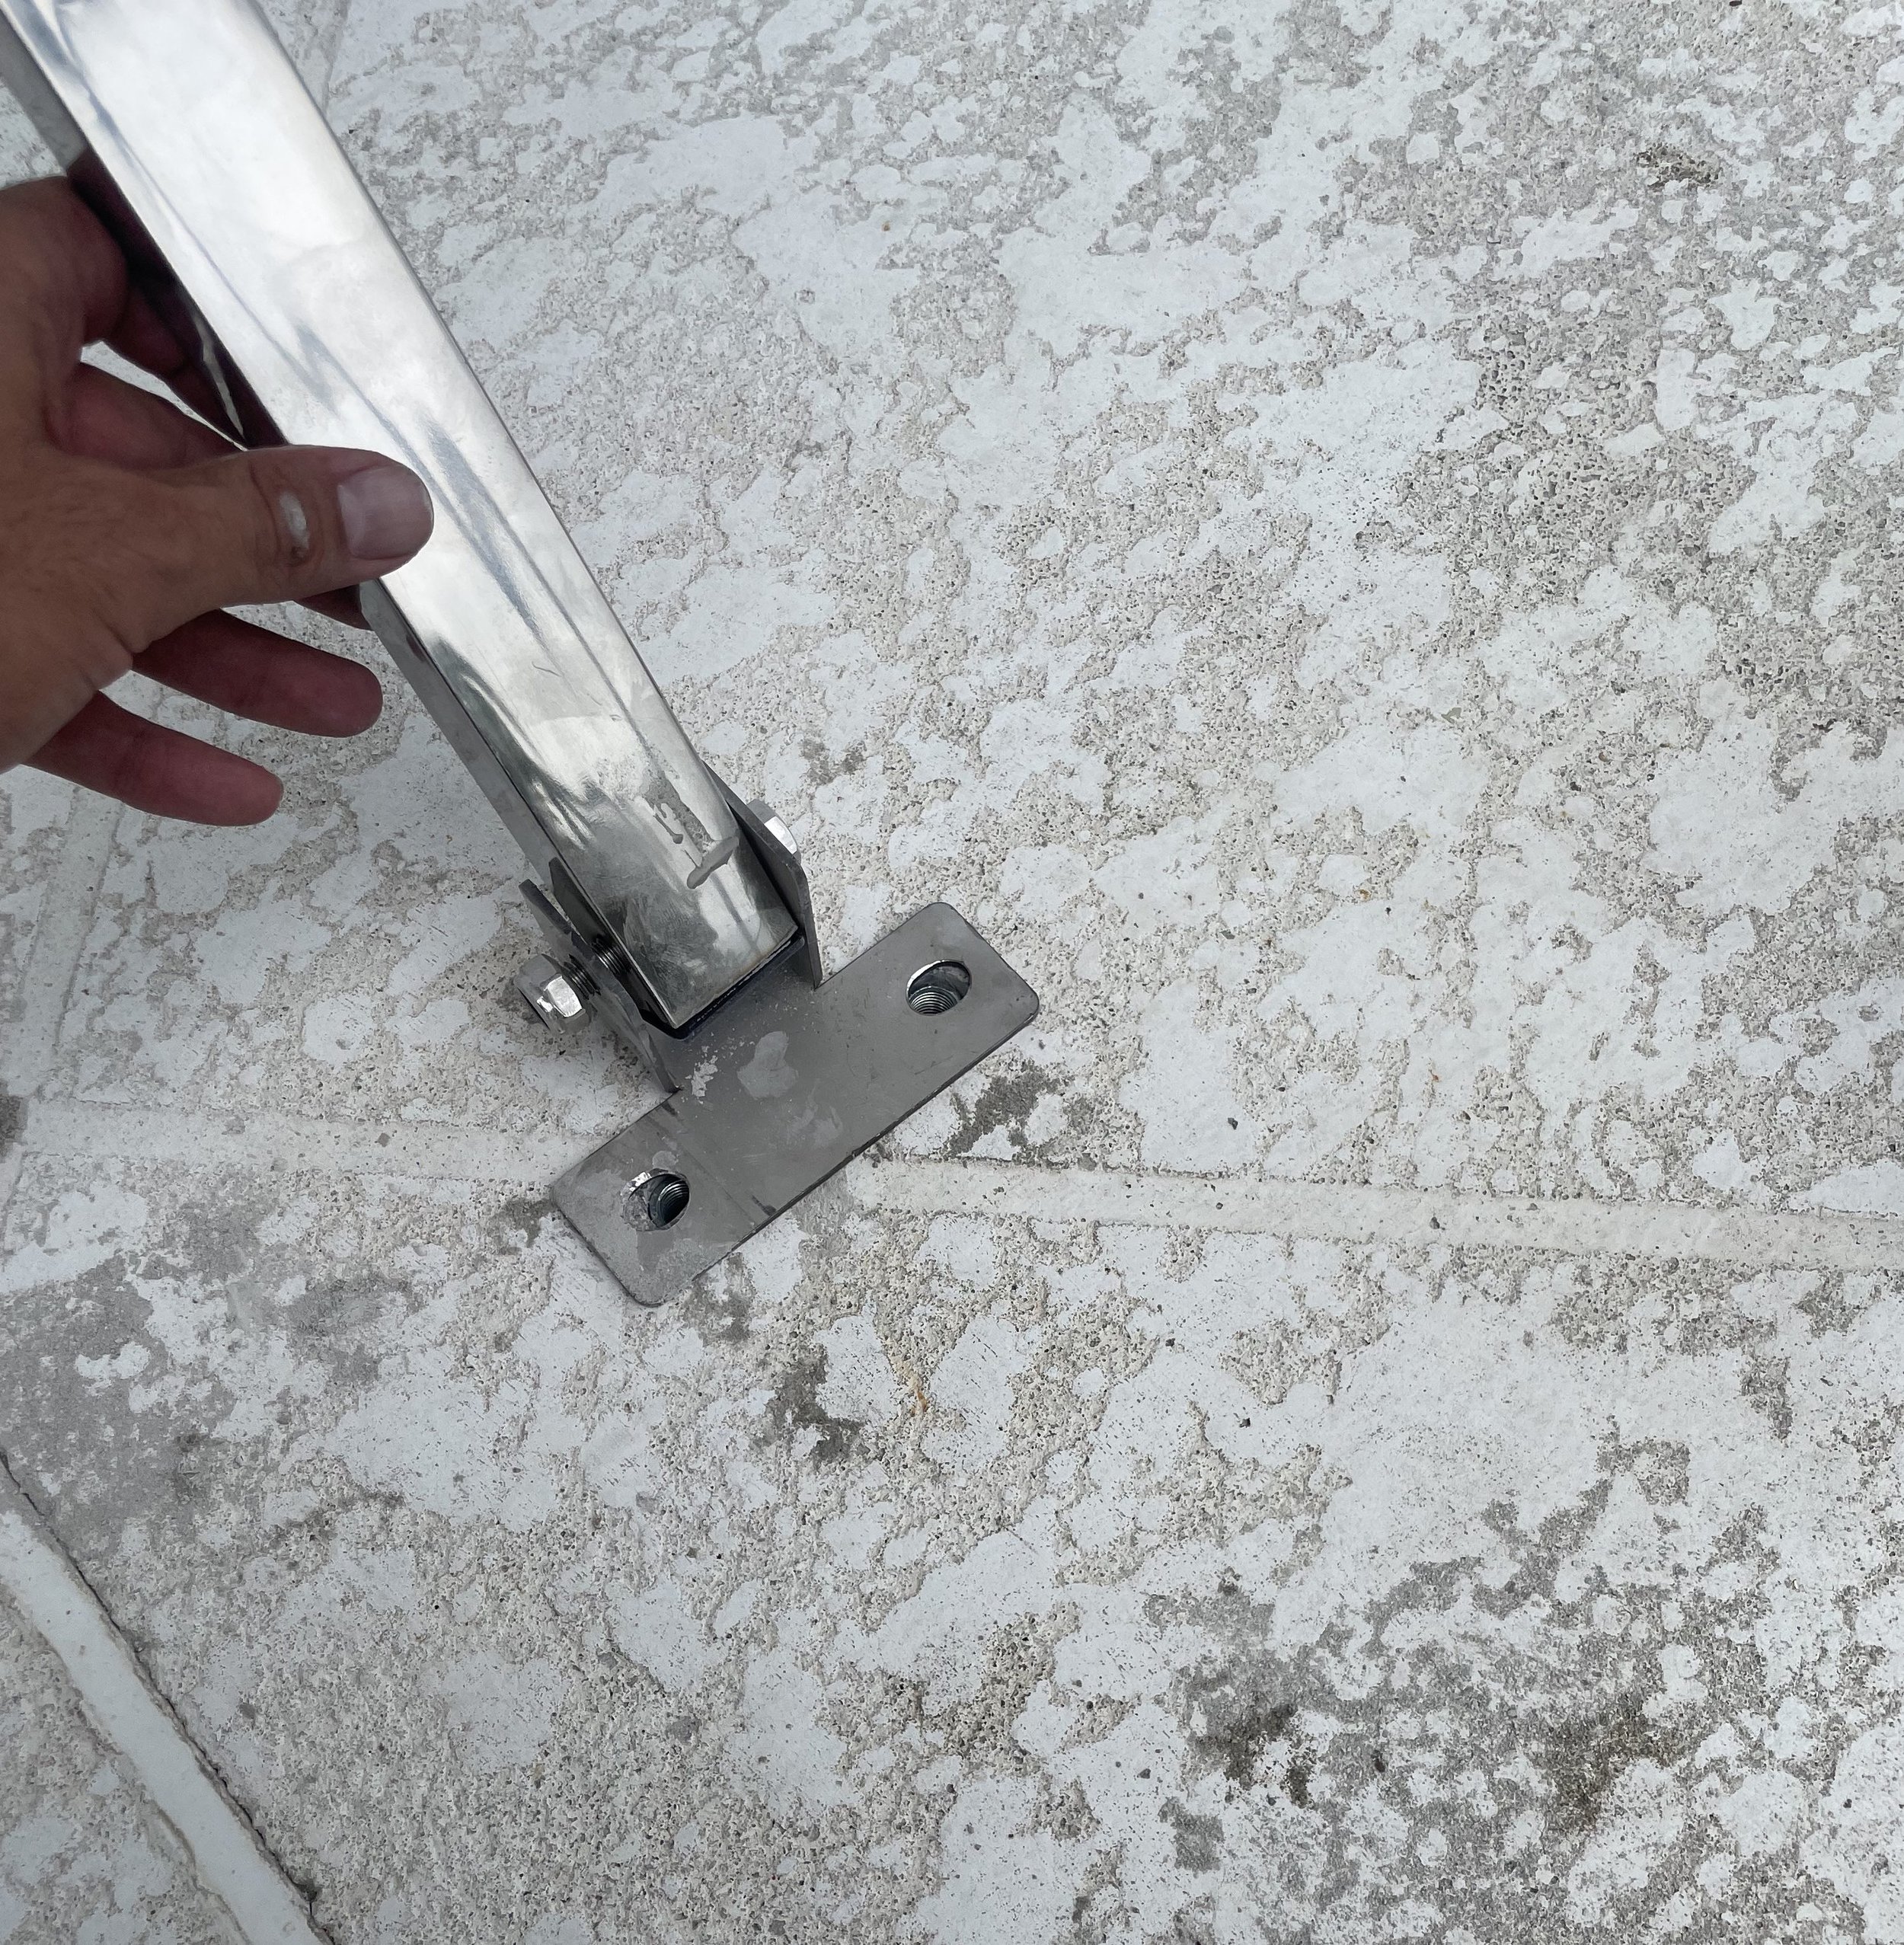
It is possible to make posts removable, using drop-in anchor bolts. The threaded sleeves are left in the wall and the flood barrier posts are able to be removed and reinstalled in advance of a flood event. It is important to confirm a good seal between the post, neoprene, and wall during each installation.
To make post removable there are two method you may use:
Method 1
Use standard drop in masonry anchors. Insert the drop in anchor into the drilled holes with the open side facing up. Use a setting tool to lock the drop-in anchor into place. Place the setting tool into the anchor and strike the top of the setting tool with a hammer, until the lip of the tool touches the rim of the anchor. This will lock the threaded receiver sleeve in place permanently.
Remove the tool and the anchor should remain firmly in place, ready to receive a bolt. Place machine threaded bolts through each hole in the post base and into the anchor bolt. Tighten down to secure the post to the floor below.
Method 2
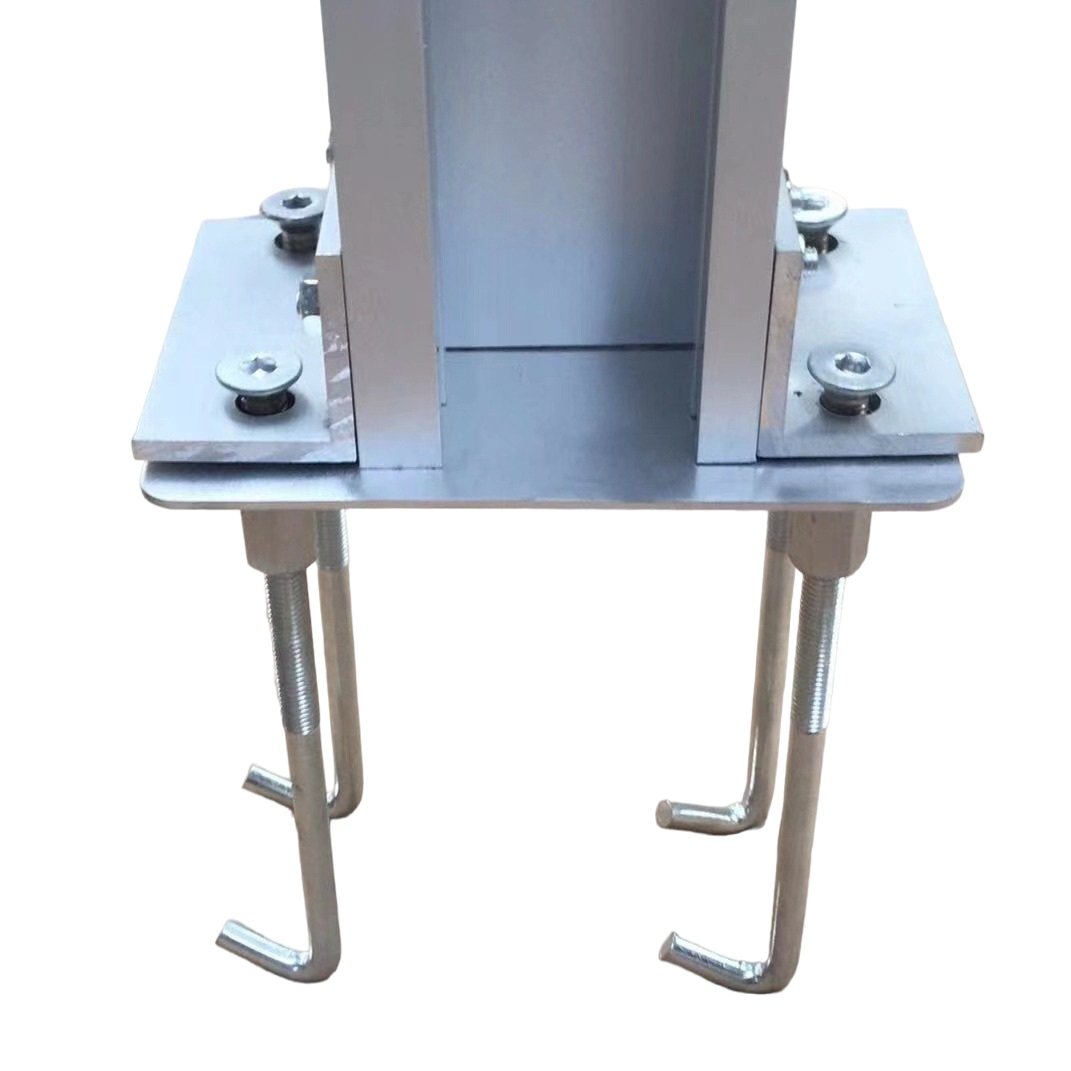
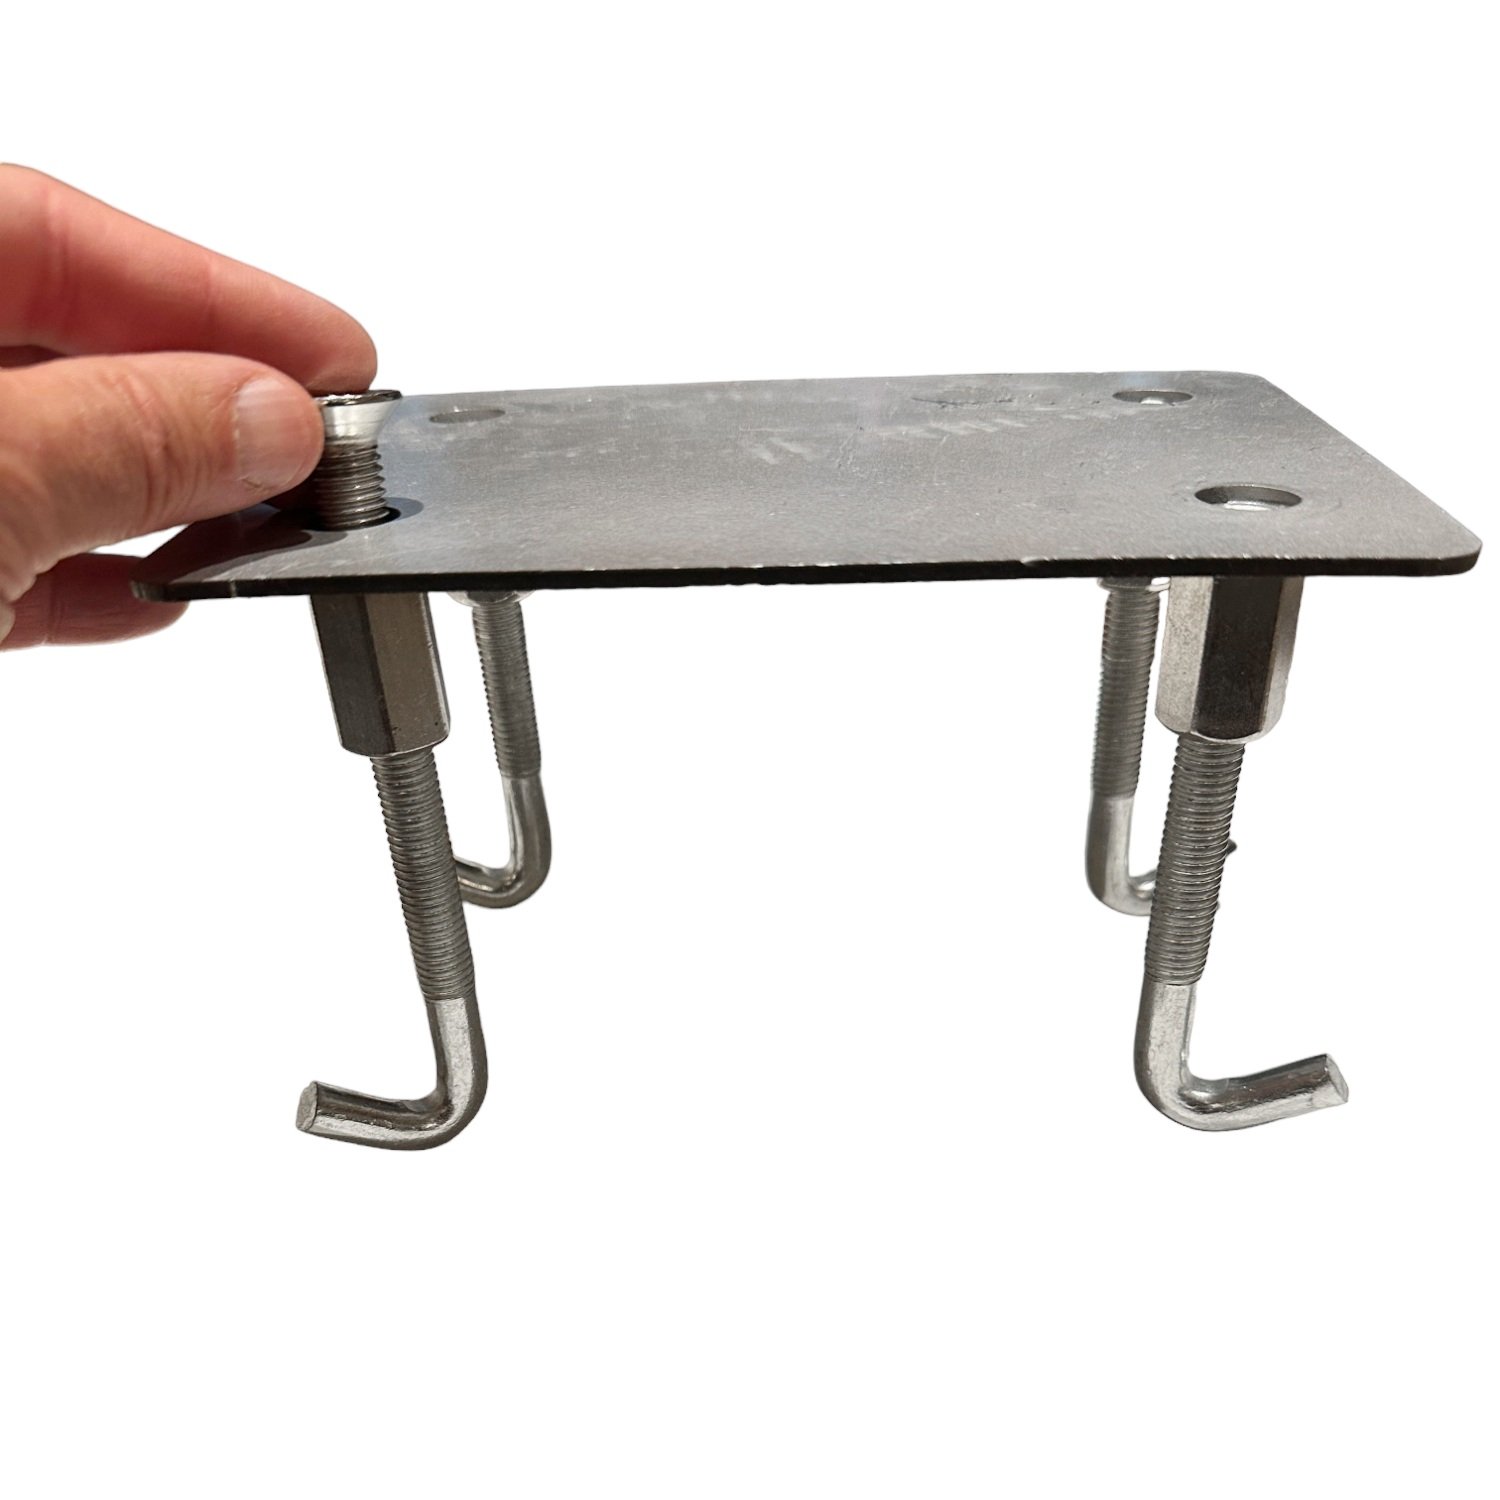
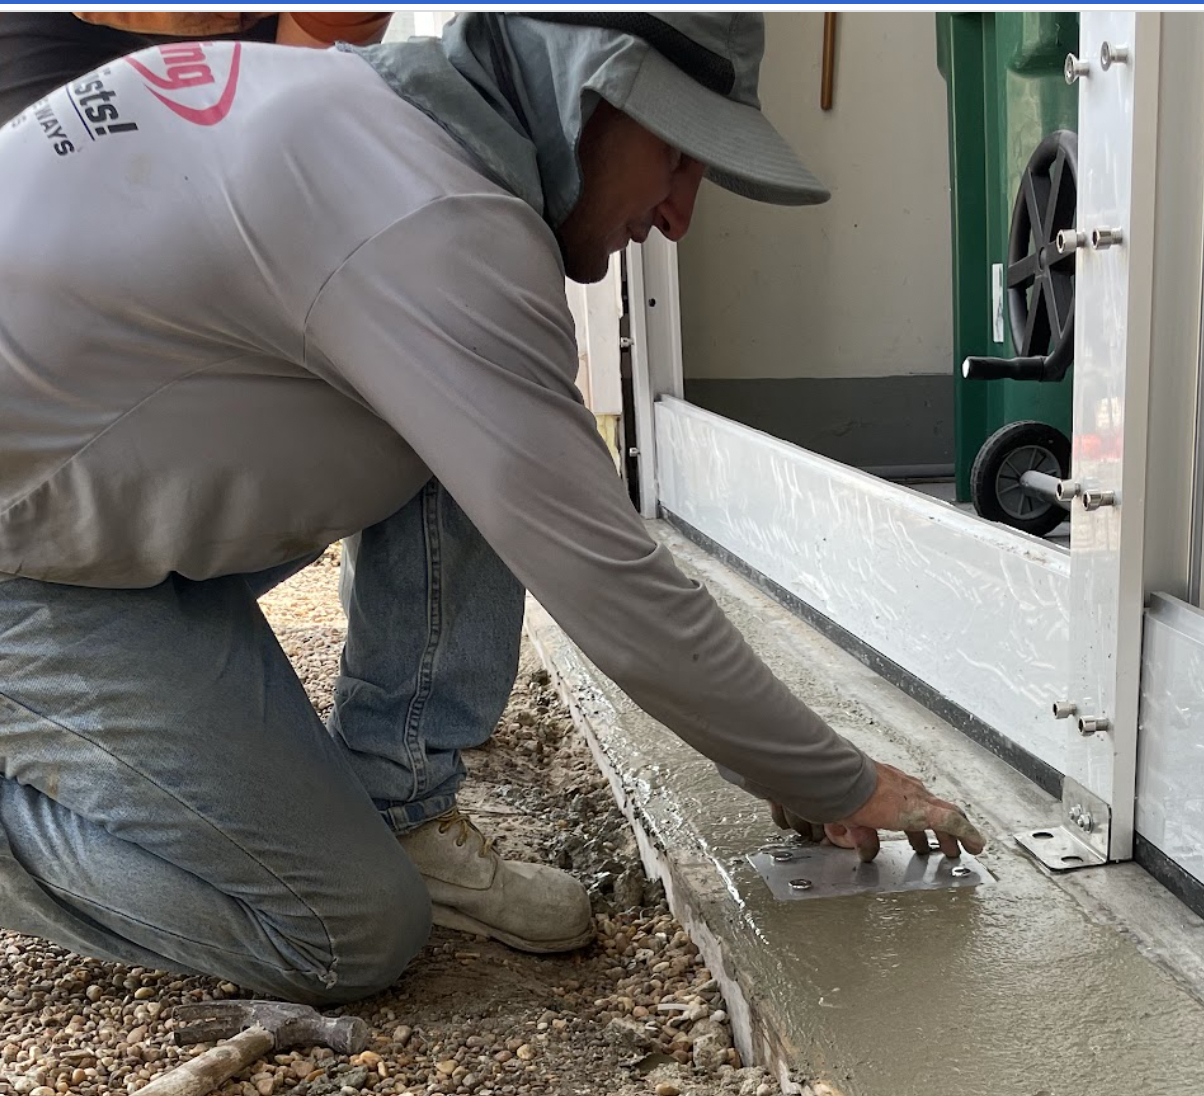
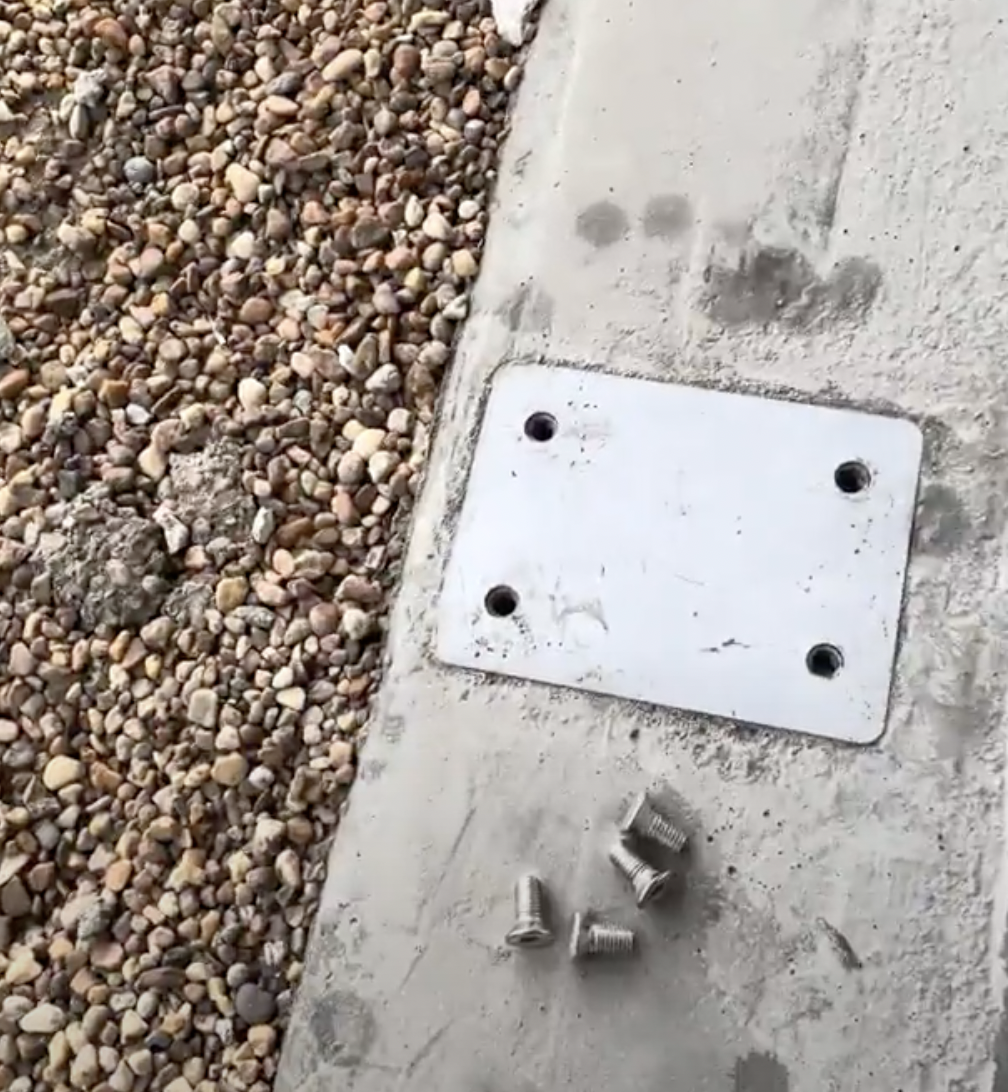
Utilize our in-ground base plate, which is poured into the concrete.
To place the baseplate, cut into existing concrete to a depth and size sufficient to accommodate the baseplate, the bolt receivers welded to the bottom of the baseplate, and the additional bolt protrusions which screw into the underside of the receivers (designed to give greater support depth into the concrete).
Pour concrete around the baseplate, fully enclosing the plate, bolt receivers and bolt protrusions.
In-Ground Mount
Loose Base Plates
Installed Base Plates
Deploying Your Flood-Log Flood Barrier
Slotting in Planks
Aluminum planks are slotted into post channels when a flood event is expected. To begin inserting planks make sure that all plank tightening bolts (in posts) are loosened, so that the planks can be inserted freely.
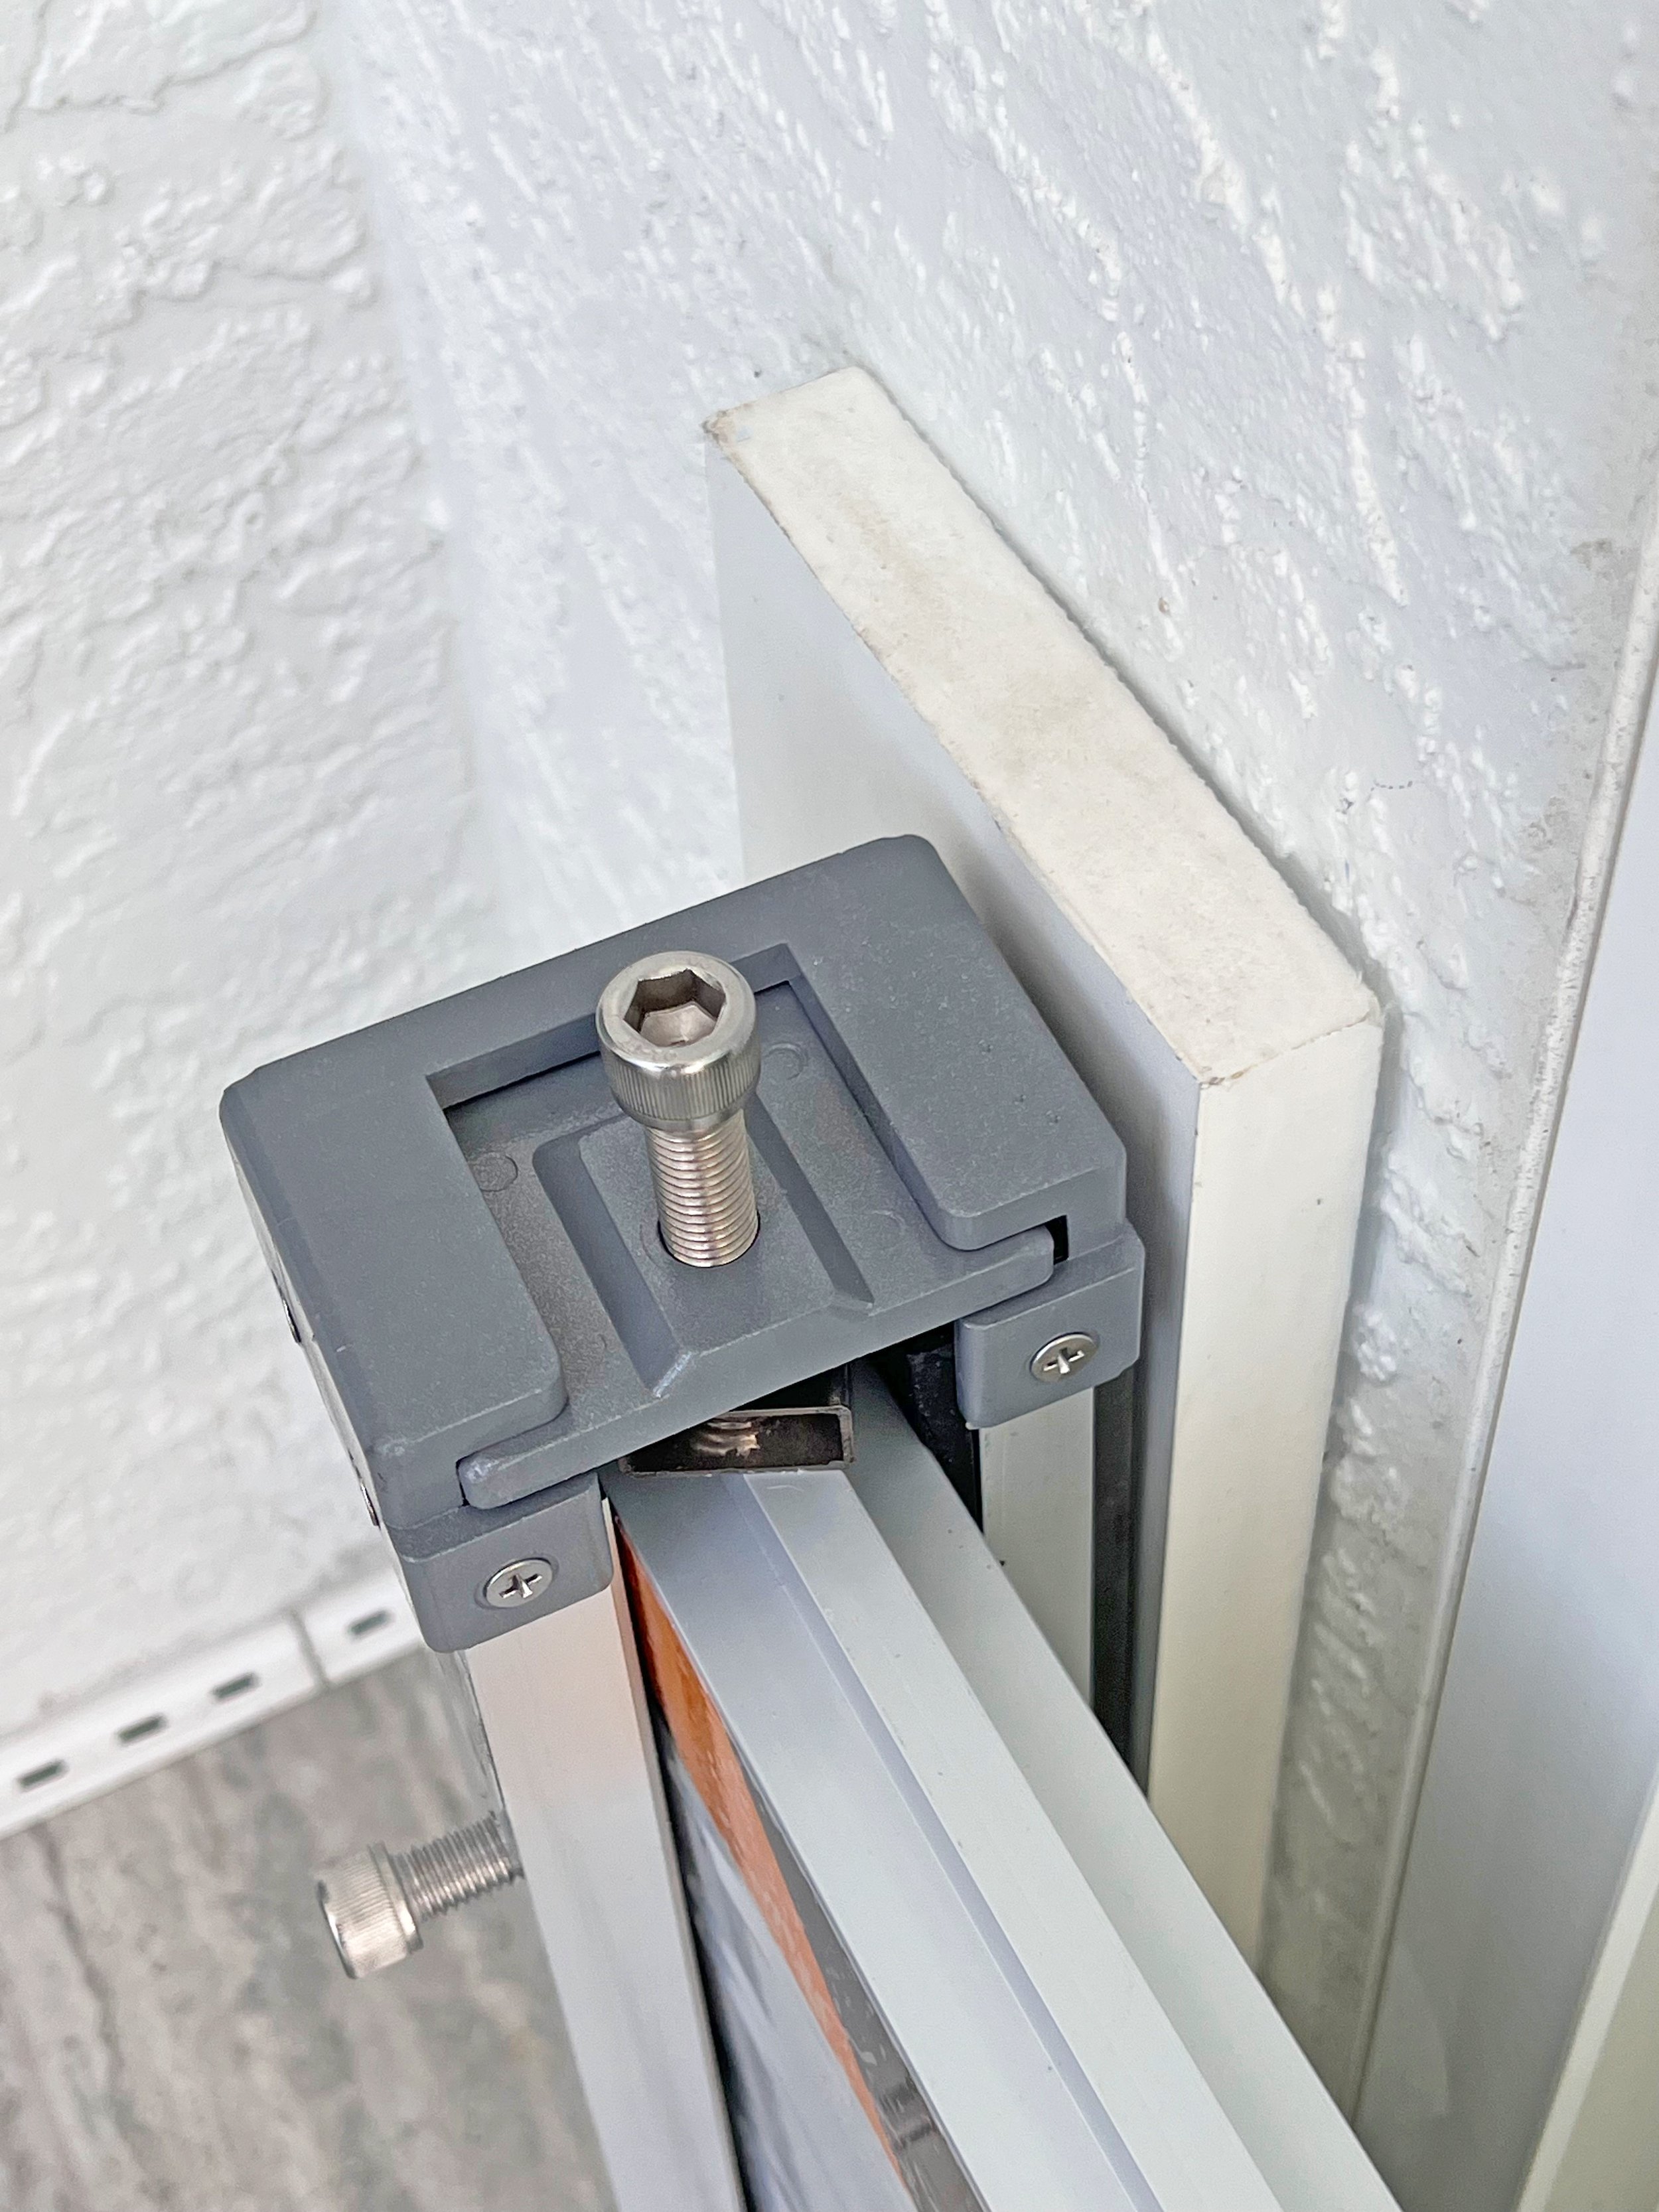
Slide out the post top tightening plate to gain access to the post’s U-channel.
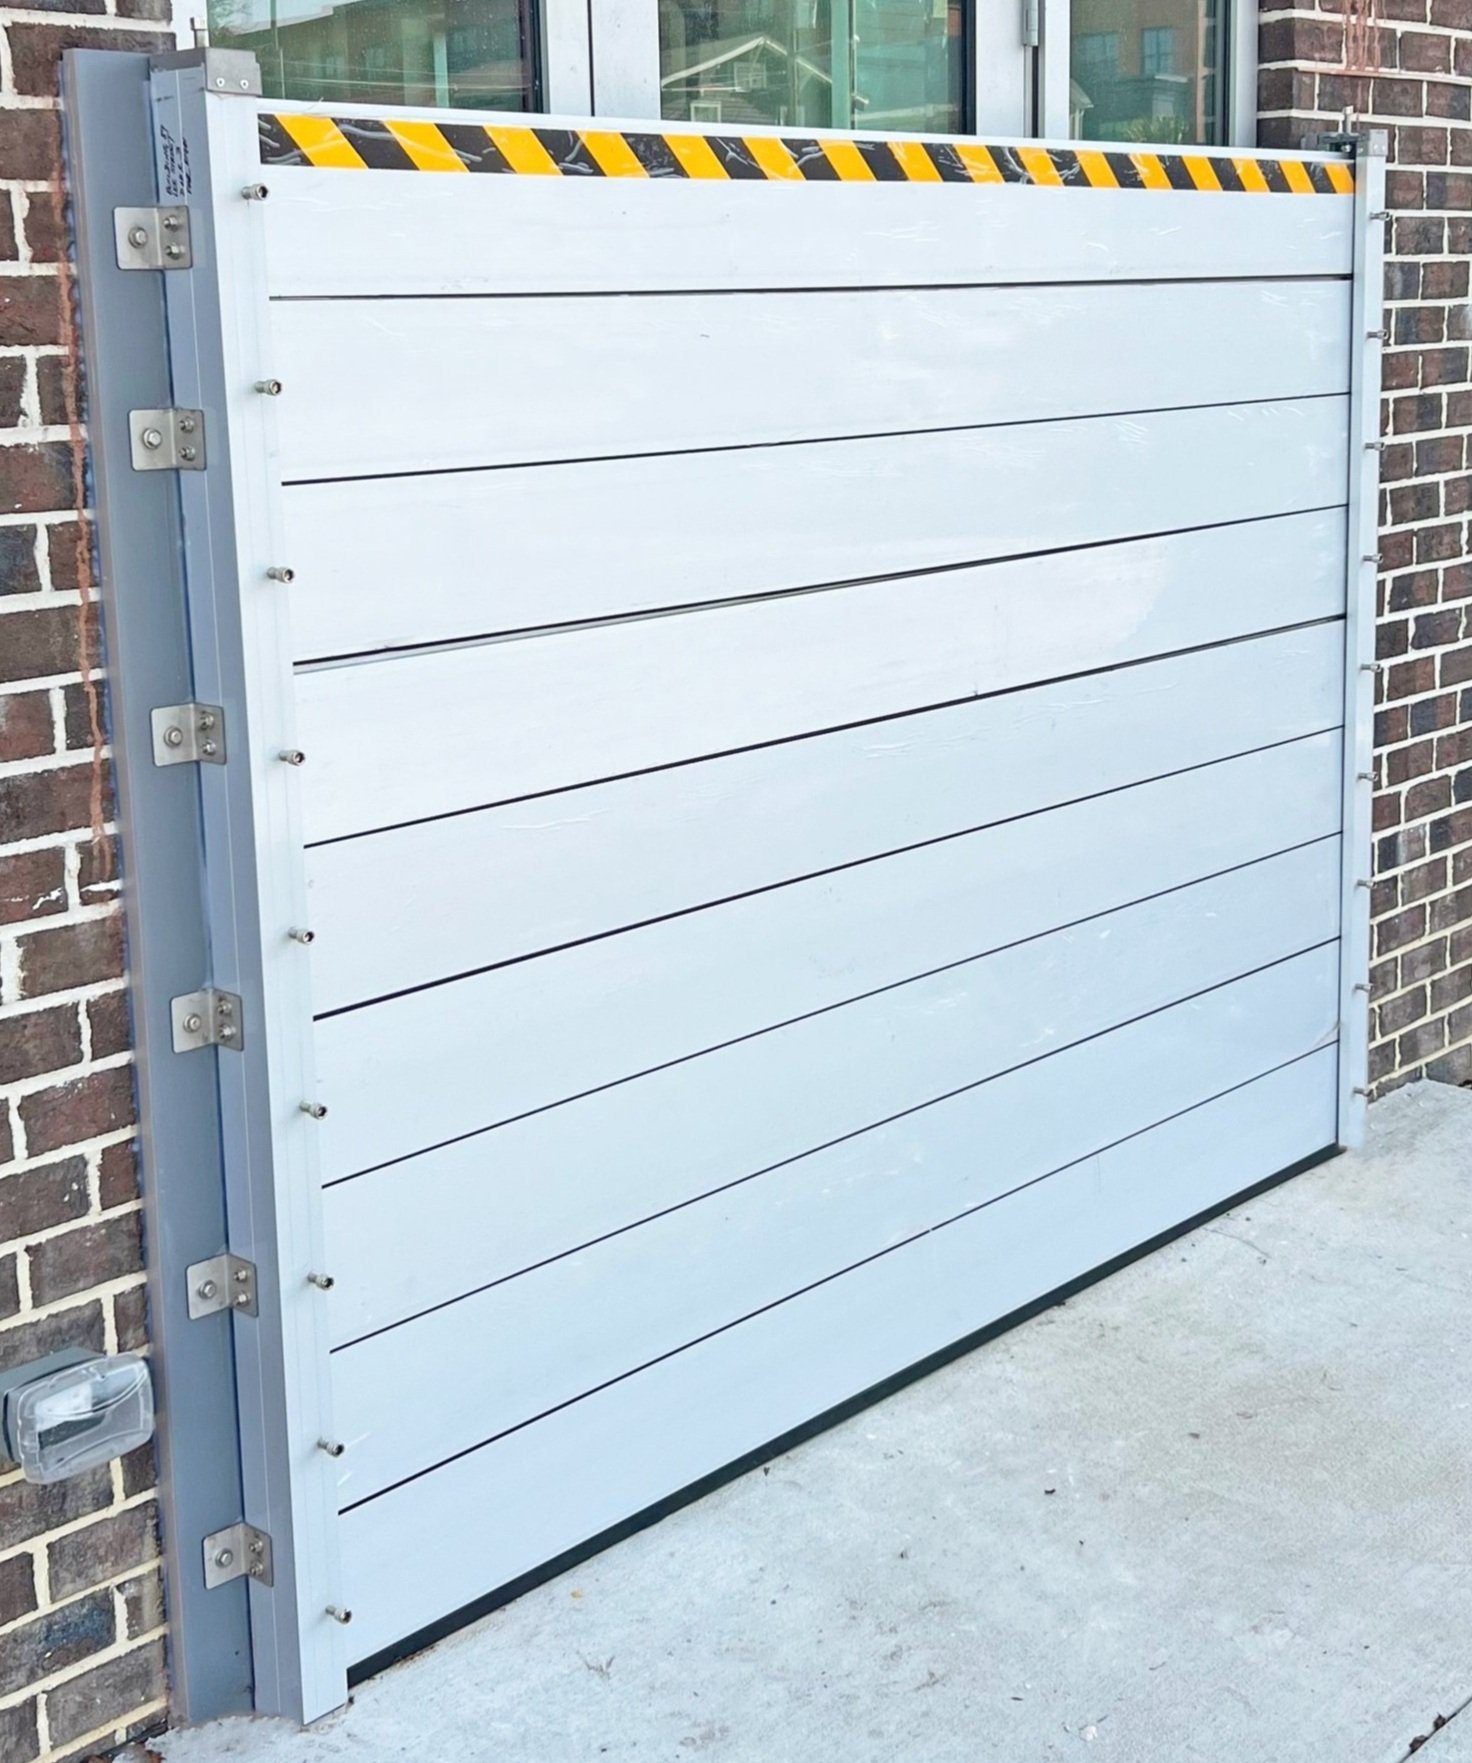
Identify the bottom plank, which has a larger seal off than the other planks. This thicker seal allows it to get a good seal on slightly varying ground below. Slide the bottom plank into the channel in the posts, until the plank reaches the floor below. Add successive planks until all planks are stacked in the channel.
Barriers come with safety tape adhered to the top plank, making it easier to see the barrier in low light settings. Place this plank on the top of the stack of planks.
If you prefer a barrier without safety tape at the top, please advise at the time of ordering.
Tightening Down Planks
Once all planks are slotted into the post channels use your foot to nudge the stack of planks against the back seal inside the post. This is important to begin the sealing process in advance of tightening down the planks.
Insert the post top locking plate into the notch at the top of the post. Use the included Allen wrench to tighten down the planks, enhancing the seal between them and the floor below. It is important to get a good seal with the ground below. A level and smooth surface, free of debris, is critical to ensure a proper seal with the ground below.
Once the top caps are installed and tightened, use the Allen wrench to screw down the plank tightening bolts on the from of the posts, securing the planks against the neoprene strip inside the channel. Several rounds of tightening, up and down the post is important to ensure a good seal. We recommend tightening each bolt a little bit each pass, increasing the tightening with each successive round.
Once all planks are tightened down, your barrier is ready to protect against flooding.
As an added precaution, in advance of flooding you may wish to add a removable seal, such as “Seal and Peel” by DAP at the bottom of each plank and where it meets the post.
Hammerhead Install Video 1 - Plank Installation Guide
Additional Flood Prevention Measures
While Hammerhead offers a good first line of defense against flooding, there are other measures that should be taken to prevent flooding in your structure.
Seal Exterior Outlets, Vents, and Conduit in Advance of Flooding
Some exterior power outlets, dryer vents, and conduits open from the exterior of a structure into the structure itself, creating potential entry points for water infiltration in the event of flooding. Therefore, proactive measures and steps should be taken to thoroughly seal off any openings to prevent any possibility of water seepage through these vulnerable openings.
Check the Exterior of Your Walls and Openings for Cracks
While the Hammerhead will effectively protect various openings, it is of utmost importance to thoroughly review the entire perimeter of your structure for any cracks or vulnerabilities that could potentially allow seepage into your home. Particular care should be taken with plank siding, as this material could permit water infiltration to occur between the individual slates. It is also essential to closely check the seam between your foundation and walls, ensuring that these areas remain entirely water tight to prevent any unwanted moisture intrusion. Consulting with a professional engineer can provide valuable insight and guidance on identifying possible water infiltration points that may exist beyond your door and window openings. Furthermore, many structures may feature shared party walls, so it is crucial to confirm that water cannot flow from an unprotected neighboring space into your own area.
Check Your Basement and Foundation for Potential Leaks
Floods will cause water tables to rise and it is important to have a secure and watertight foundation that can resist rising water levels. Consult a professional contractor who can help seal any cracks in your foundation. For a shared structure, water can infiltrate from a neighbors unprotected area via crawl spaces, so it is important to confirm the the structures entire foundation and bottom floor level is waterproofed.
Consider Dewatering Pumps and Water Absorbing Flood Bags
Flooding causes the water table to rise and creates back-flow pressure in sewage systems, drains and water pipes. Determine if your space is at risk from back-flowing water that can rise. A professional plumber can install back-flow preventer valves to prevent water infiltration. Dewatering or sump pumps are recommended as a second line of defense against any water leakage. No perimeter is hermetically sealed, as such some leakage should be expected. FEMA recommends all dry flood-proofed structures have back up pumps to capture and pump any excess water leakage from the structure. Garrison offers a portable Sea Sponge dewatering pump as well as an automatic switch that activates when water is sensed. For additional peace of mind, consider a supply of Garrison’s Minnow Gel-Filled Flood Bags on hand. These can be placed behind the Hammerhead system to soak up any minor seepage that might occur.
View More Information on the Hammerhead Flood Plank System
How the System Works and Why it is Effective at Flood Prevention
If you have any additional questions about installation or how to use the system, do not hesitate to contact us by email at sales@garrisonflood.com or call us at +1-929-299-2099

Our Mission
Protect
Protect the places and things that are most important
Block
Stop flooding in its tracks with a variety of solutions
Prepare
Become a trusted resource for all things flood preparedness and protection
Made In The USA
The Hammerhead Aluminum Flood Barrier System is proudly made in the USA


